How to use Testnet Bridge?
Our product is ready for you to try it. Follow the step-by-step guide to use the Confidential bridge for the first time.
First of all, you need a browser. We recommend using a chromium browser such as Google Chrome or Microsoft Edge.
Step 1 - Download all wallets needed
You will need 2 wallets - Metamask (EVM) and Zano wallet (non-EVM, privacy).
1.1 Metamask wallet
First, go to https://metamask.io/. On the main page, you will see "Download for xxx" - there you will see your browser. Click on it.
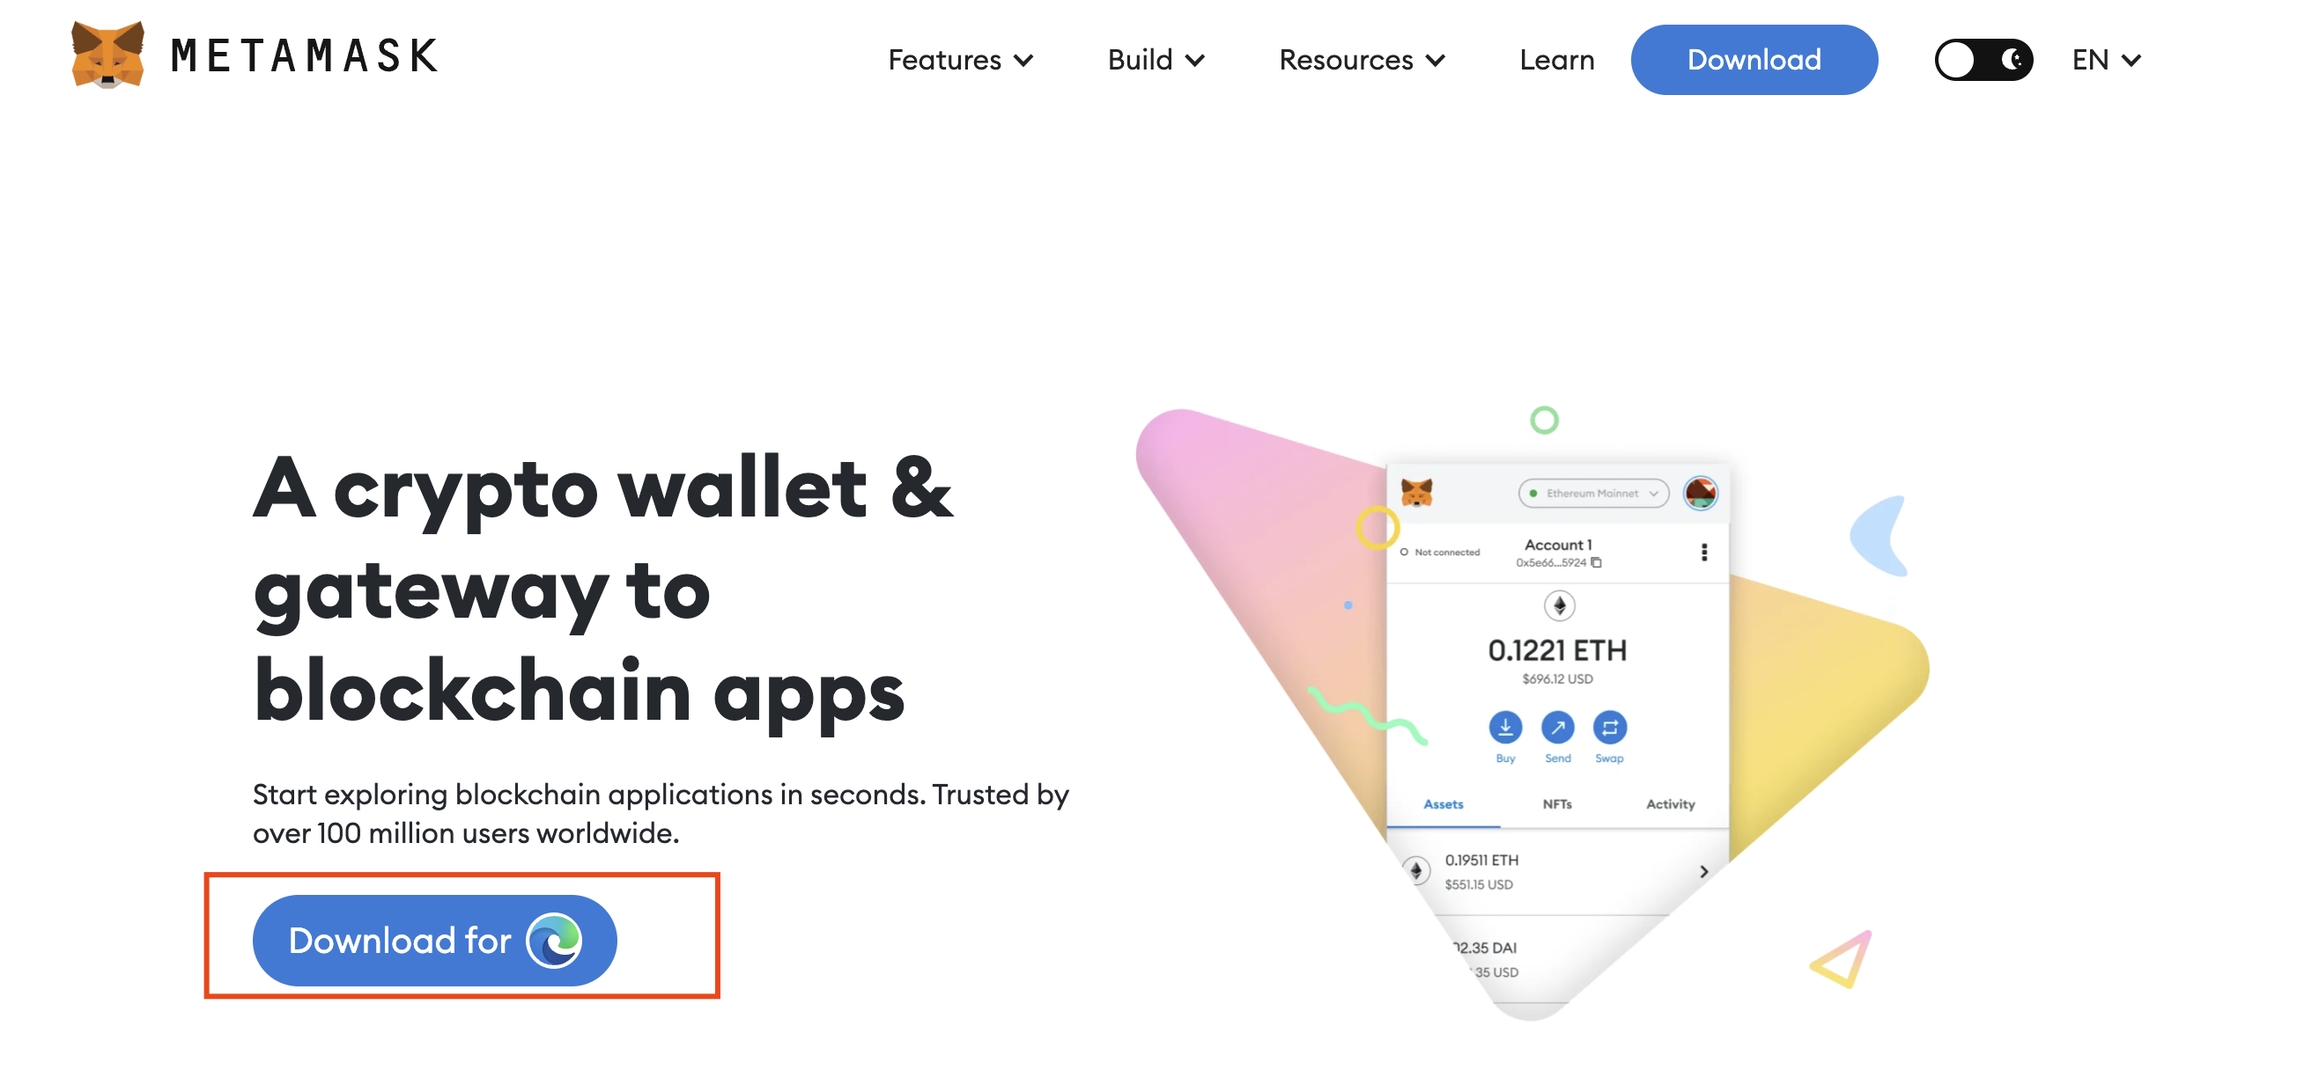
After that, you will be moved to one of add-on pages (for example Microsoft edge add-ons or Chrome webstore)
Click on "Get"
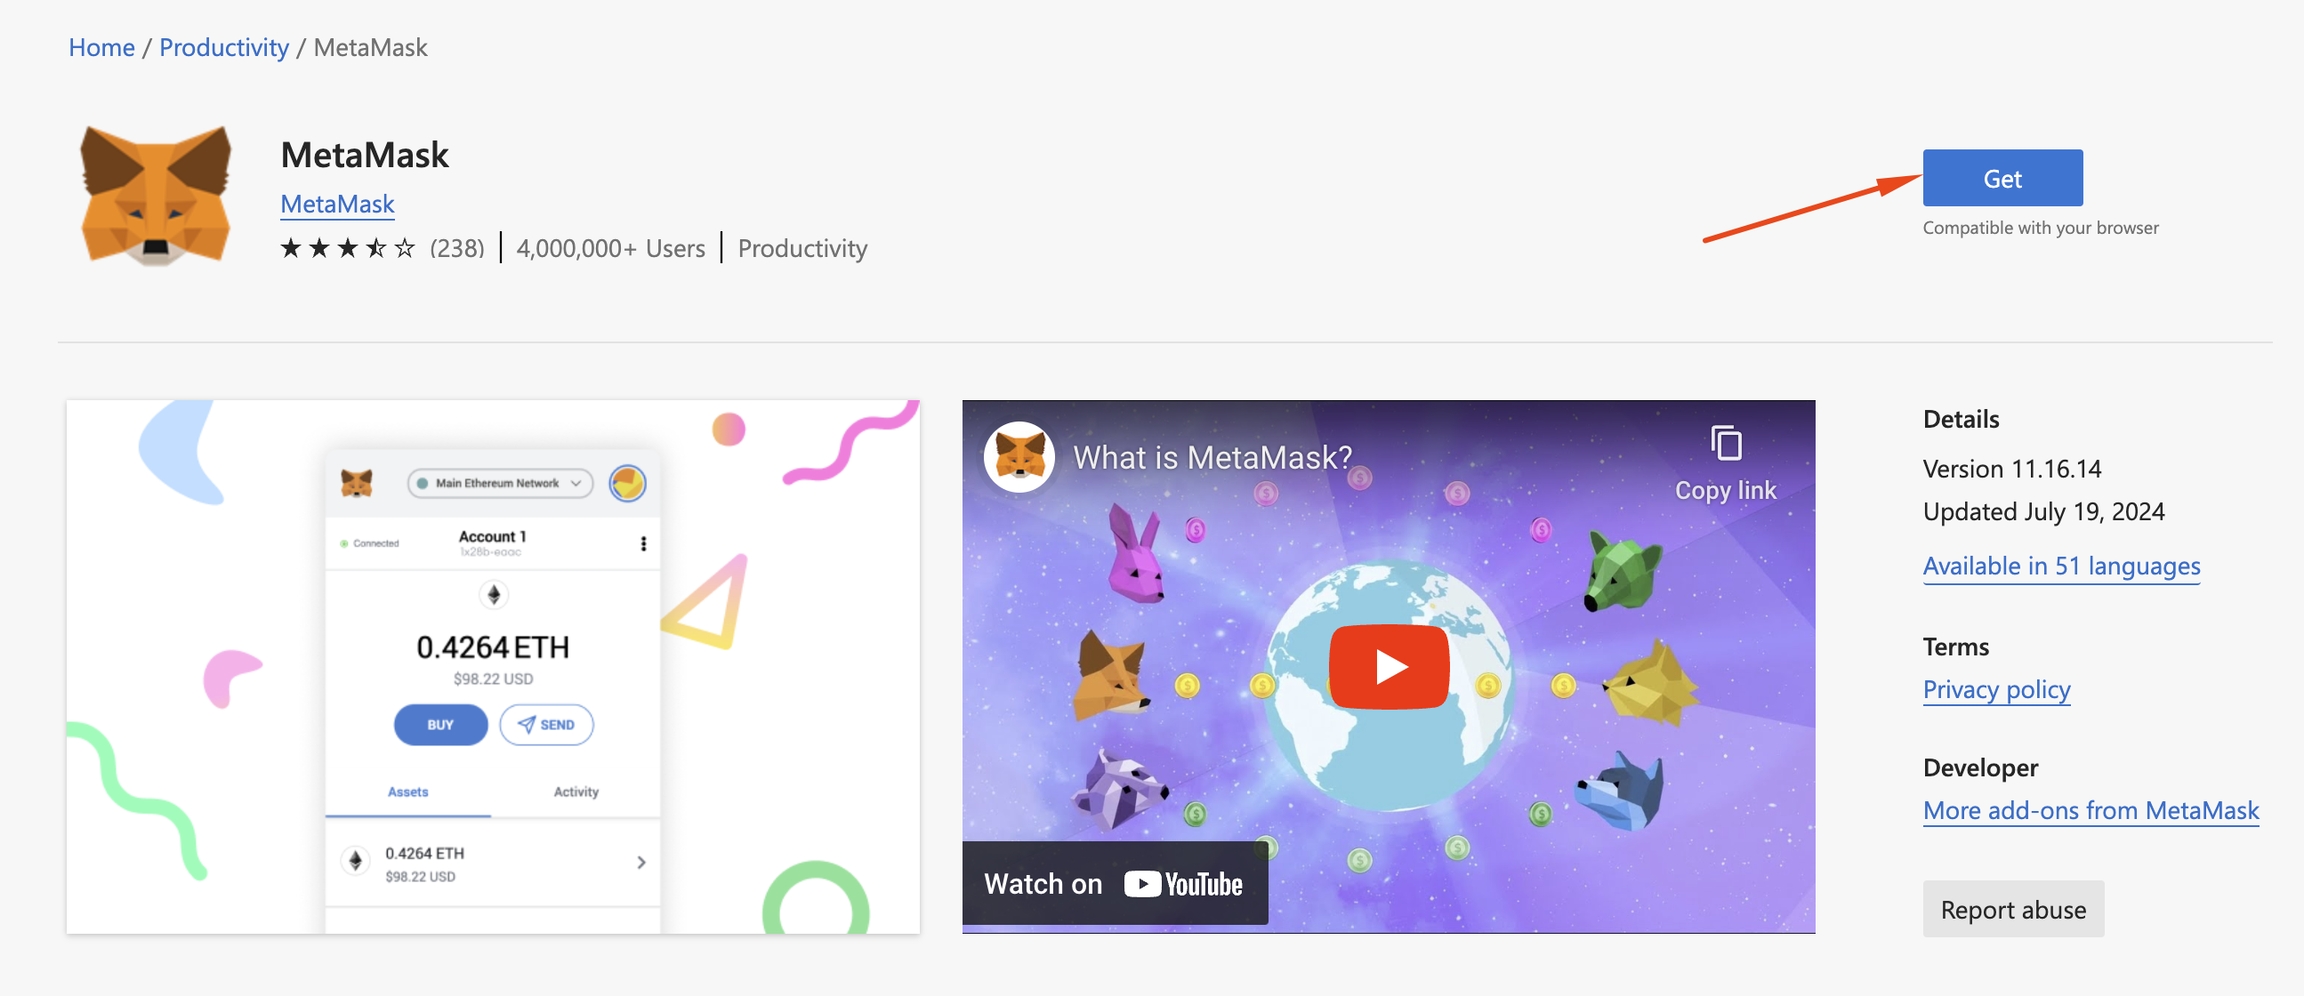
Now you should have installed Metamask to your browser. New window with Metamask should open. (if not, click on the extension panel on the top right, find Metamask and click on it)
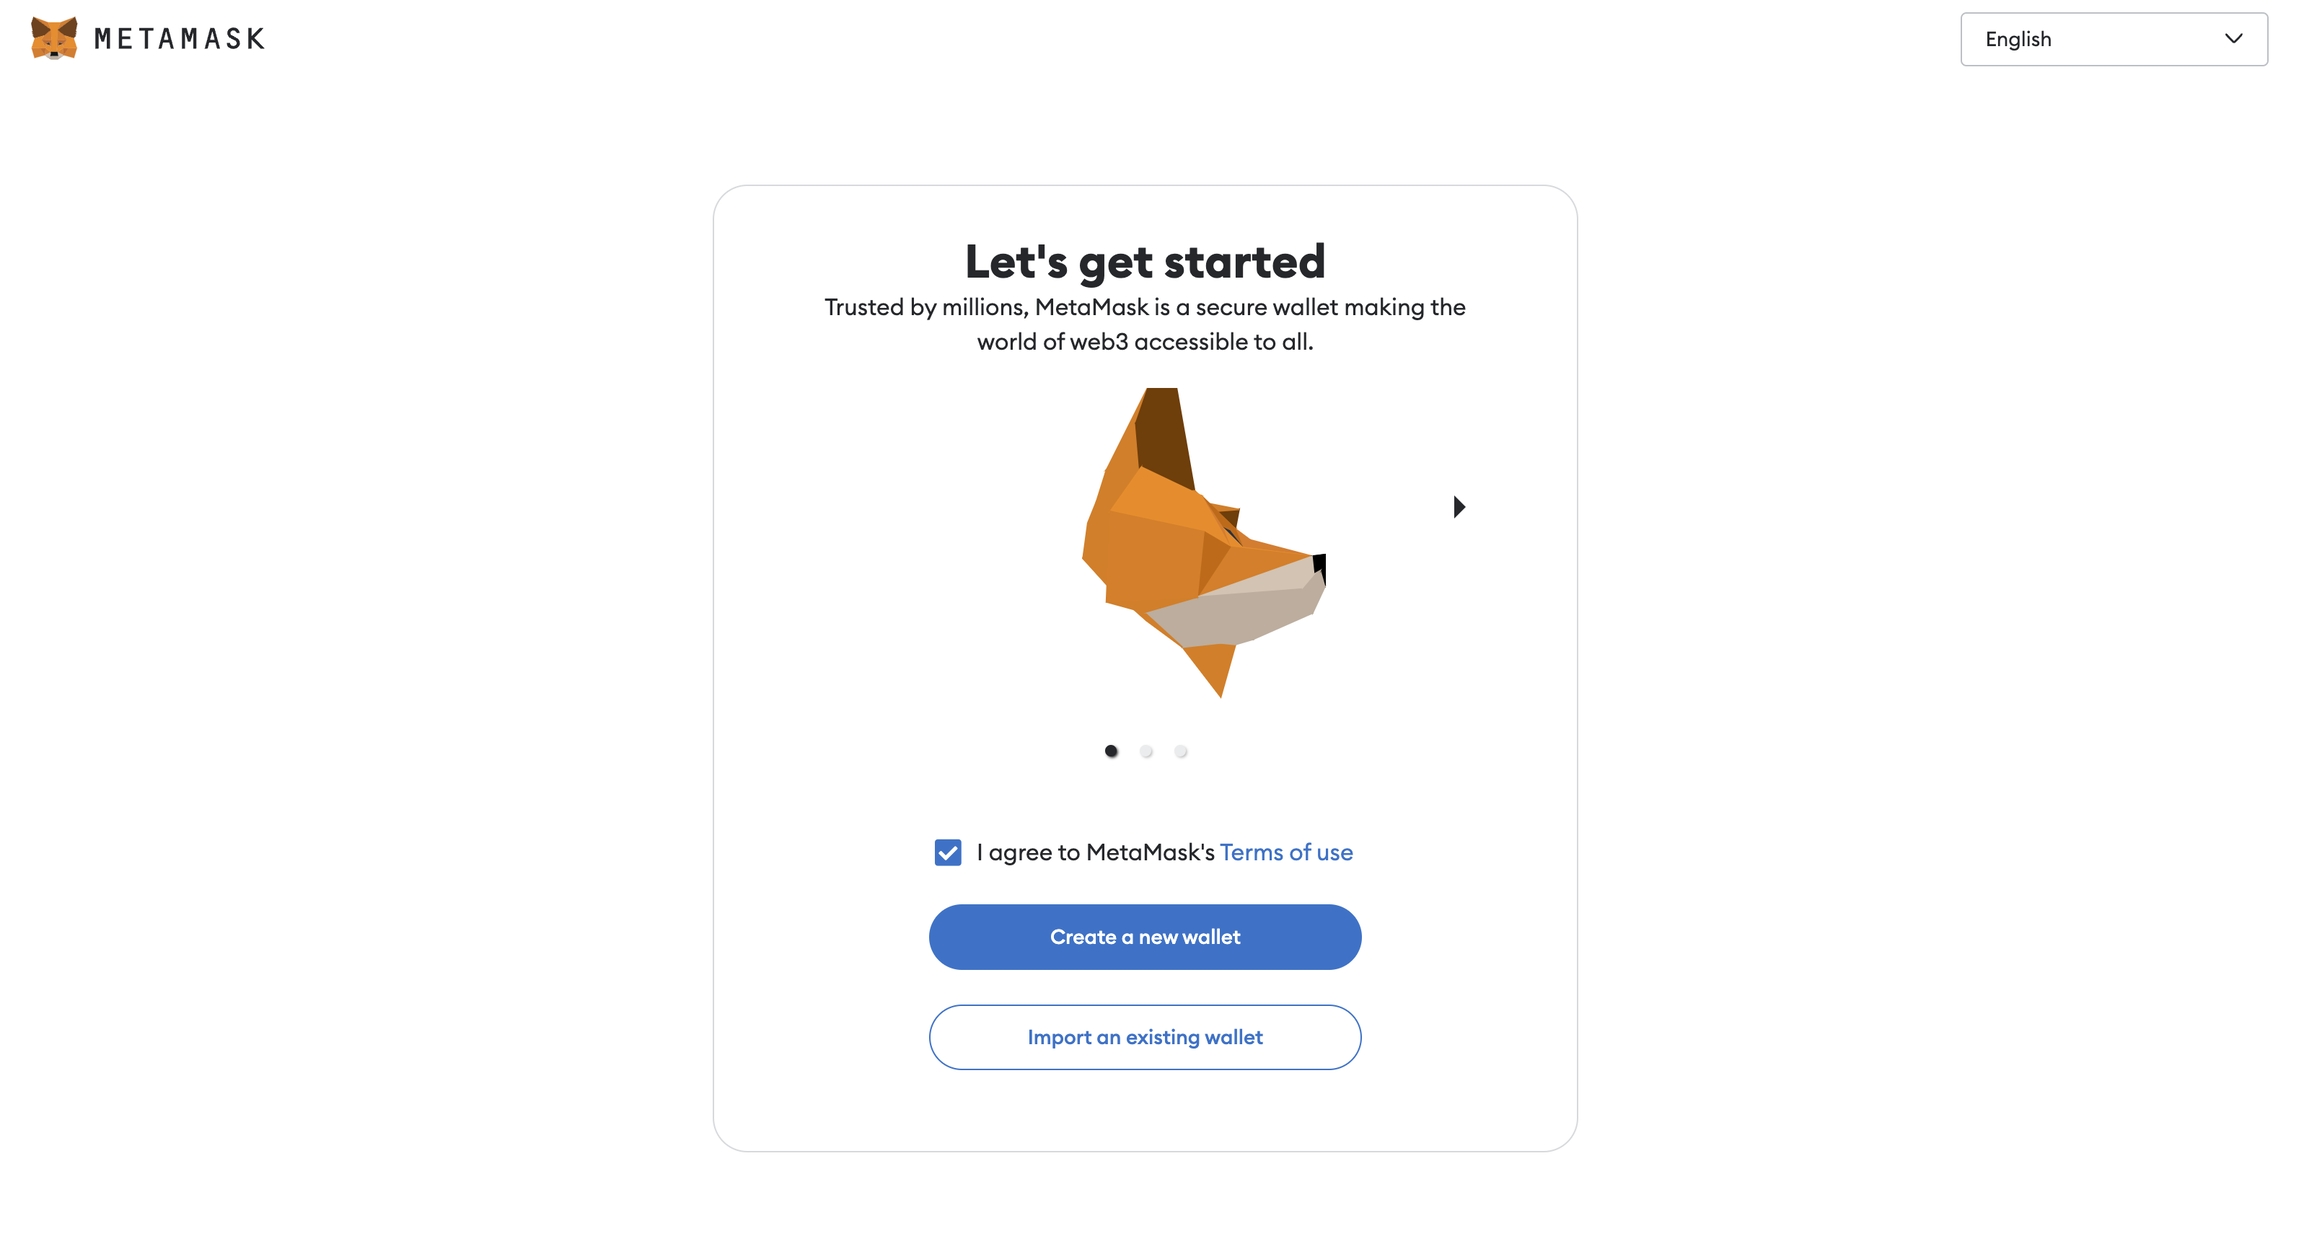
Now, click on "Create a new wallet" button.
You will be then asked to create a password so you can access your Metamask wallet anytime.
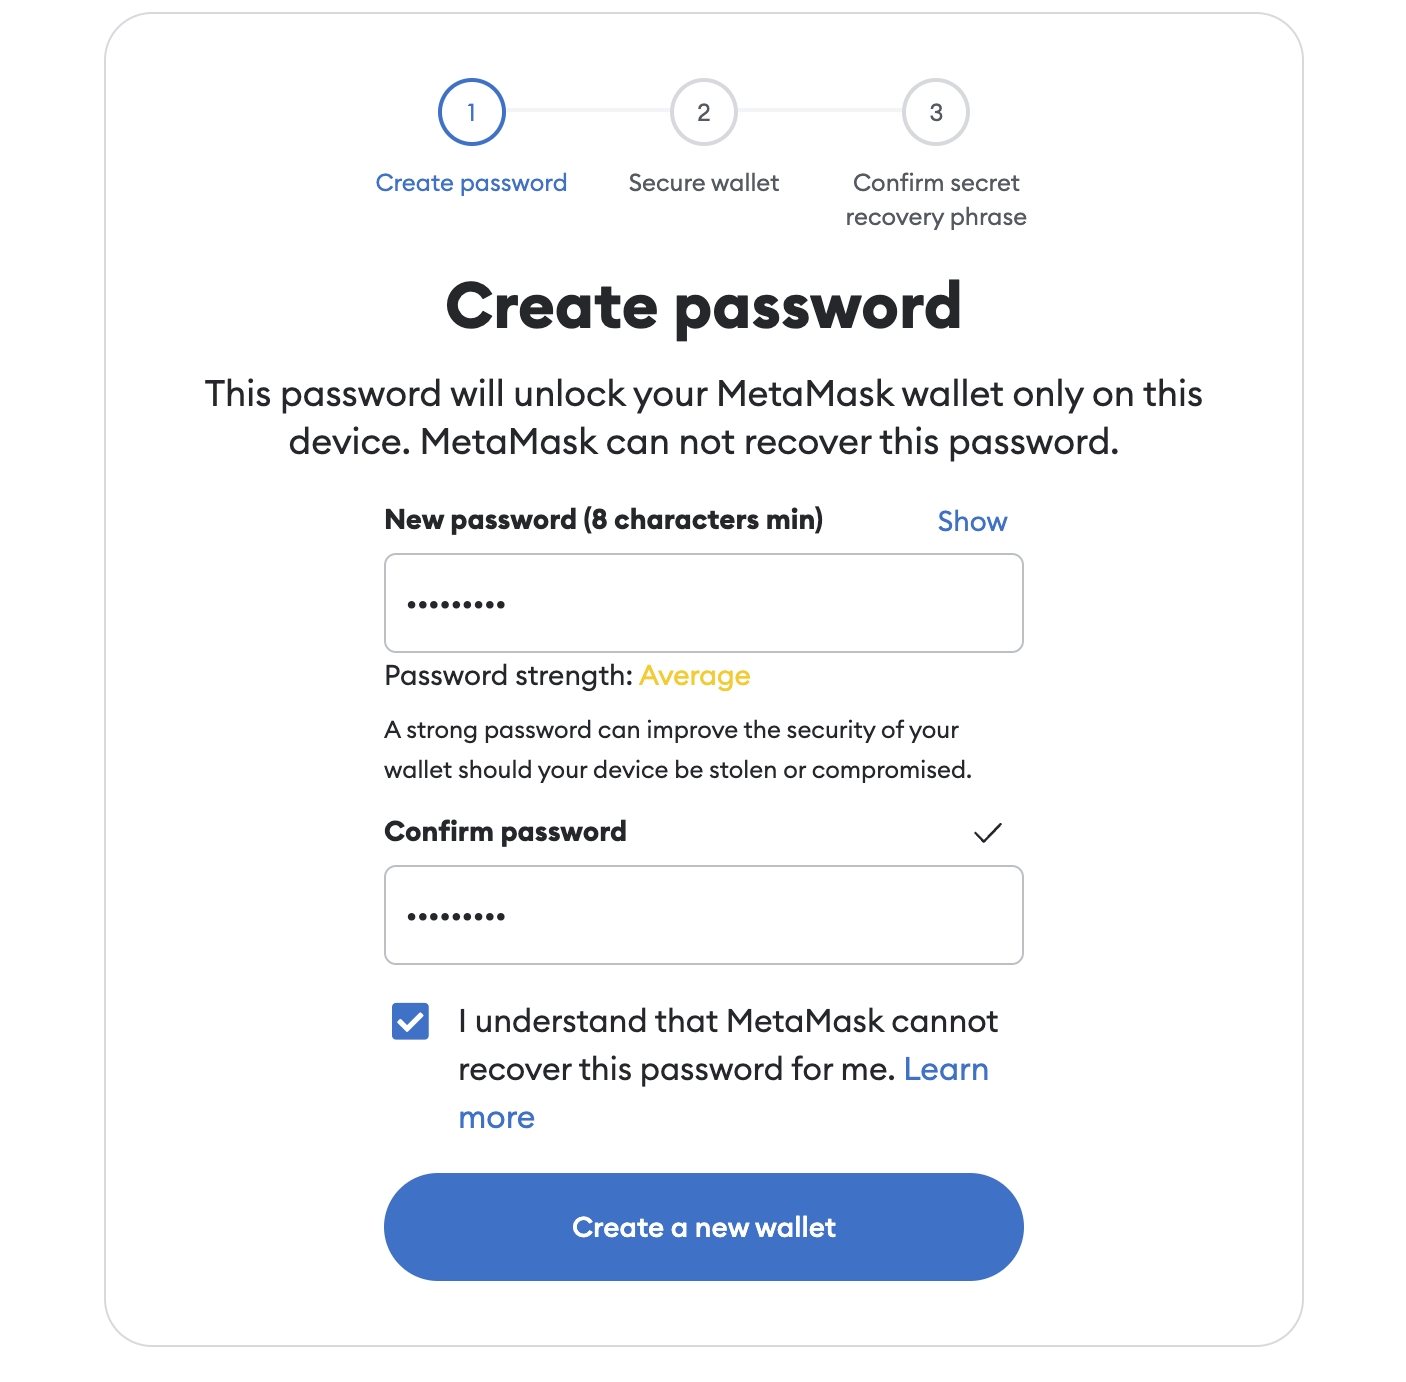
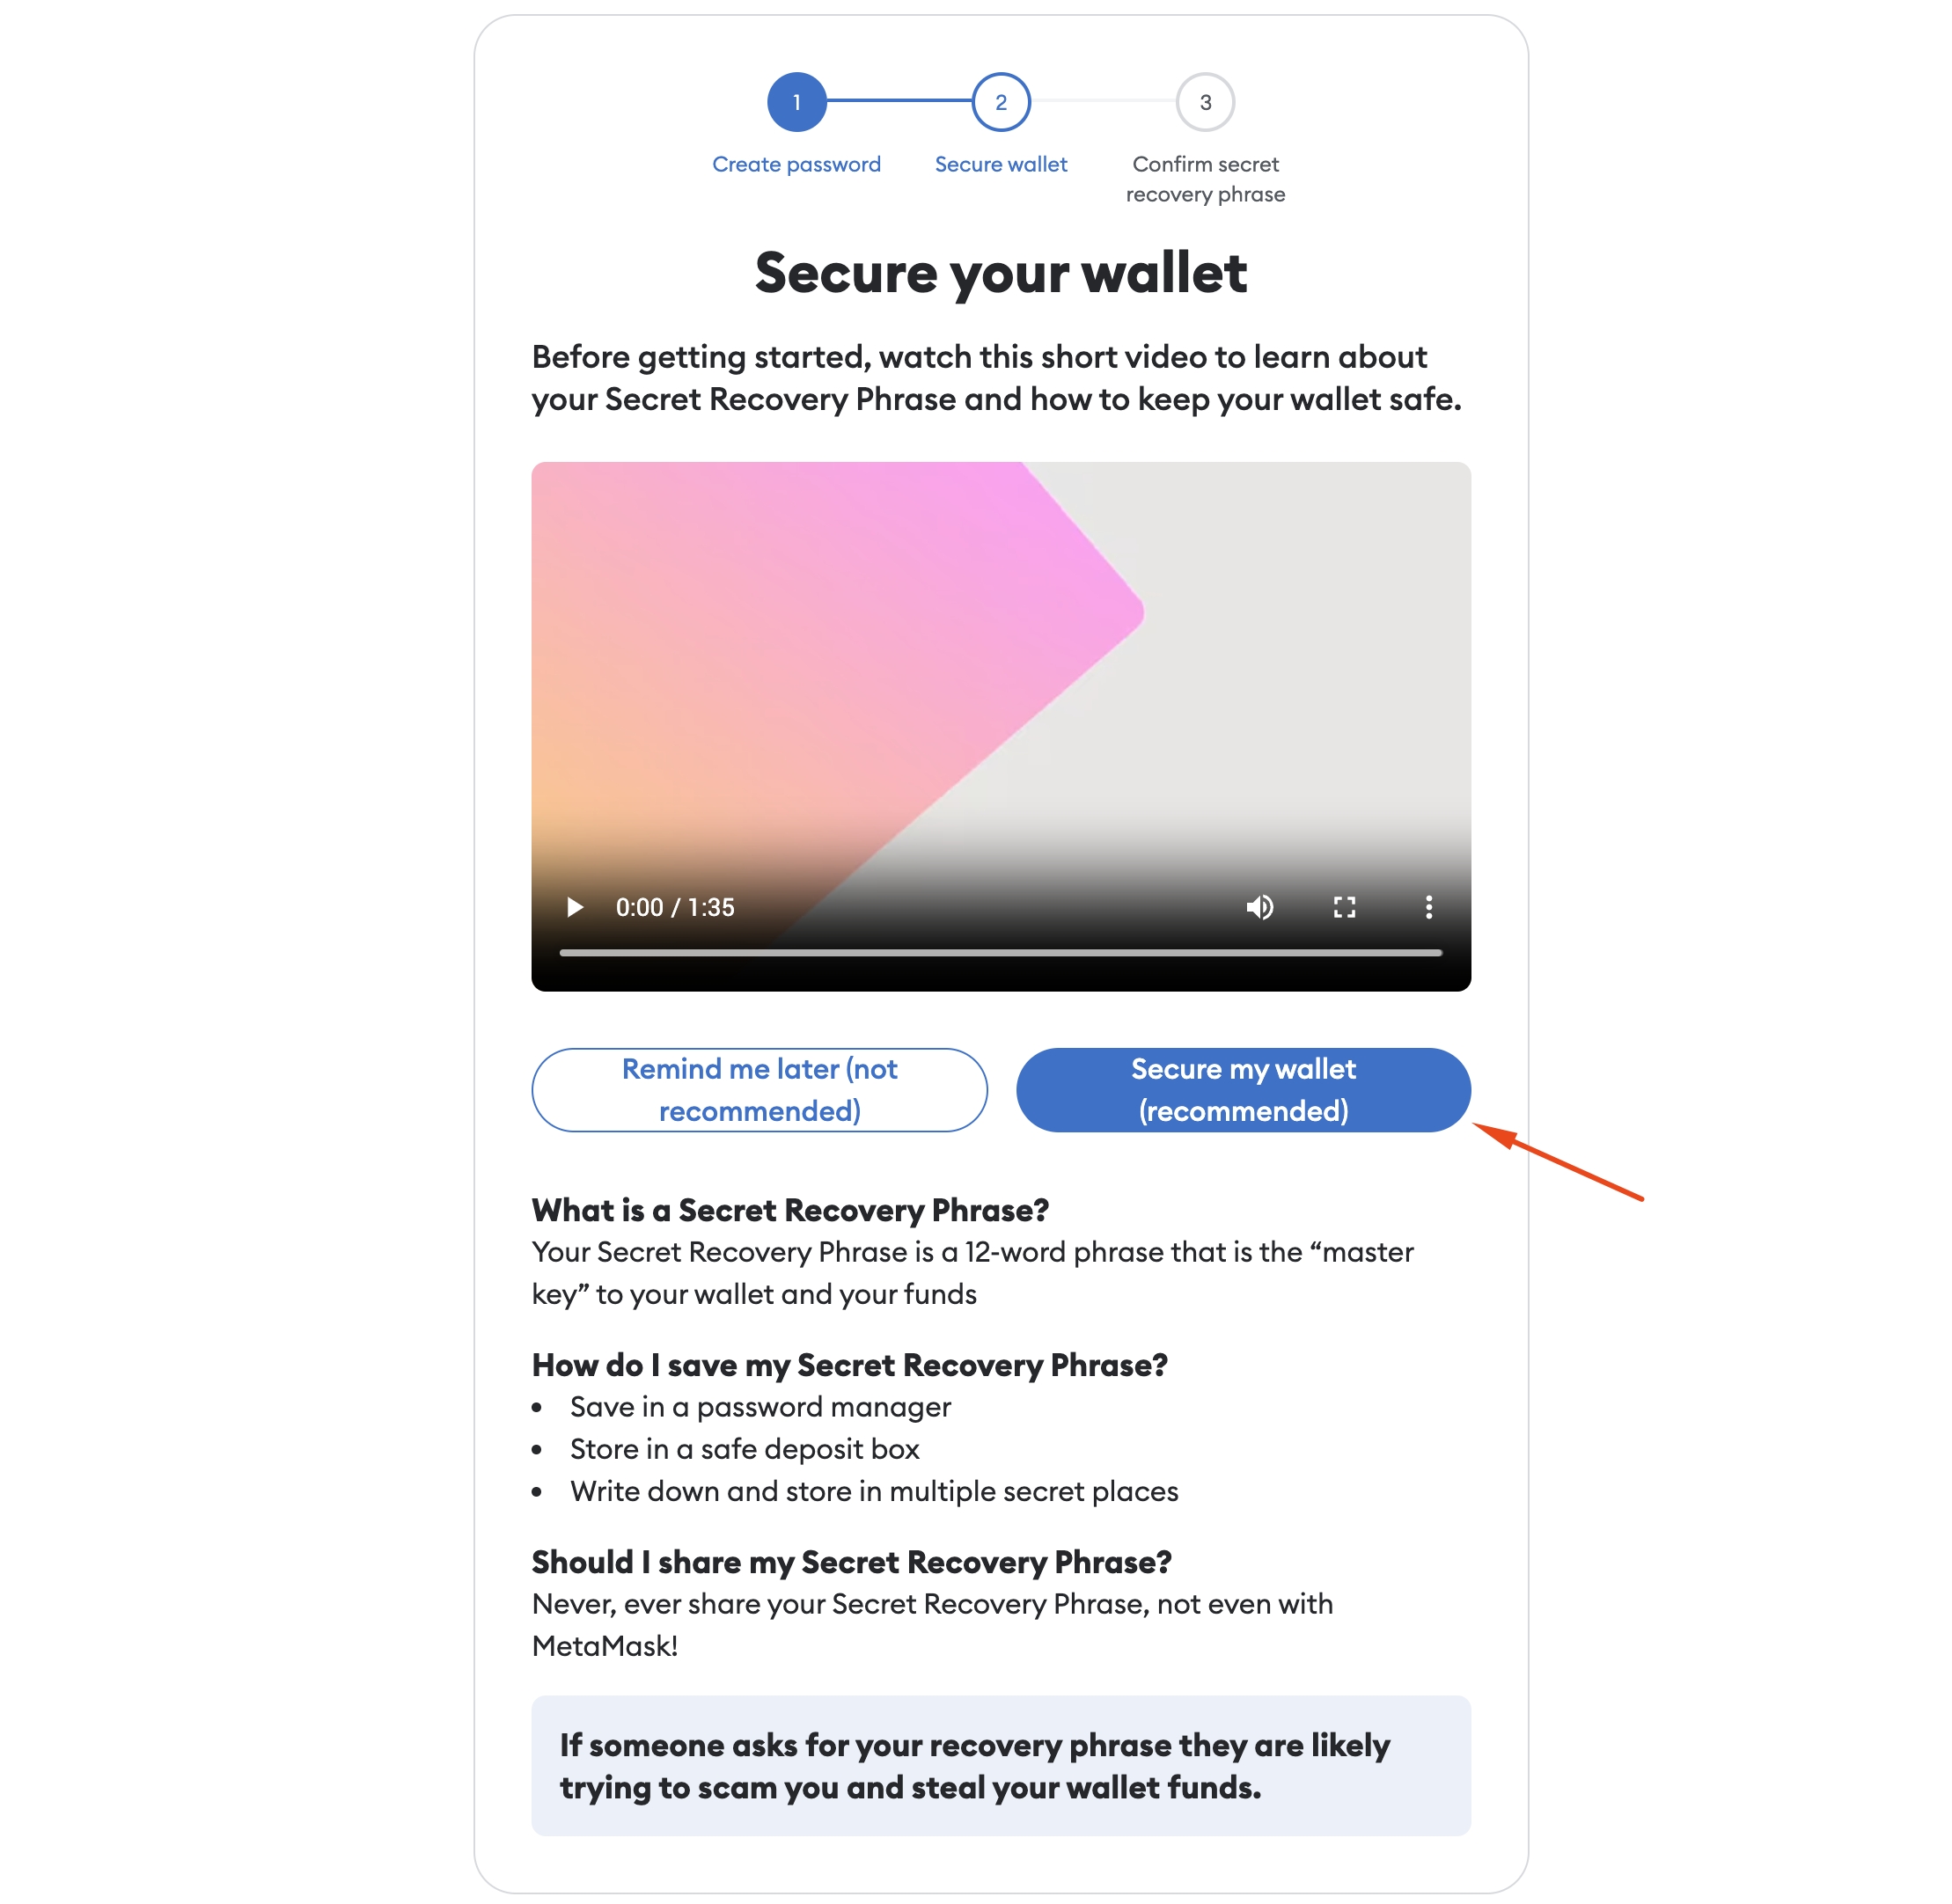
Secure your wallet. Anytime you create a new wallet, save the seed phrase somewhere where it's secure and only you can get to it. (That could be f.e. normal paper that you put into a safe)
Click on "Secure my wallet (recommended)".
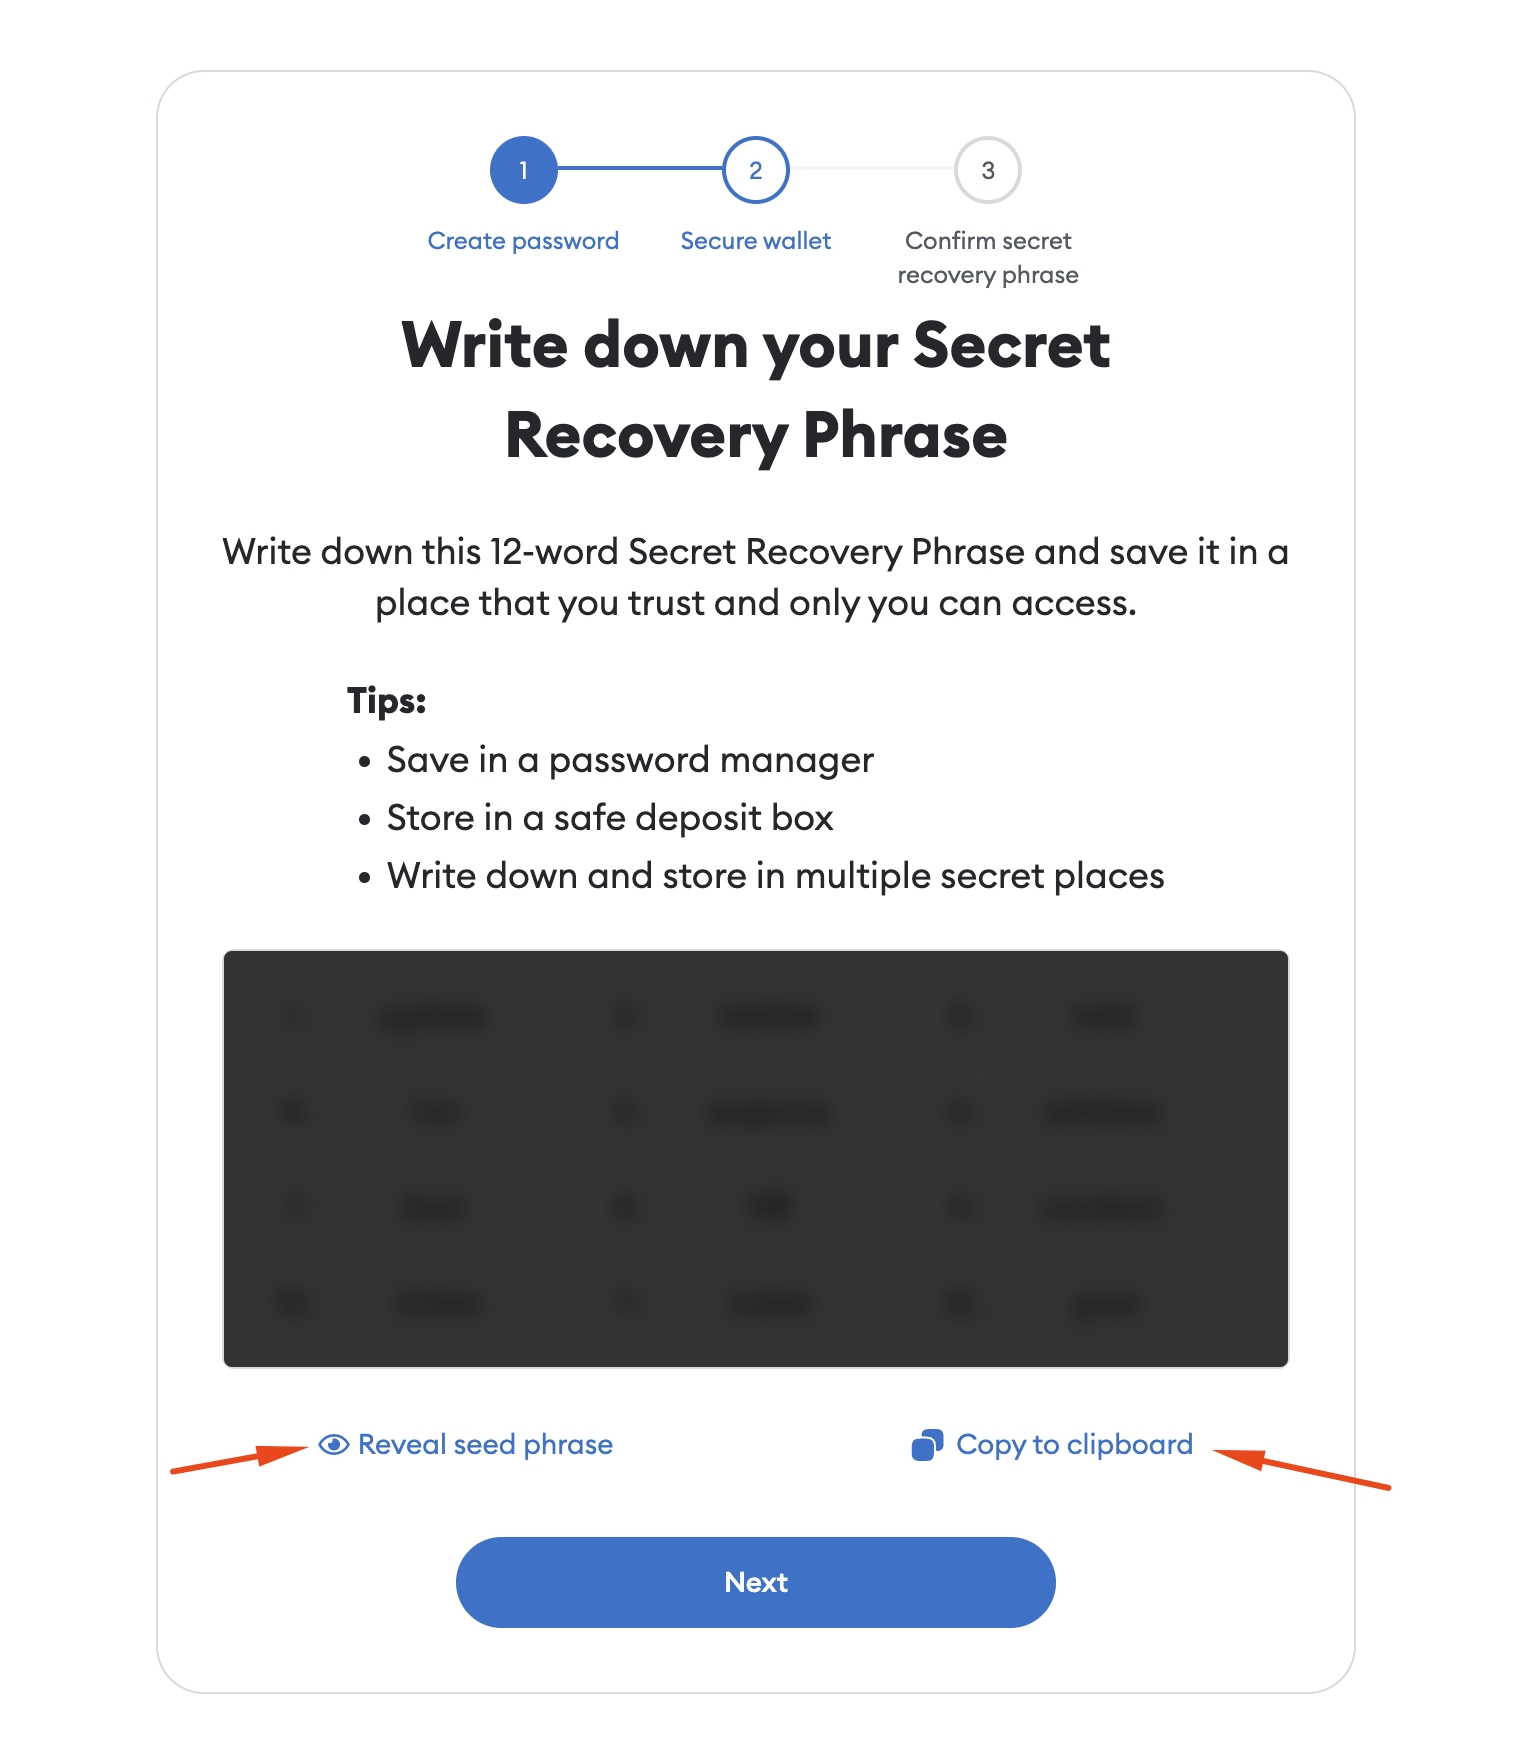
Now you will have to click on "Reveal seed phrase" to write it down on paper or somewhere else. (or else you can click on "copy to clipboard" to copy it and put somewhere on your computer)
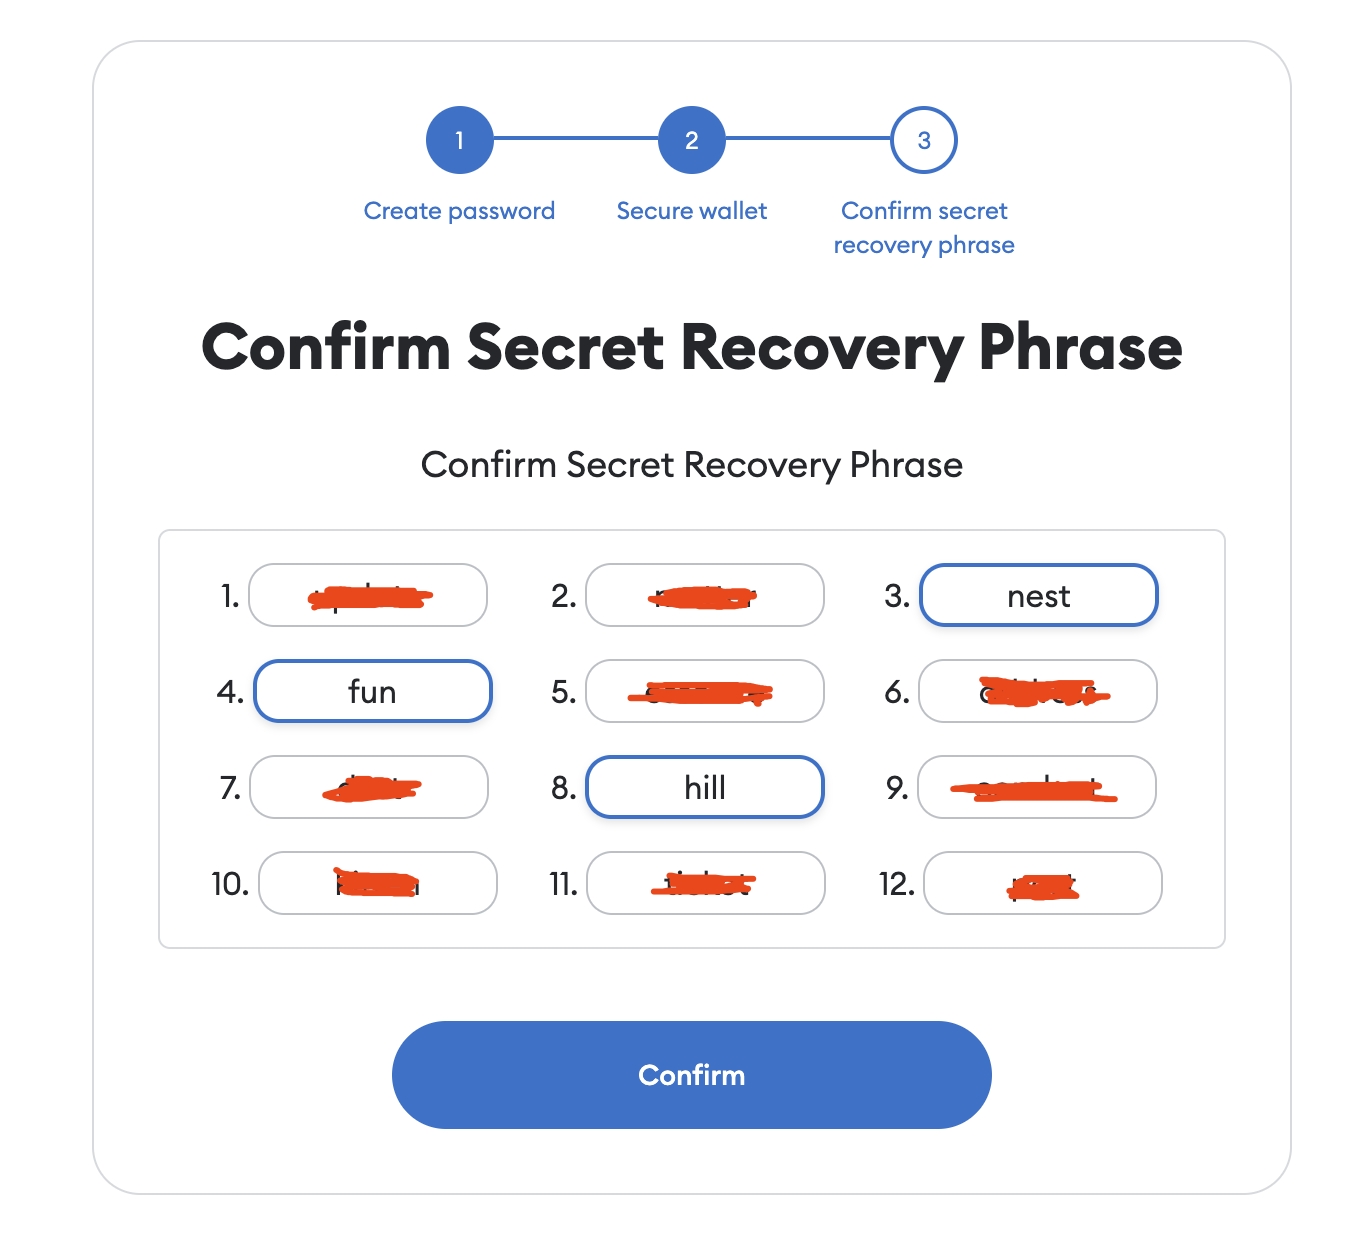
Now put the secret recovery phrase in the columns.
Now you have succesfully created your Metamask wallet.
1.1.1 Setting up Ethereum Sepolia (aka Testnet)
Now open your Metamask wallet and click on chains as shown on the picture.
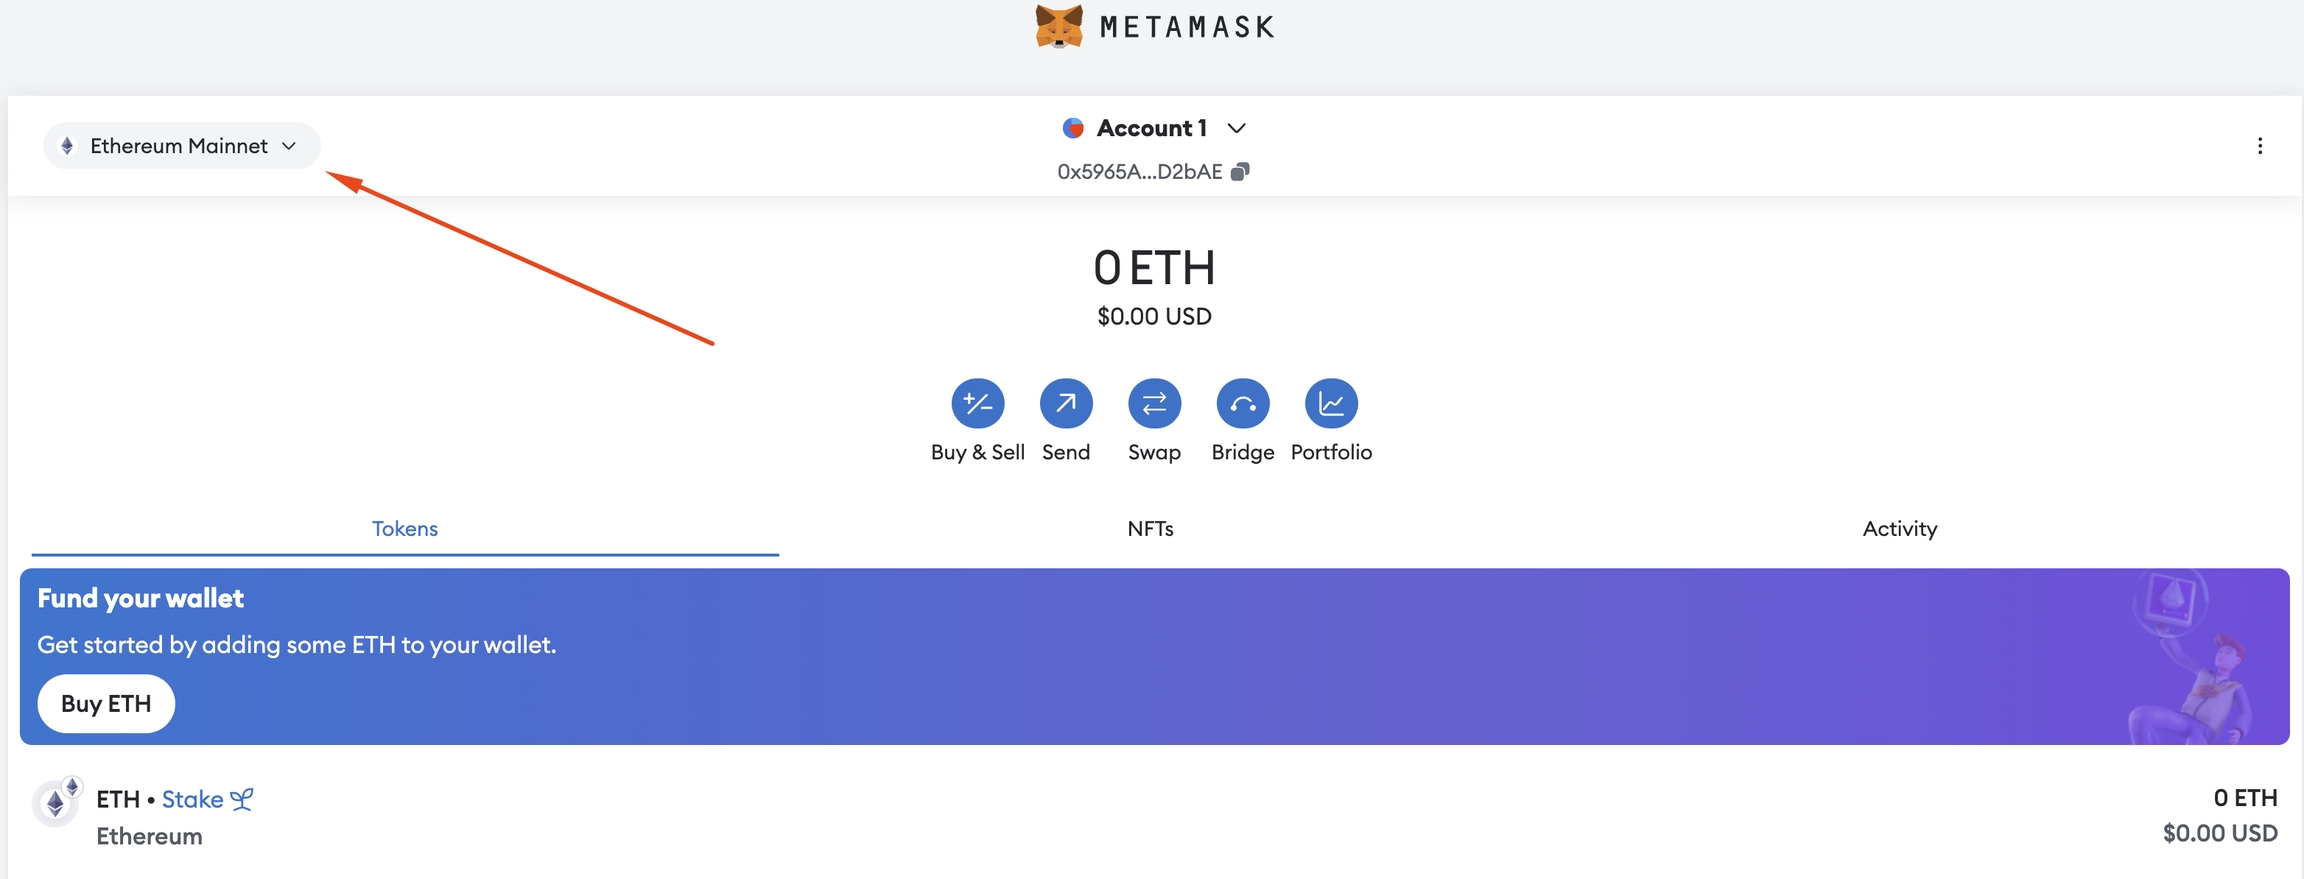
You will see a "Select a network" tab and click on the button next to "Show test networks" text.
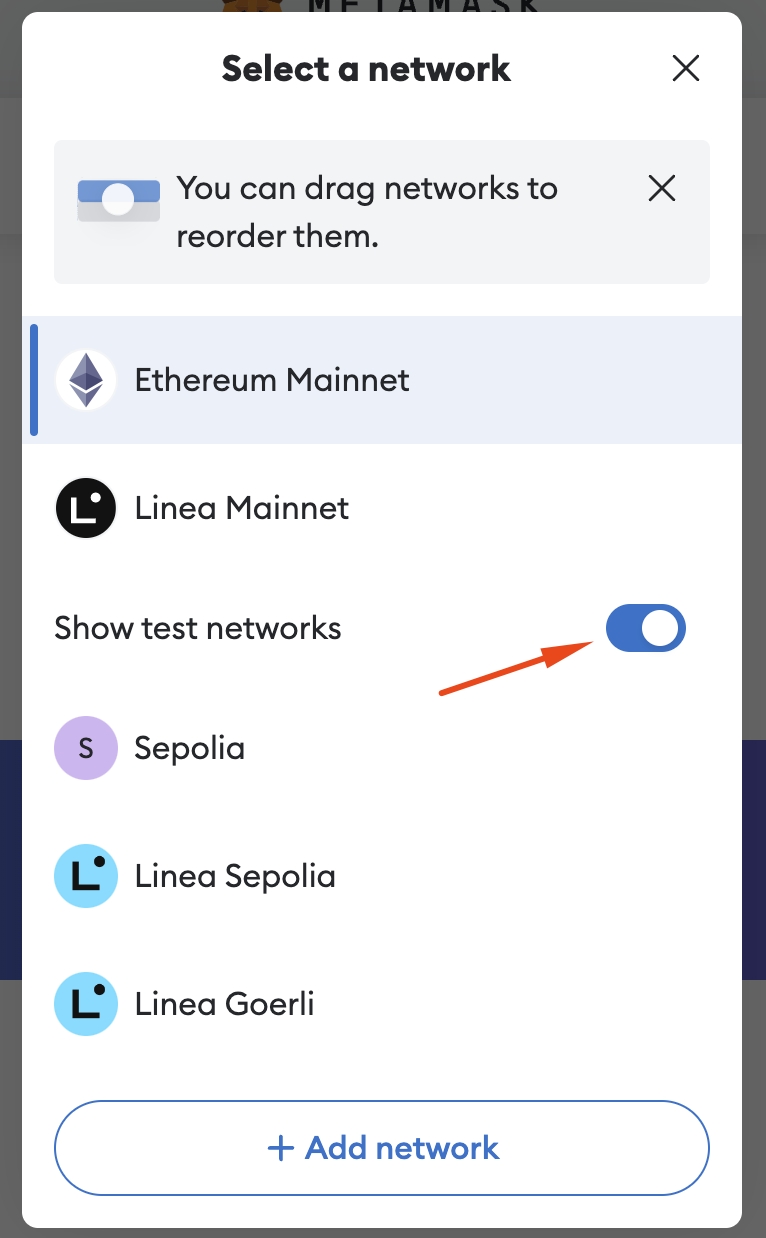
Click on Sepolia.
Now you are on Sepolia chain. You currently have 0 Sepolia ETH and that we need to change in order to properly use the testnet.

1.1.2 Getting your first Sepolia ETH
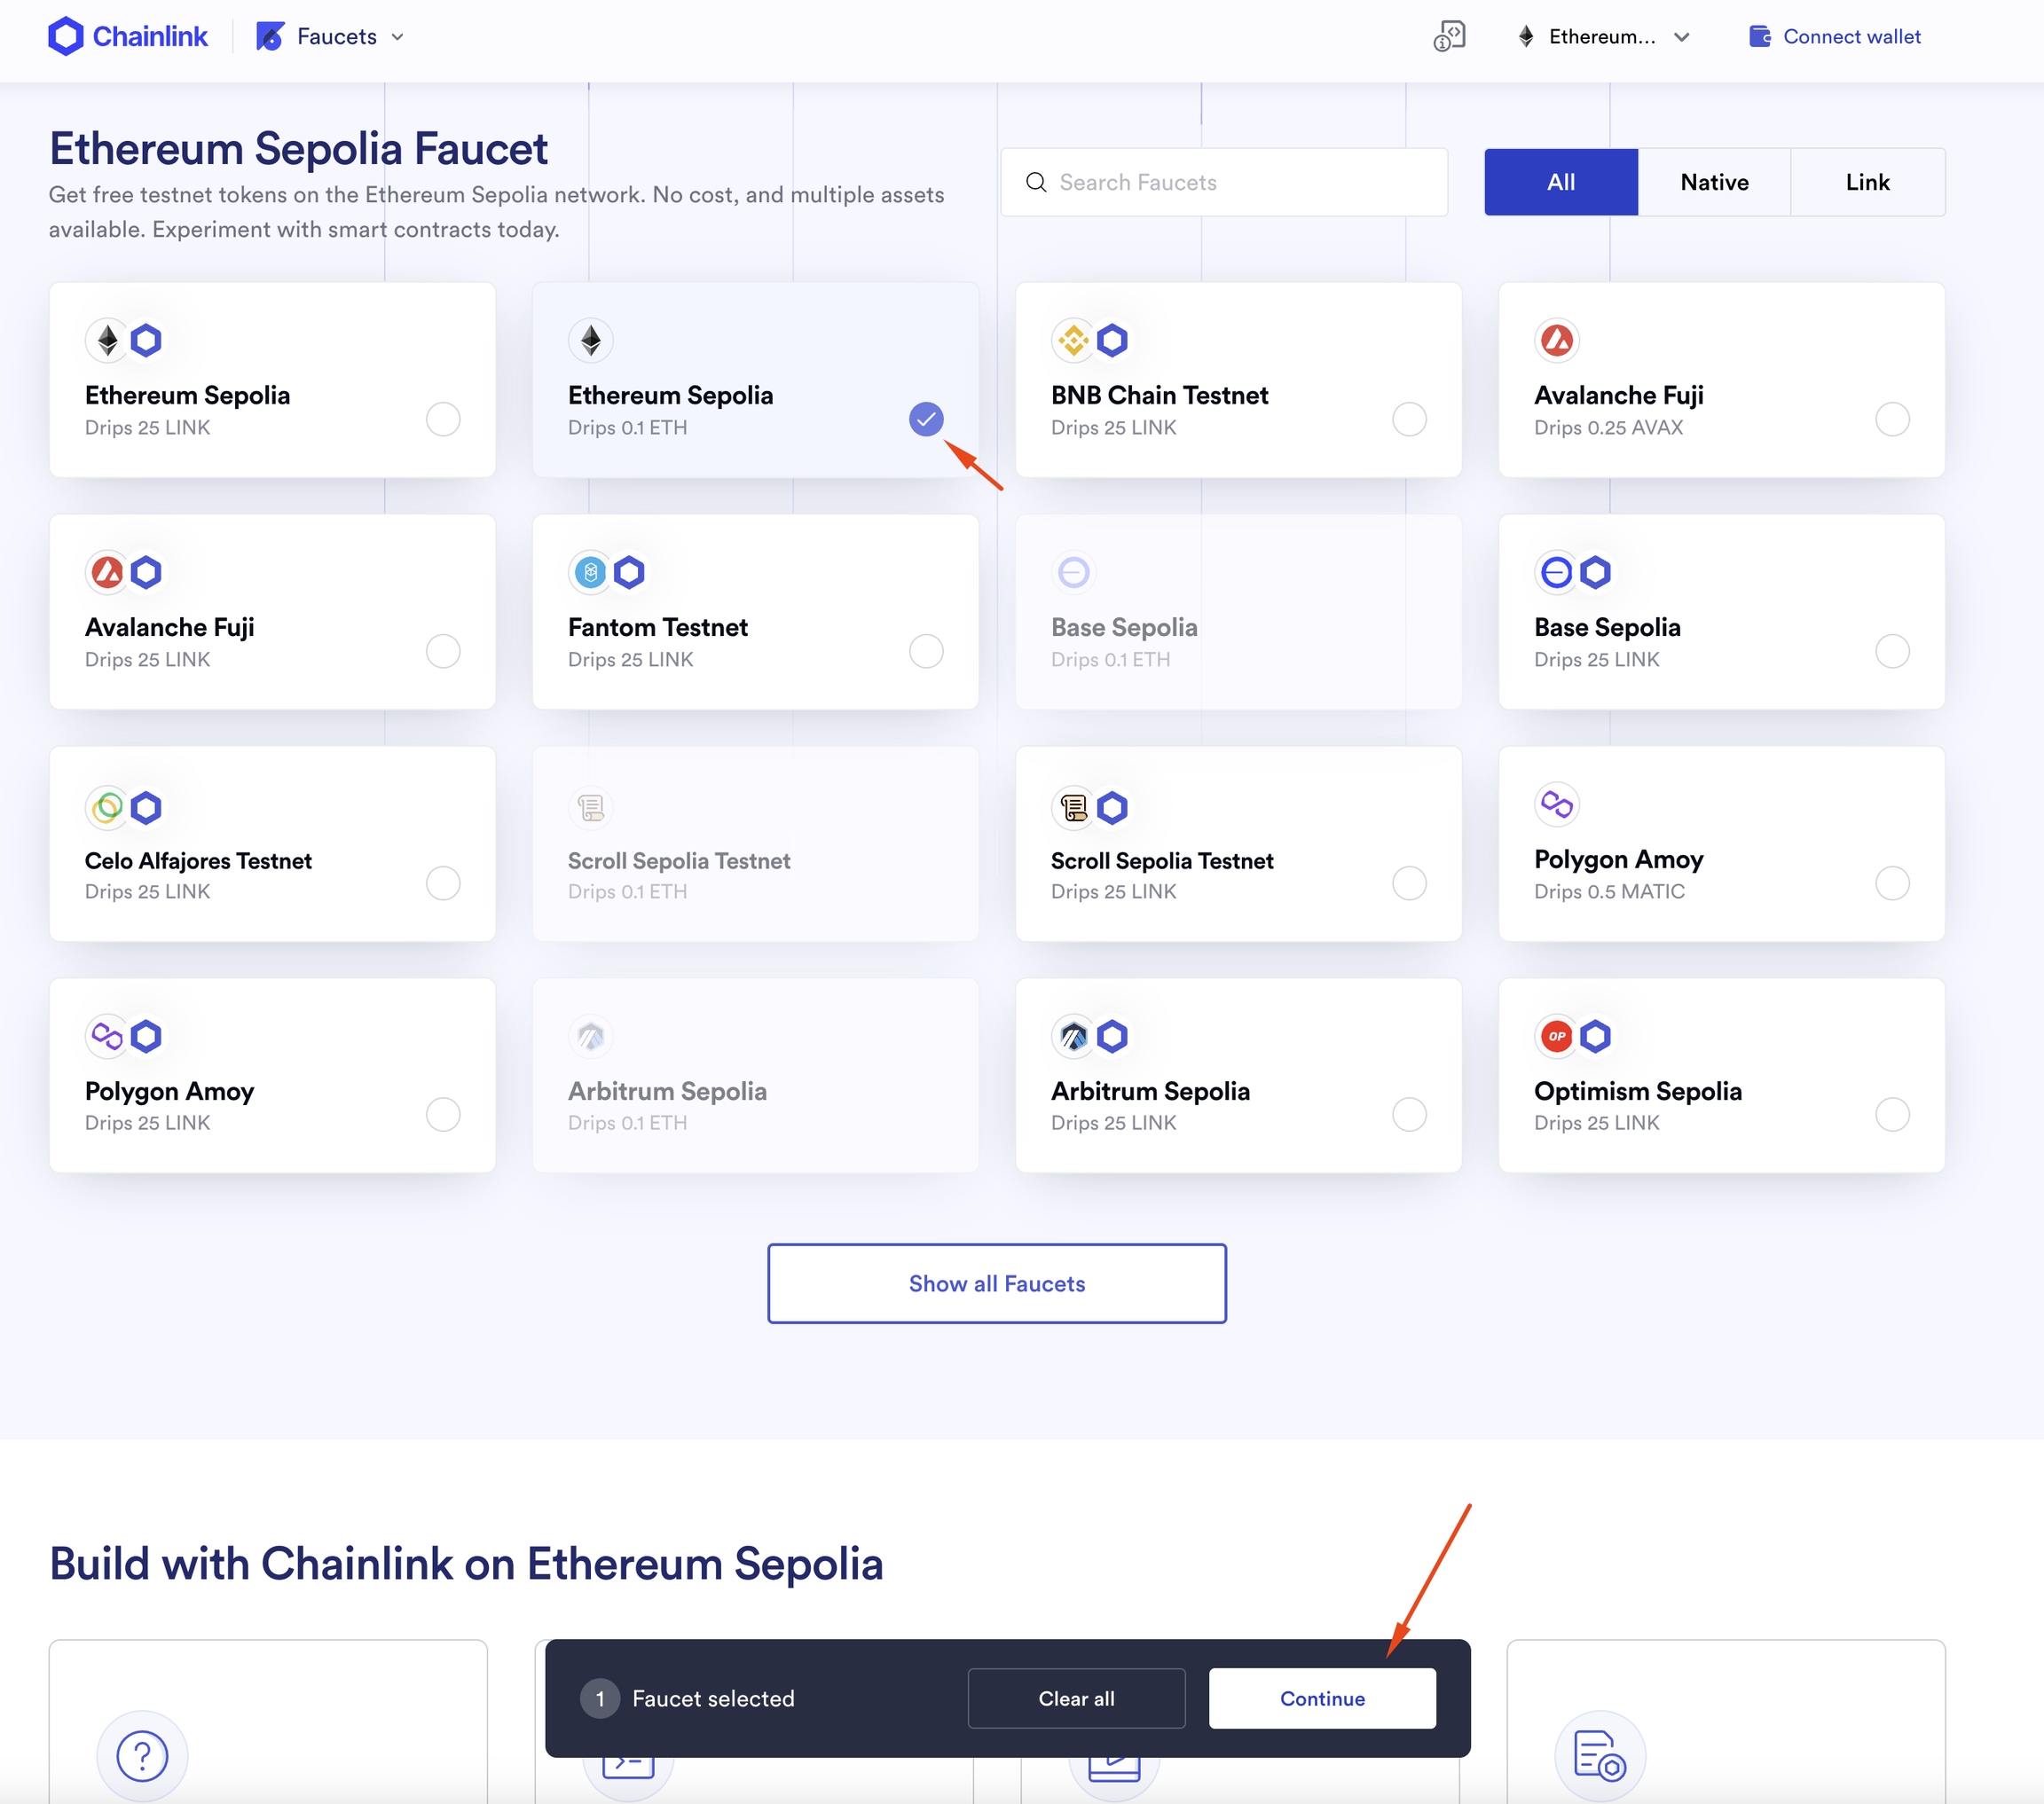
For our usage, we will use this faucet: https://faucets.chain.link/sepolia (You can also use: https://faucet.chainstack.com/sepolia-testnet-faucet)
Click on "Ethereum Sepolia" and then "Continue" at the bottom of the page.
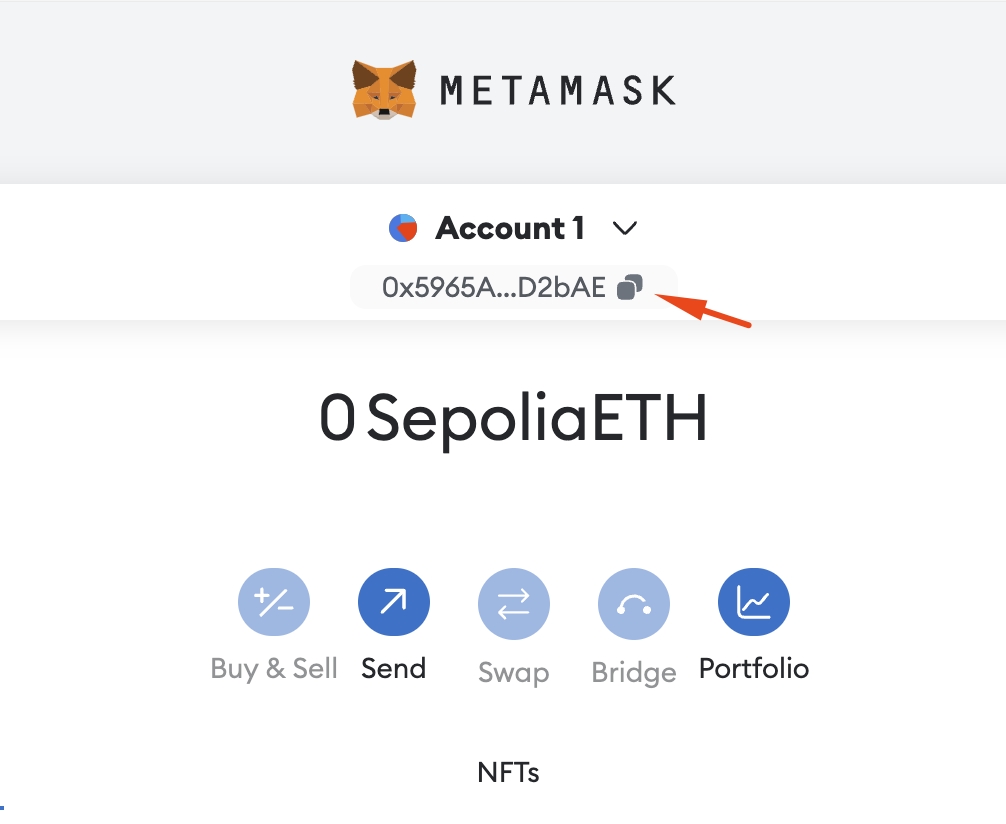
Copy your address from your Metamask and go back to the Faucet.
Now put the adress into "Enter wallet address" box. Press "Continue with GitHub" (in order to do this, you need to create an GitHub account - to create one, click here)
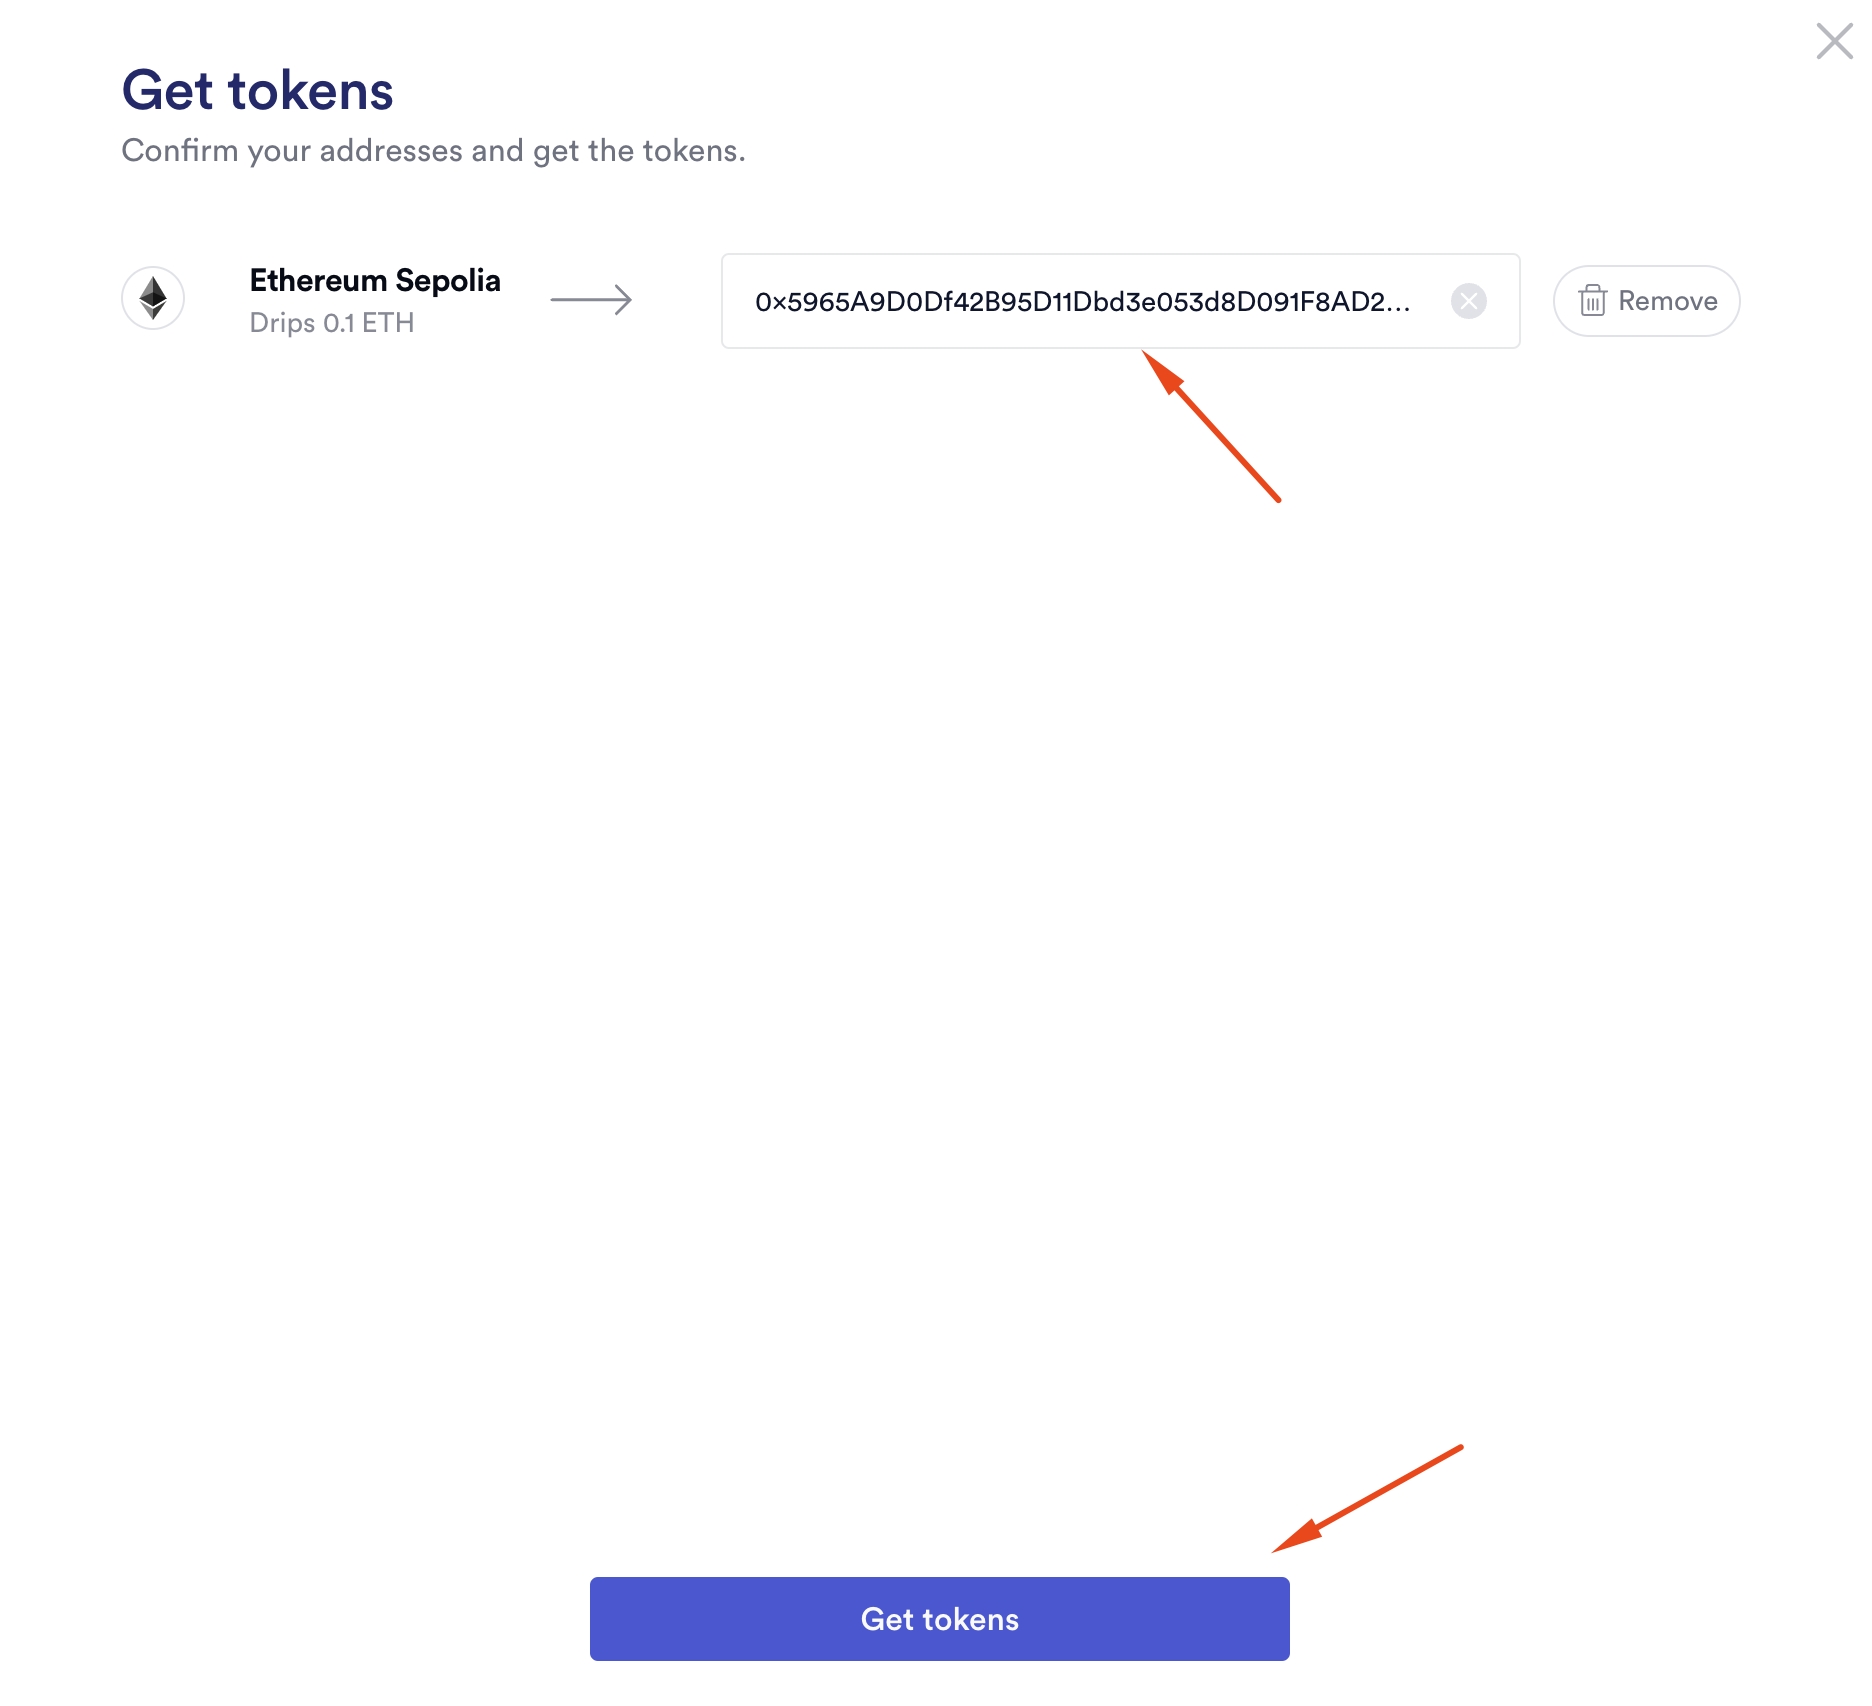
After logging in to your GitHub account it will transfer you back to the original page where you press "Get tokens" in order to get your first Sepolia ETH.
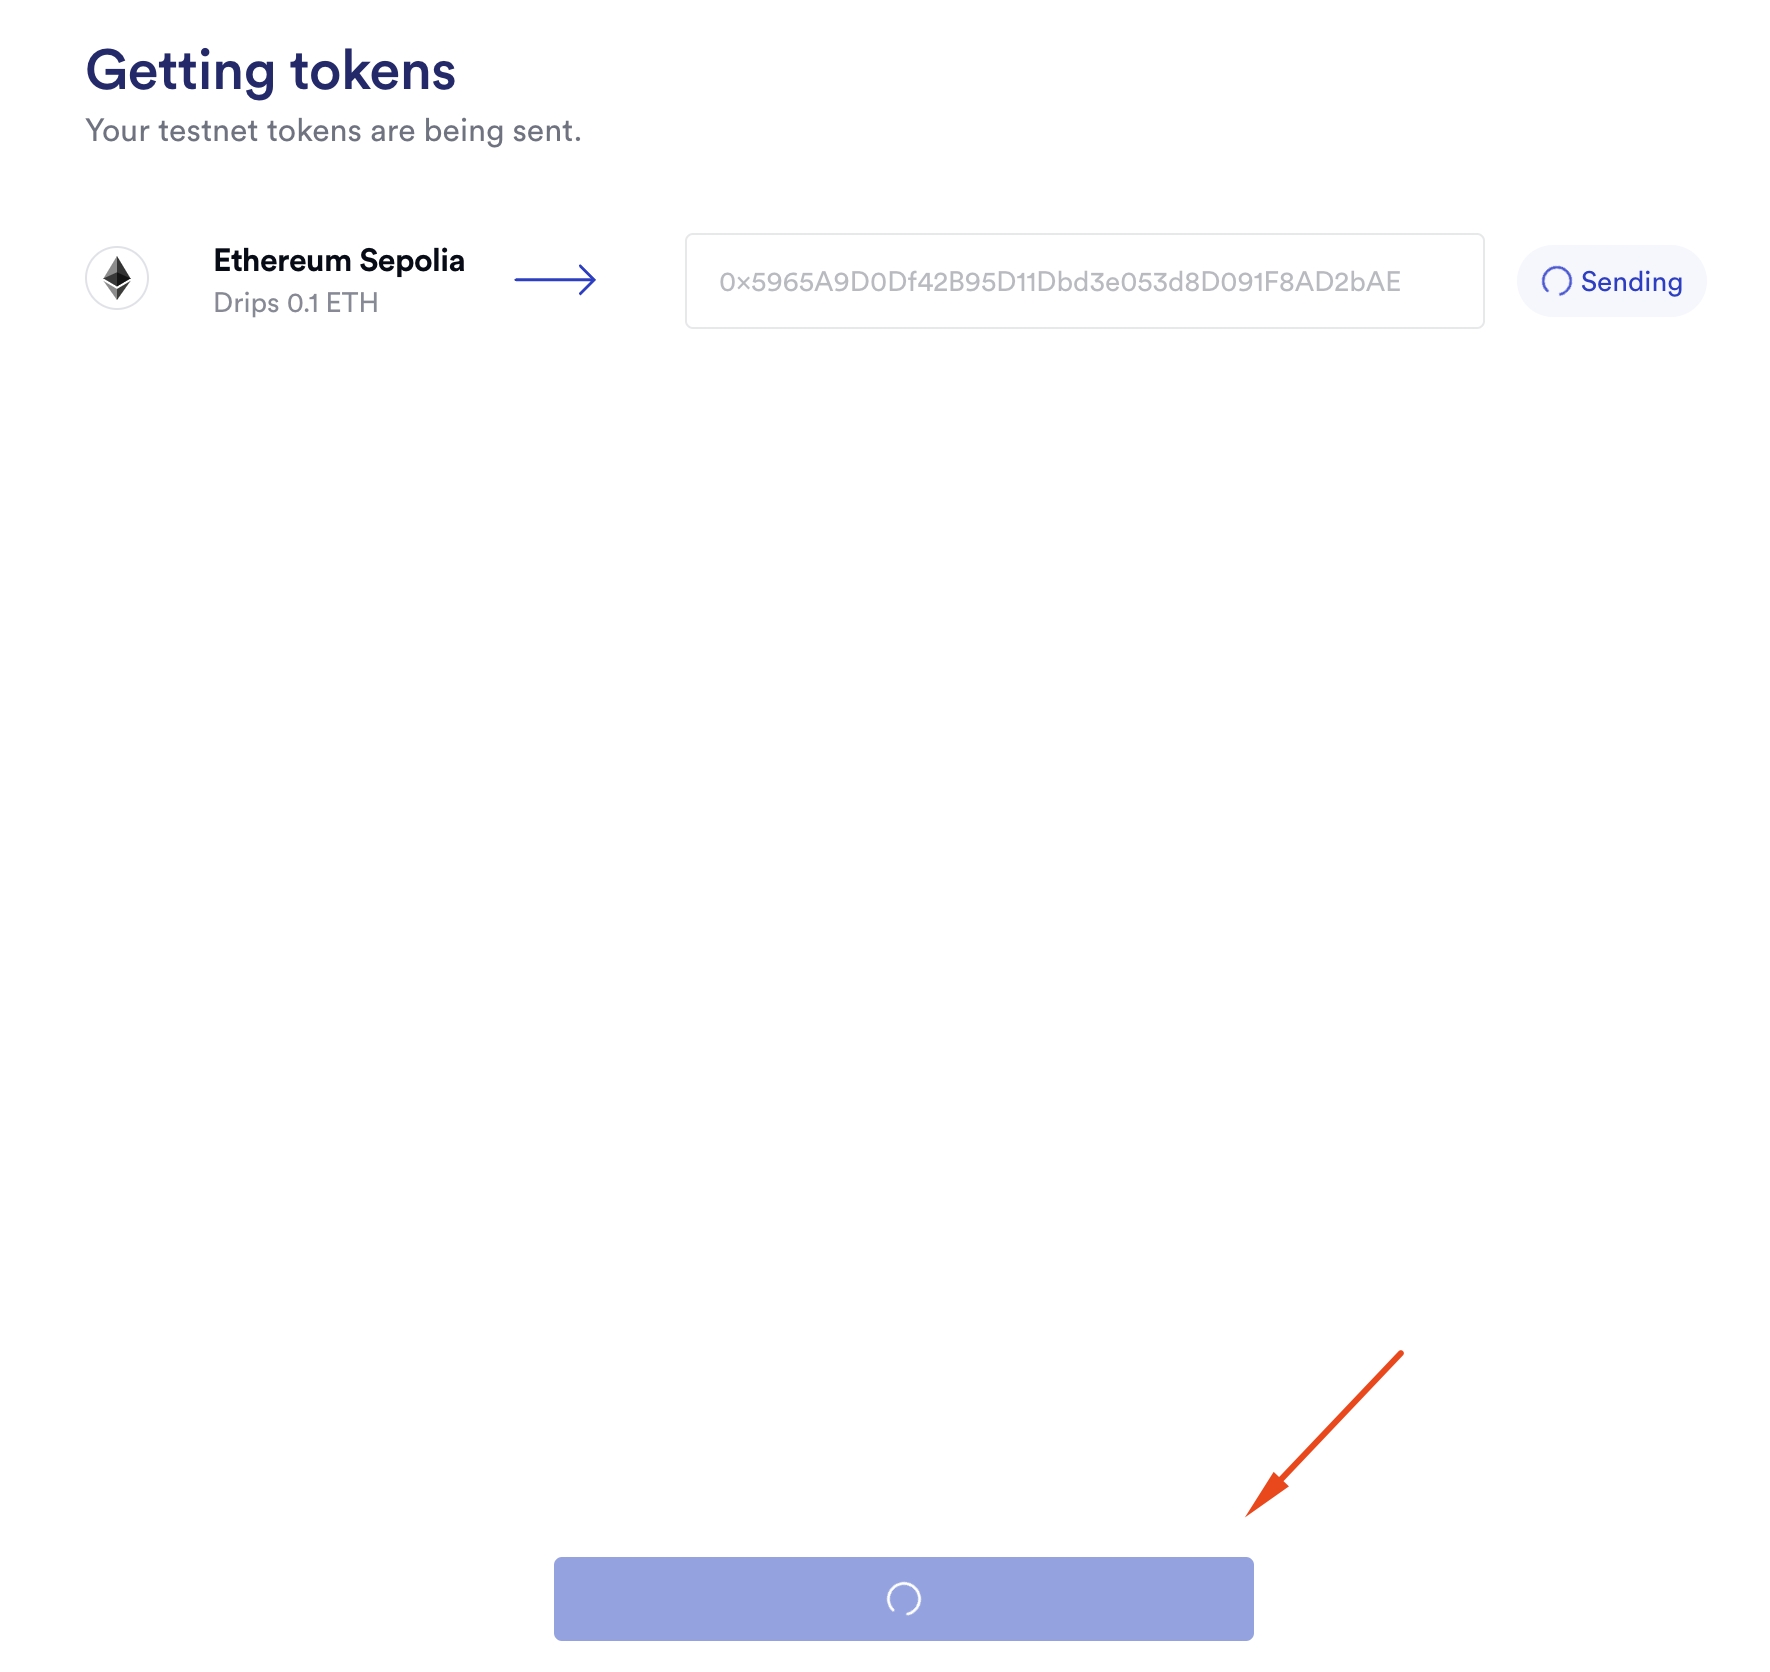
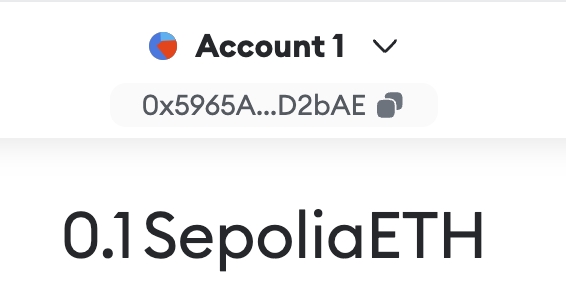
And now you are all setup and ready with your Metamask wallet. Let's take a look at the Zano wallet.
1.2 Zano wallet (testnet build)
First of all, go to https://docs.zano.org/docs/build/testnet-resources/testnet-builds/ There you have to download a Zano Desktop app for your device. You can choose between Windows, Mac and Linux.
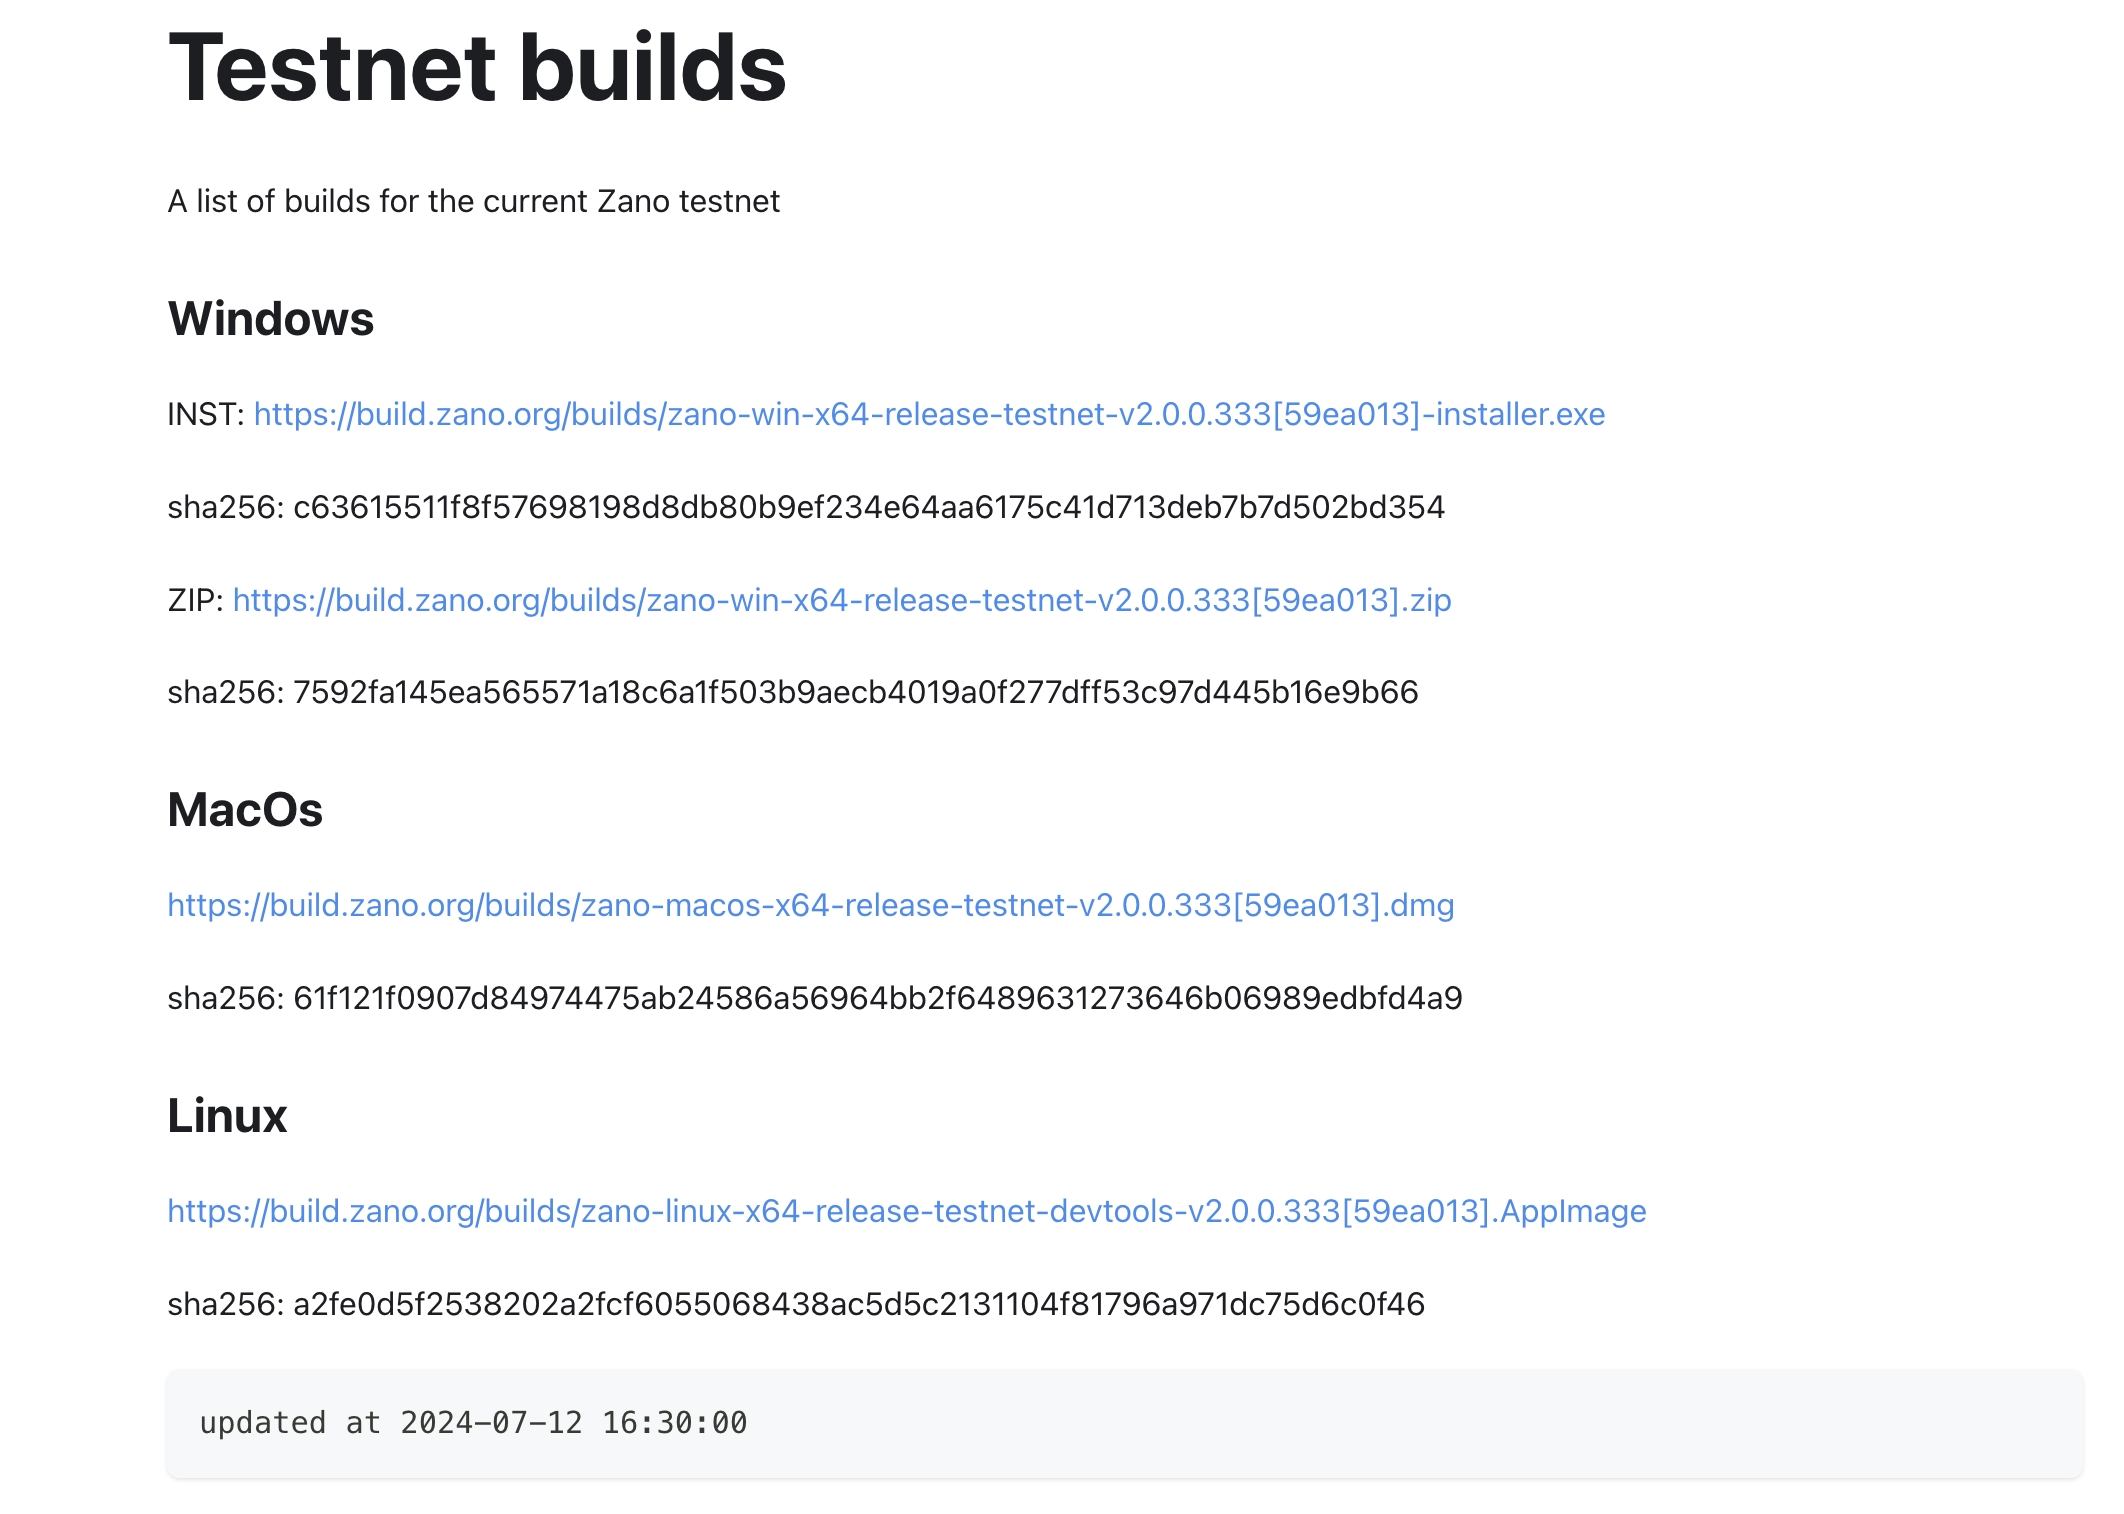
After downloading desktop app (which in our case is testnet build) to your computer, you need to install it.
After installing, open the wallet. You will see window with few options. Choose "Create New Wallet"
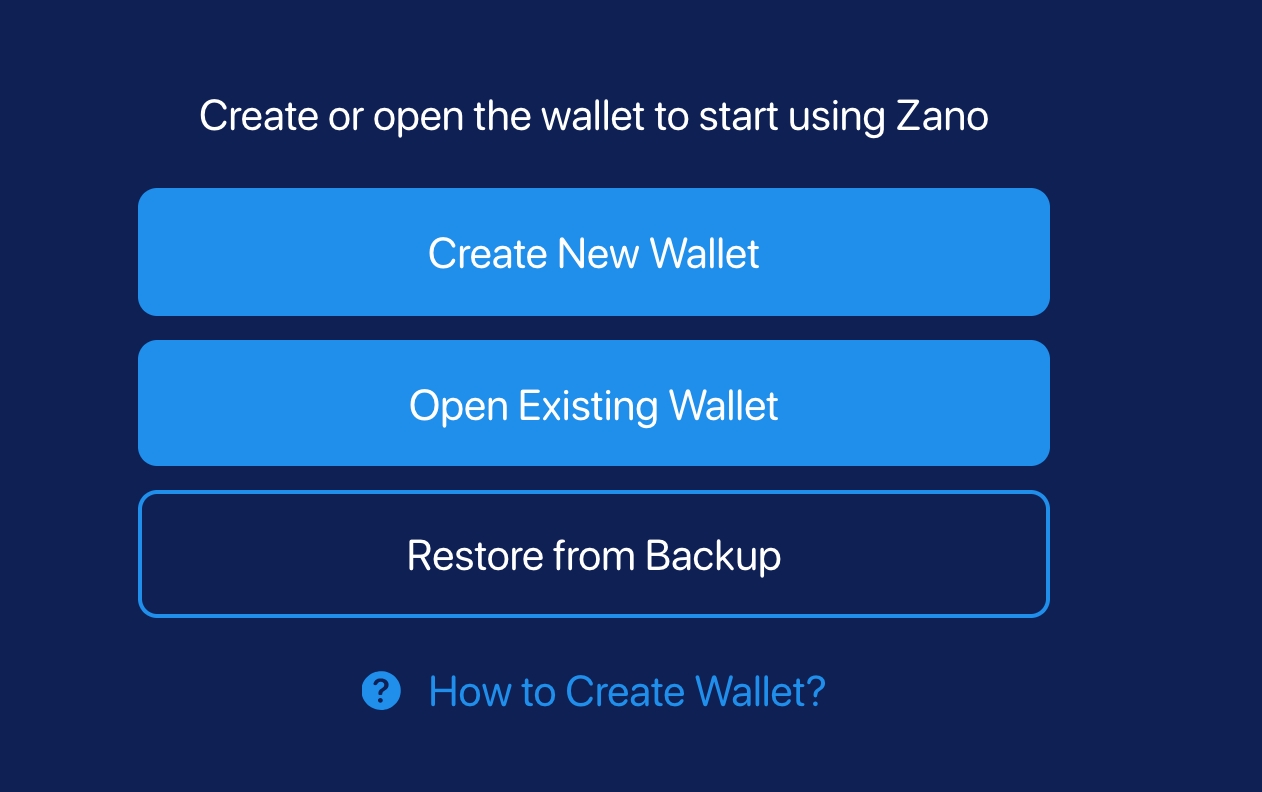
After clicking it, you will see a window where you put all the details needed. Put a wallet name (f.e. Testnet wallet), Set wallet password and put it somewhere (f.e. password manager) and confirm the same password.
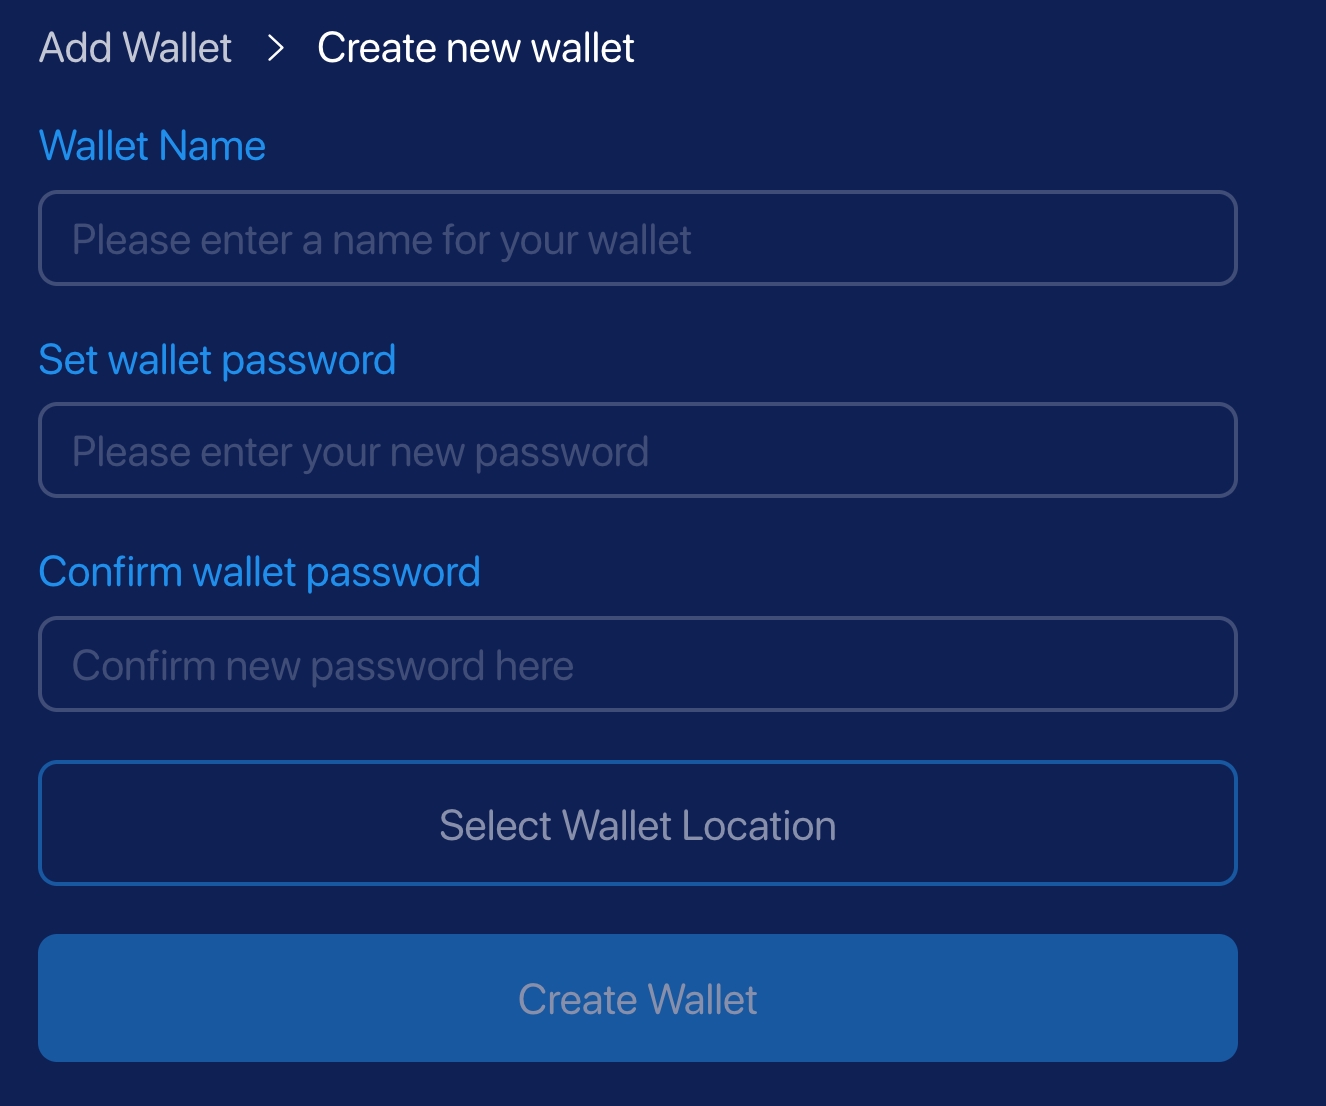
Then click on "Select Wallet Location" and save the wallet somewhere on your computer where you can find it anytime.
After you choose a location to your liking, press "Create Wallet"
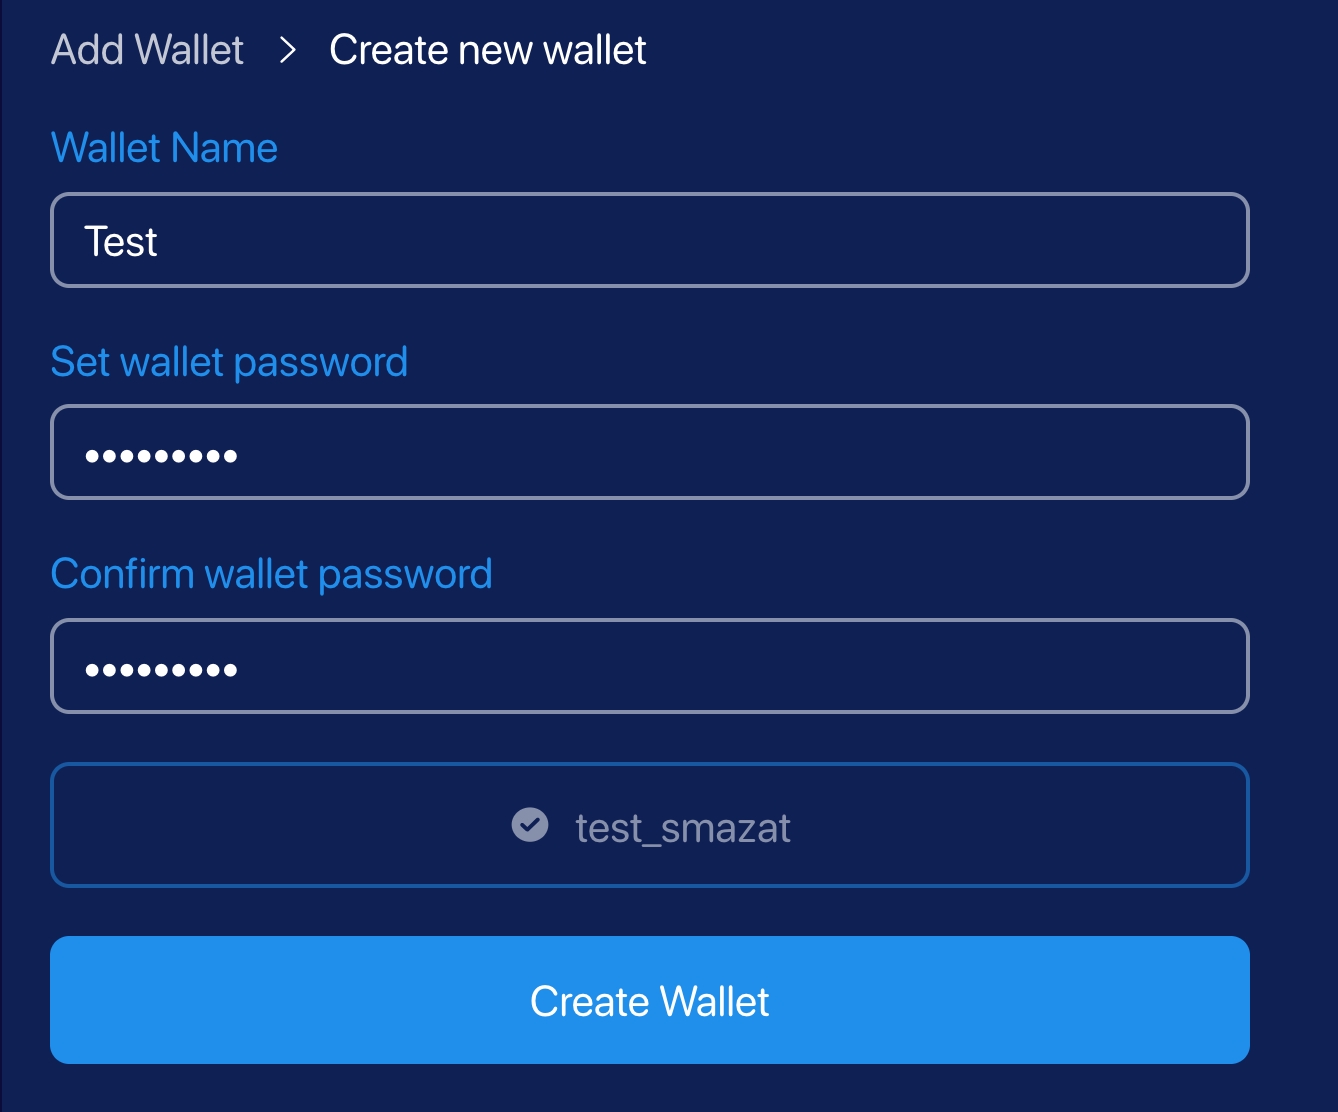
After clicking "Create Wallet" button, you will be asked to once again Create a password - now to secure your seed. Put it 2 times. Then click on "Generate Secure Seed"
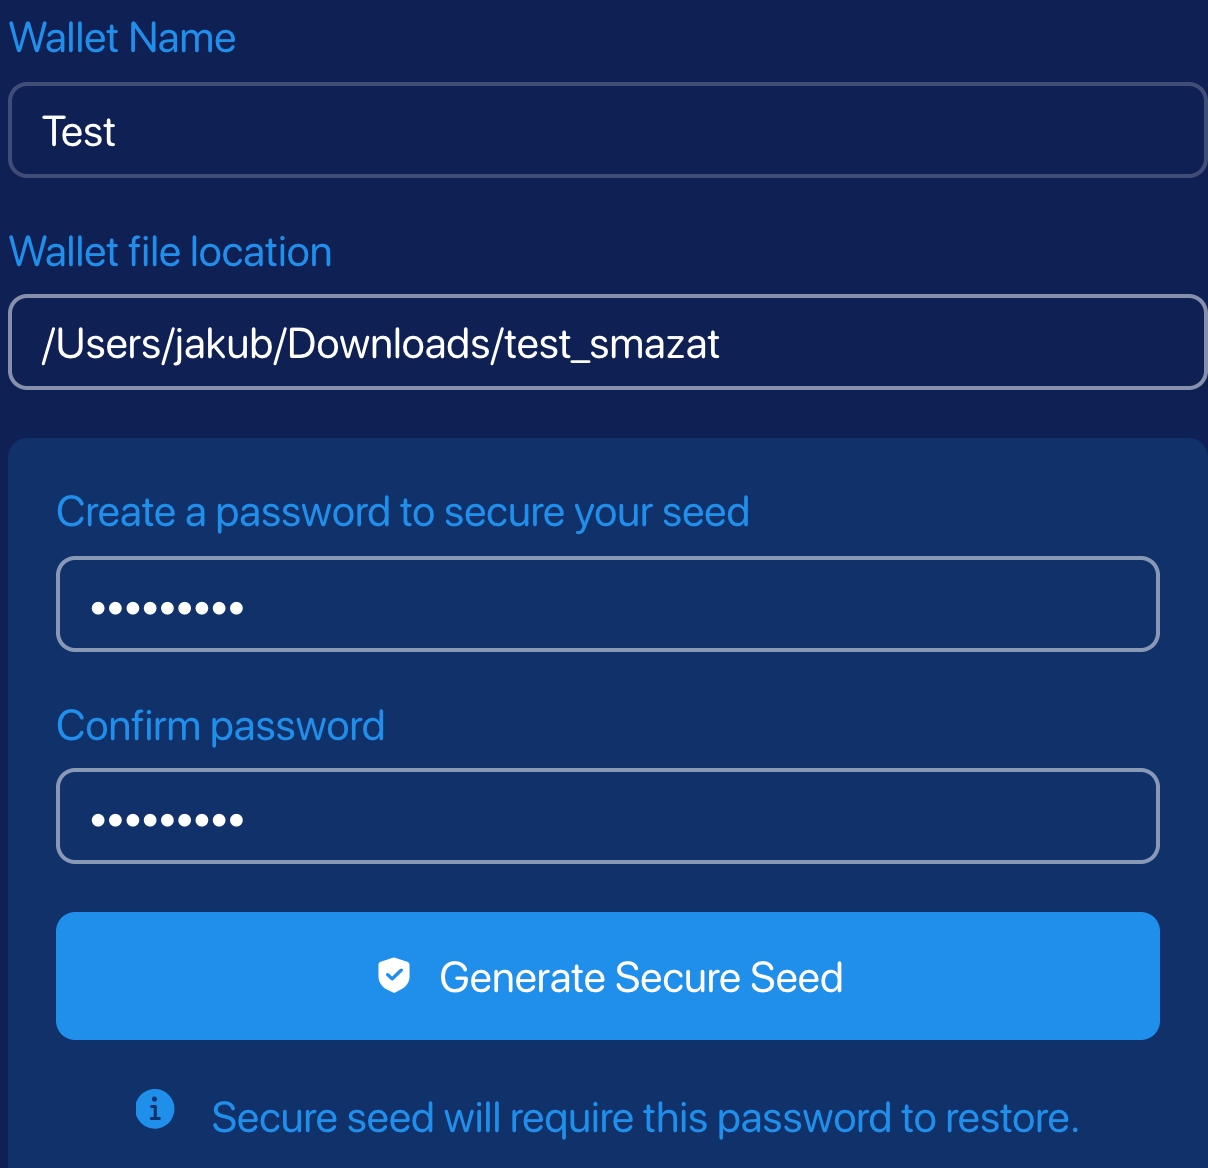
After clicking the button, the seed phrase will show up. Copy it and put it somewhere private. Don't ever show your seed to anyone. (Just like we did with our test wallet)
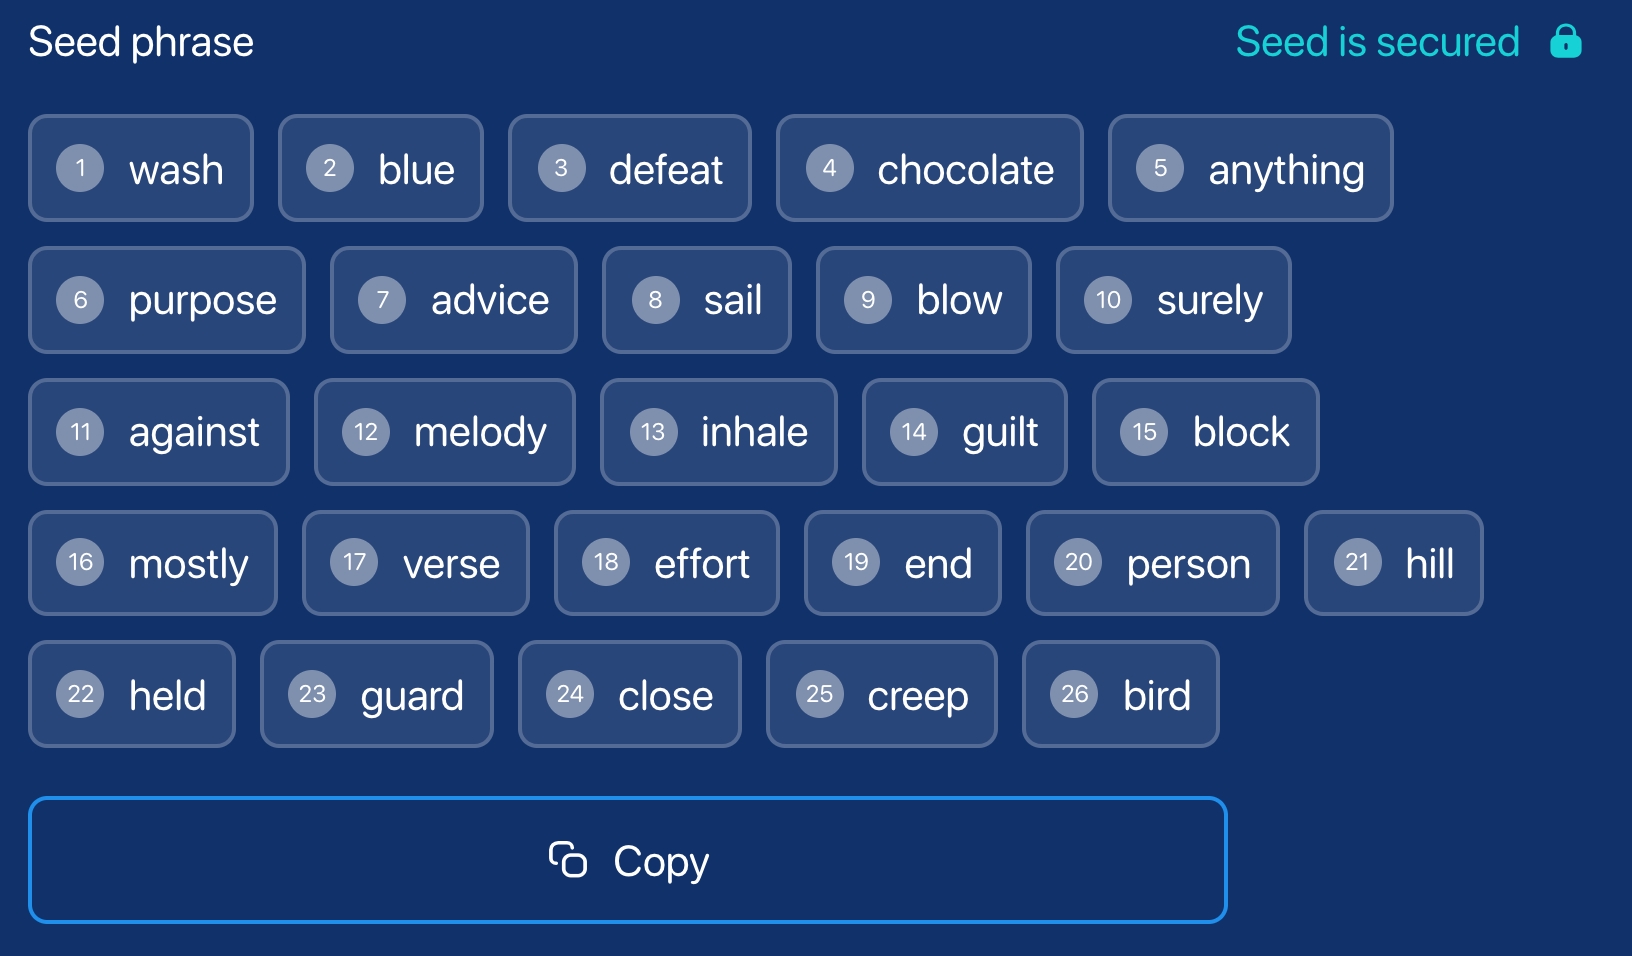
Now click on the wallet you just created. (on the left panel)
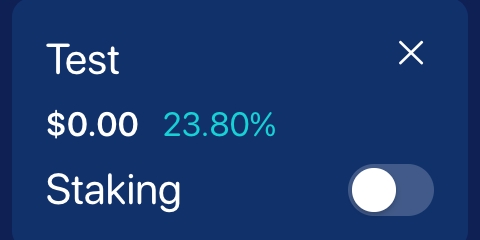
The wallet now needs to be synced with blockchain. It might take 1-2 hours to complete, so I'm gonna ask you to bear with that. 👍
After a complete syncing, you'll see on the bottom left "Online".

After you've been successfully online, go to Settings. There you have to turn on "Zano Companion" function which will let you connect your wallet into the browser wallet.
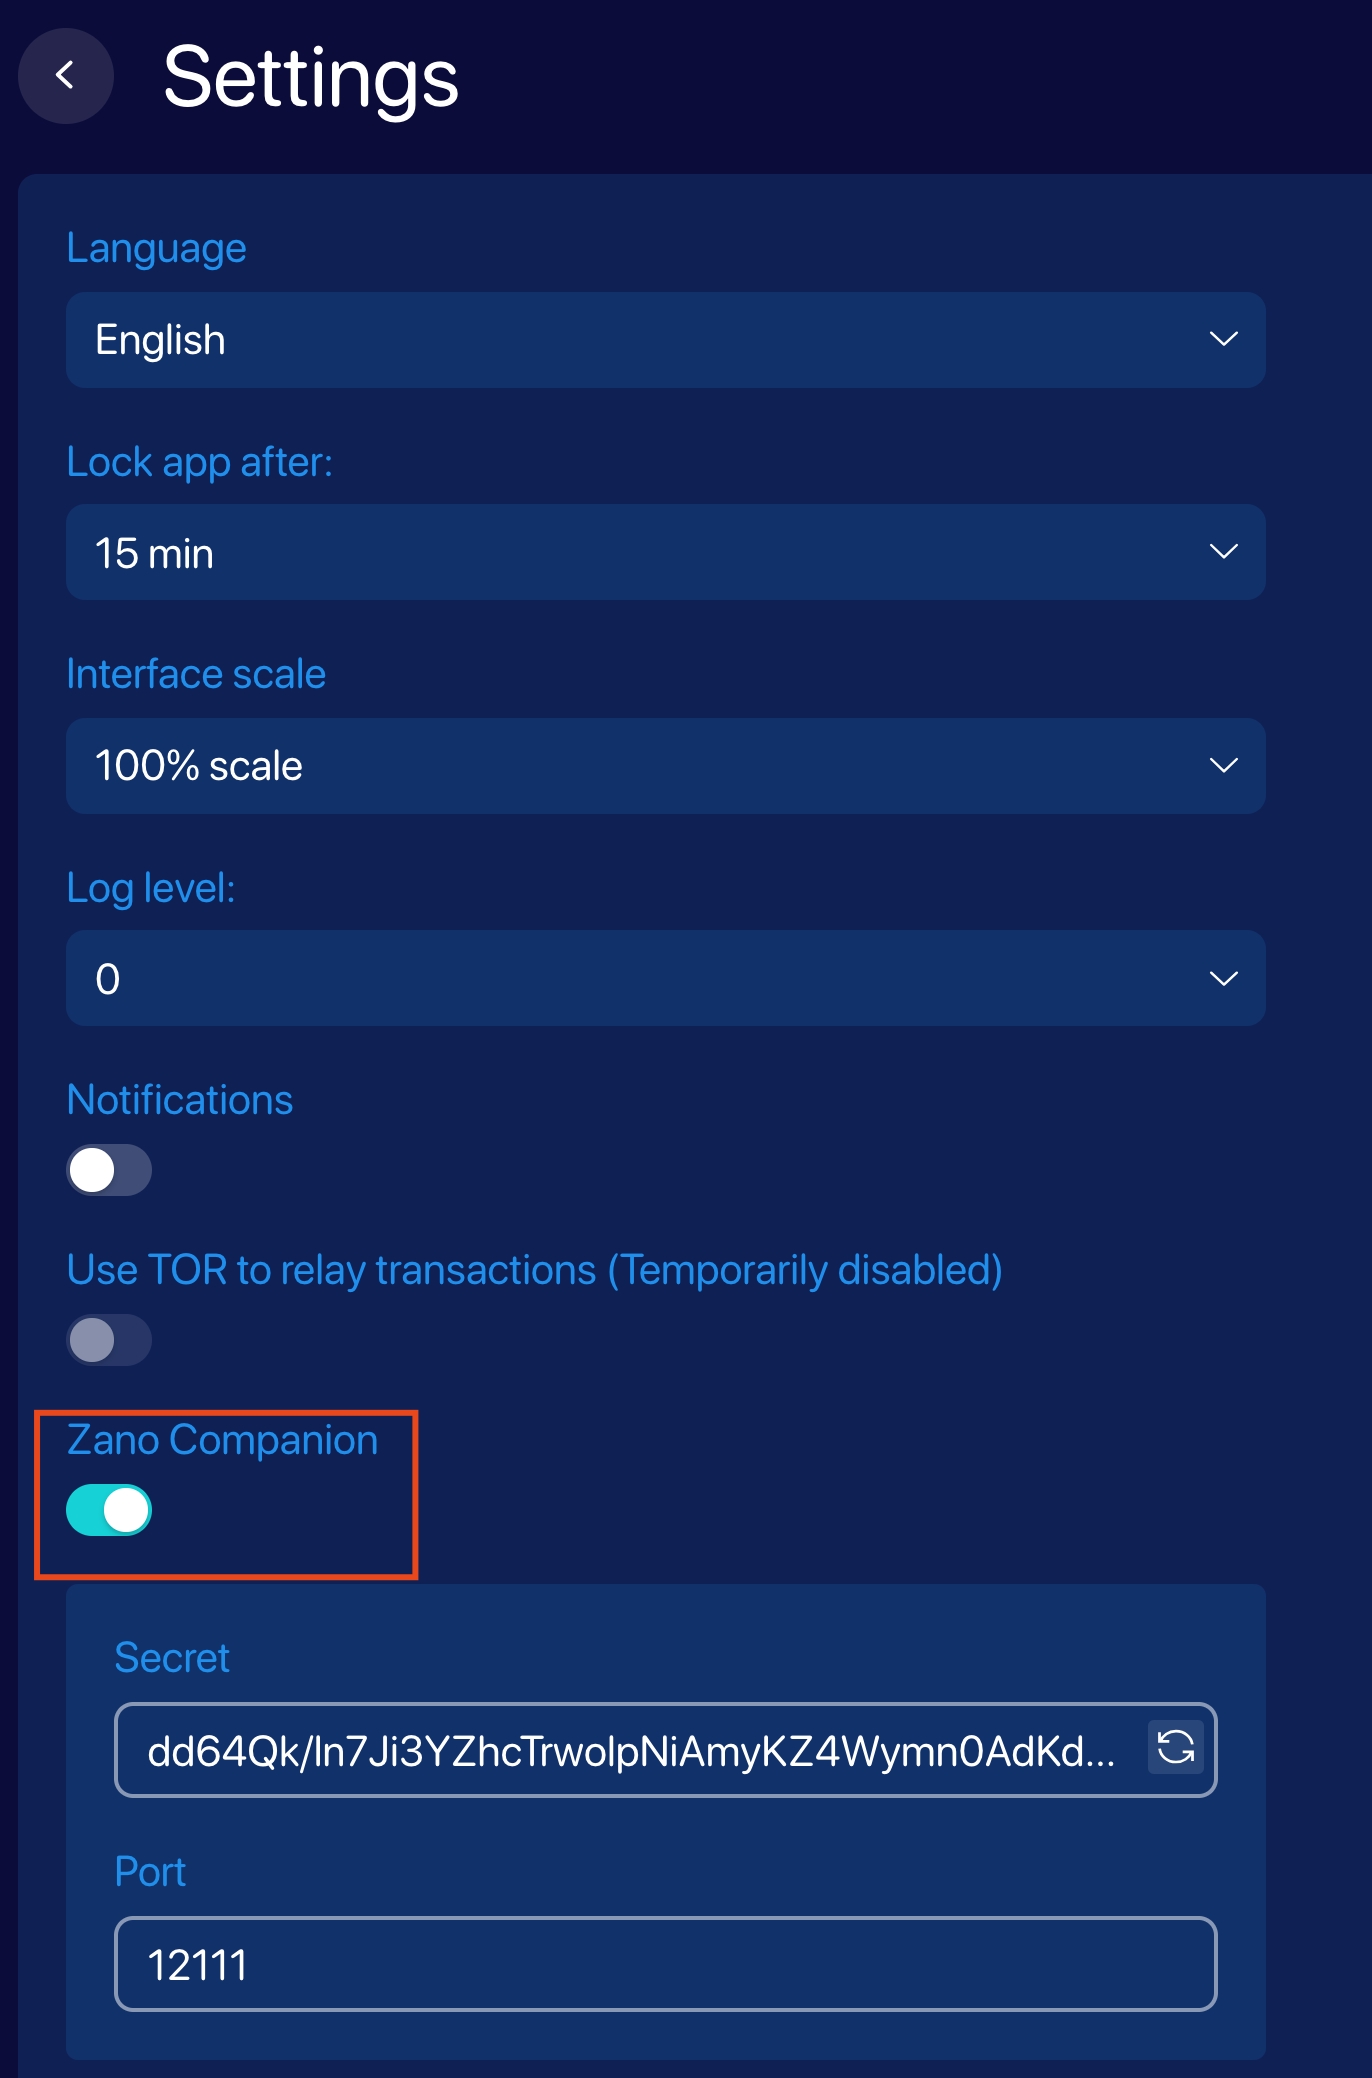
1.3 Zano Companion (browser wallet)
Go to https://chromewebstore.google.com/detail/zano-companion/akcgnllhhhkcpmlenfpicmcpgfpindlb and click on "Add" to add the Companion to your browser.
After adding the Zano Companion to your browser, click on it. After clicking on it, you will see a popup window.
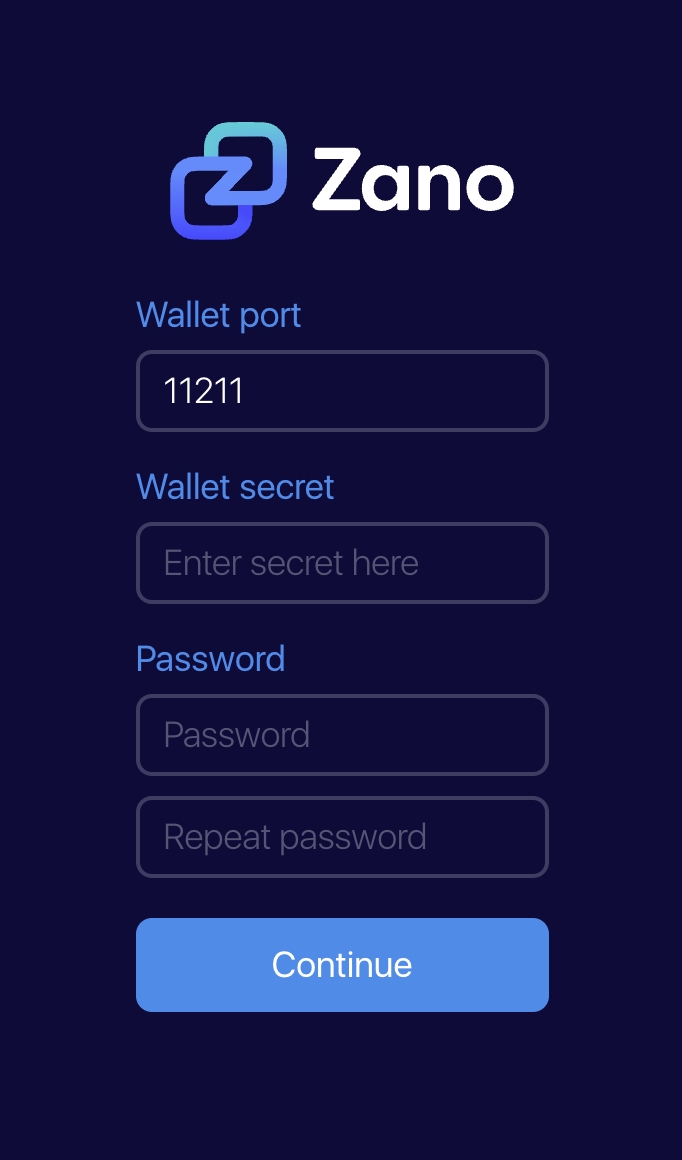
In this window, put a port "12111" and Wallet secret which you can find in your Zano desktop (in settings)
Before you can copy the Secret, you will be asked to change your password. Change it, click on "Save".
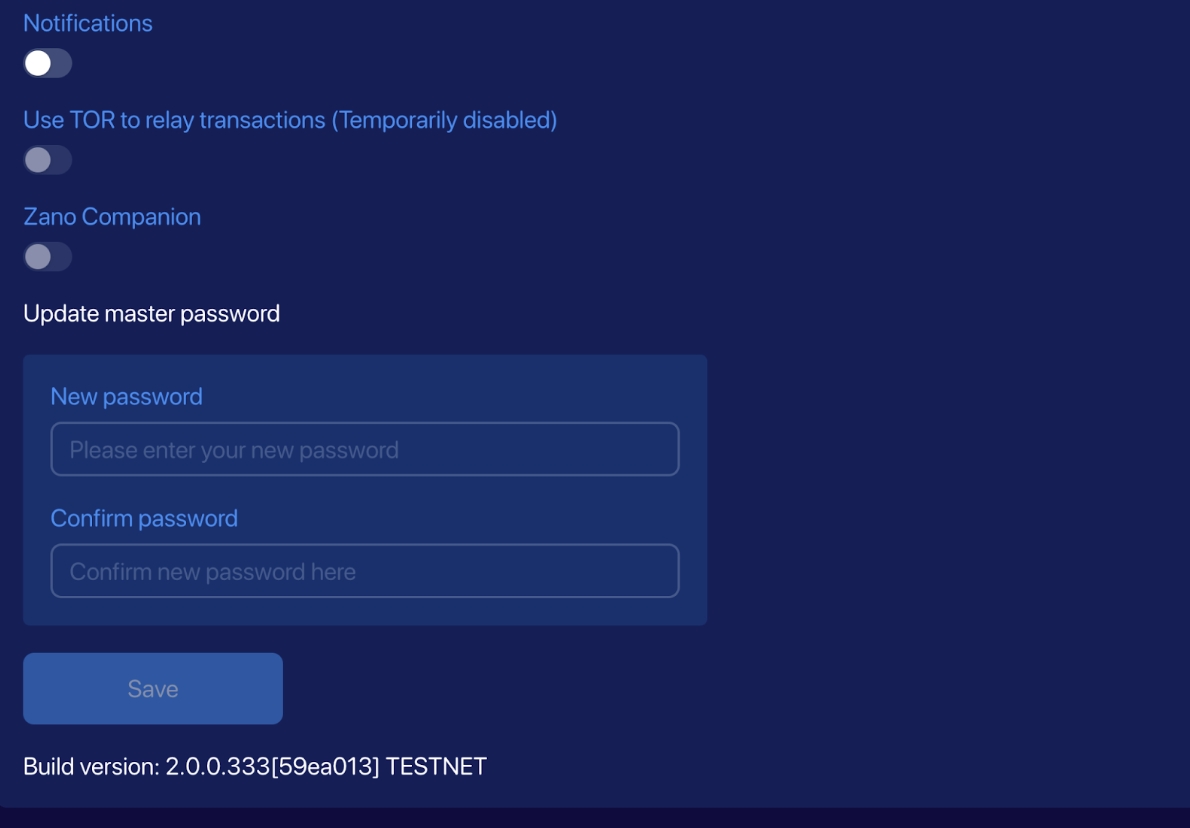
Right click on the secret and press copy.
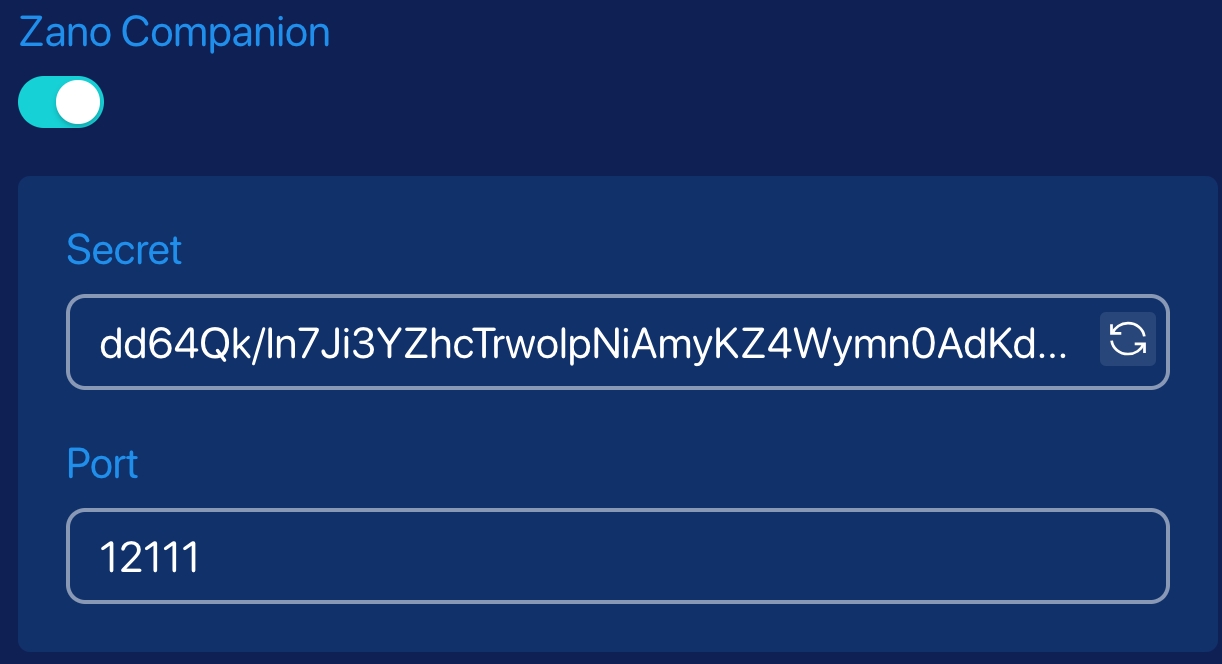
After copying the Secret, put it in the "Wallet secret" box.
After filling in all the information, press "Continue".
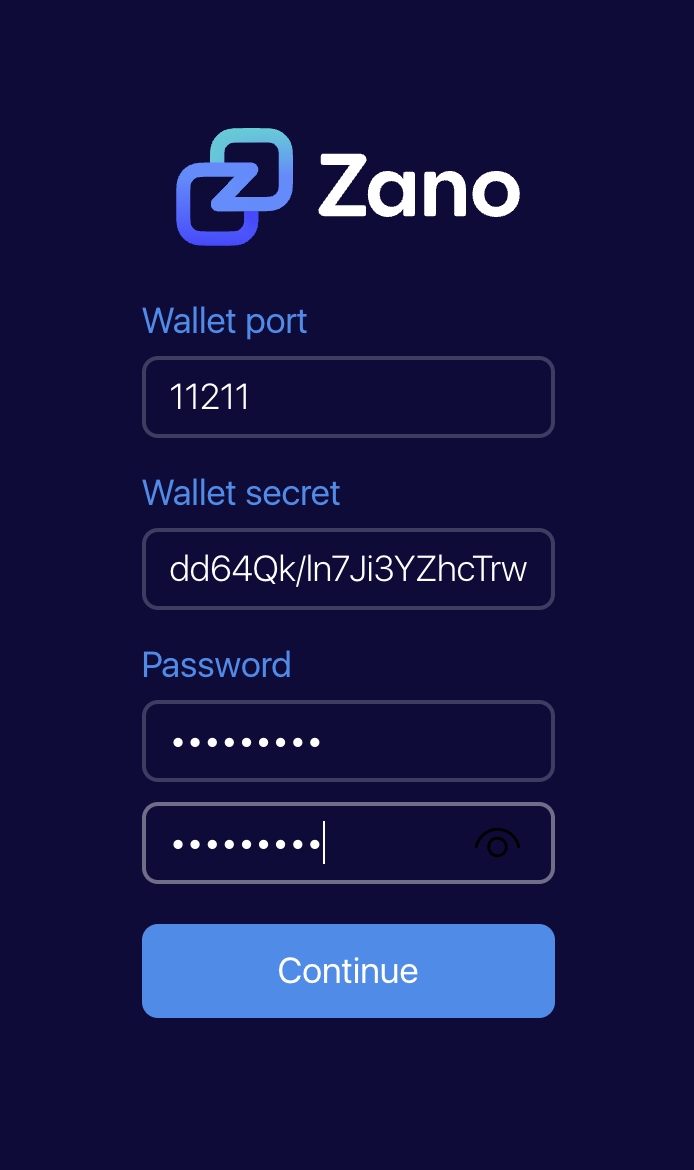
Now, you have successfully signed your desktop wallet to browser wallet.
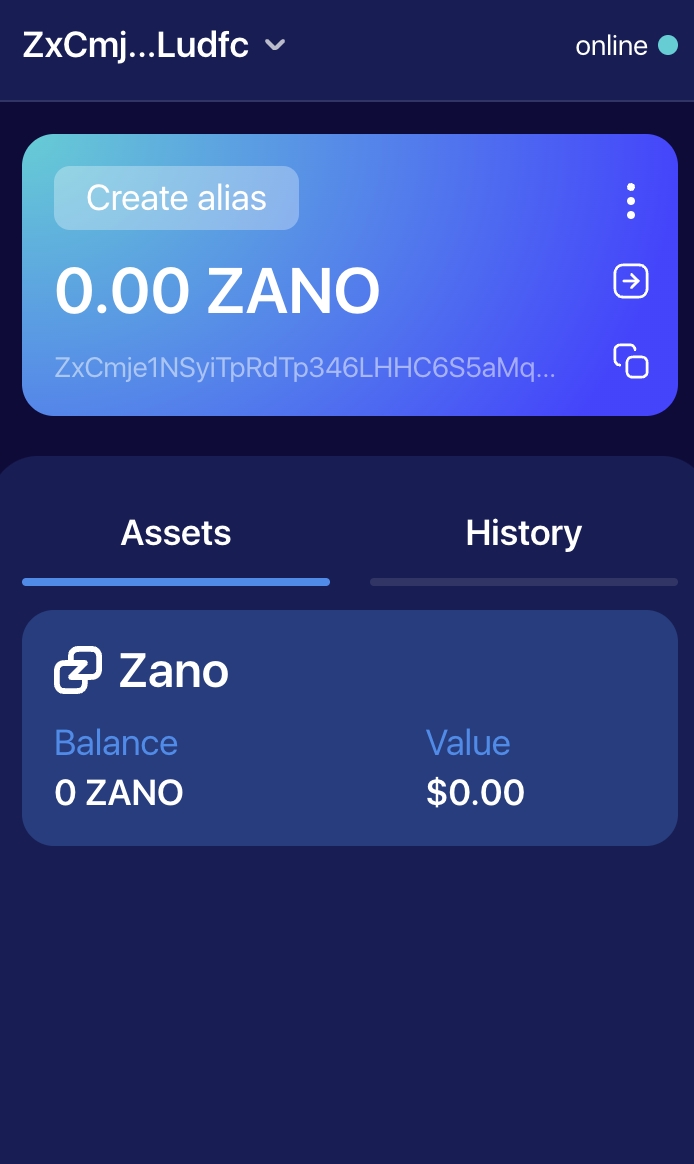
1.3.1 Getting your first testnet funds into Zano wallet
Go to https://bridge.confidentiallayer.com/faucet and connect your wallets by clicking "Connect wallet" on the top right corner of your screen.
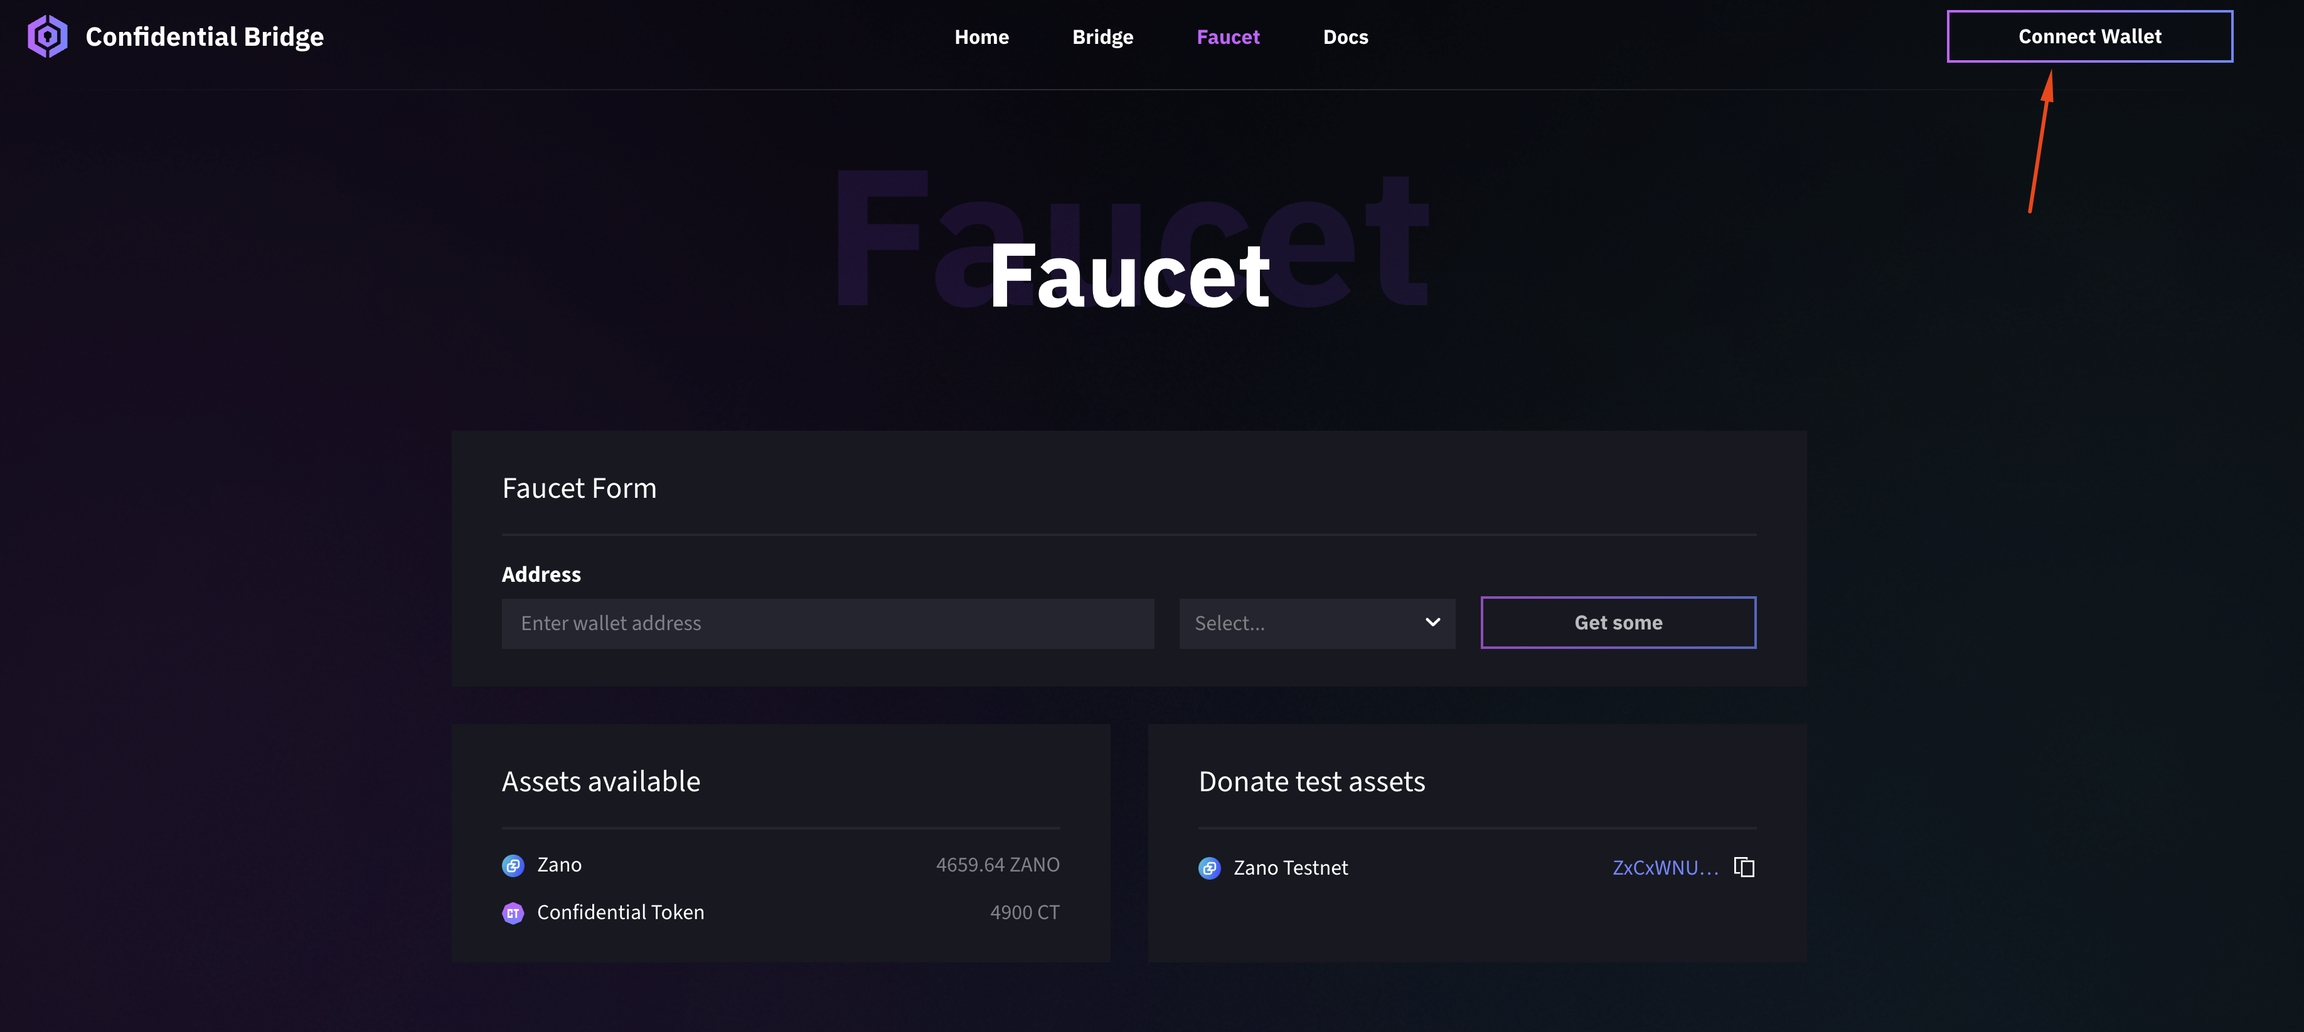
Click on Metamask and connect it. Do the same with Zano Extension.
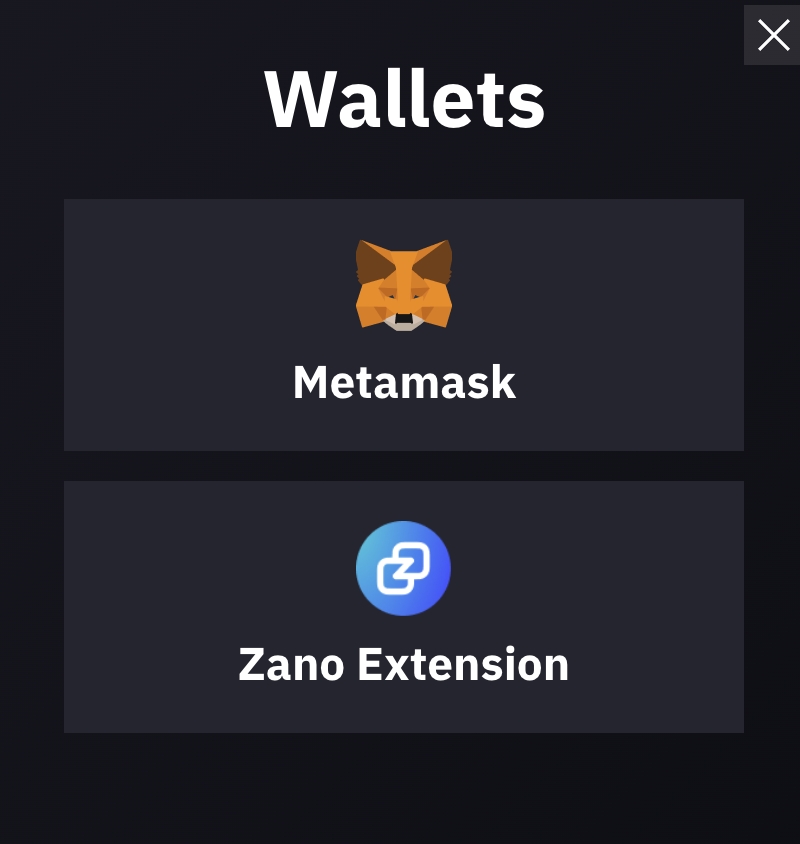
After succesafully conecting your both Zano and Metamask wallets, you will be able to see it on the right top corner of your screen.

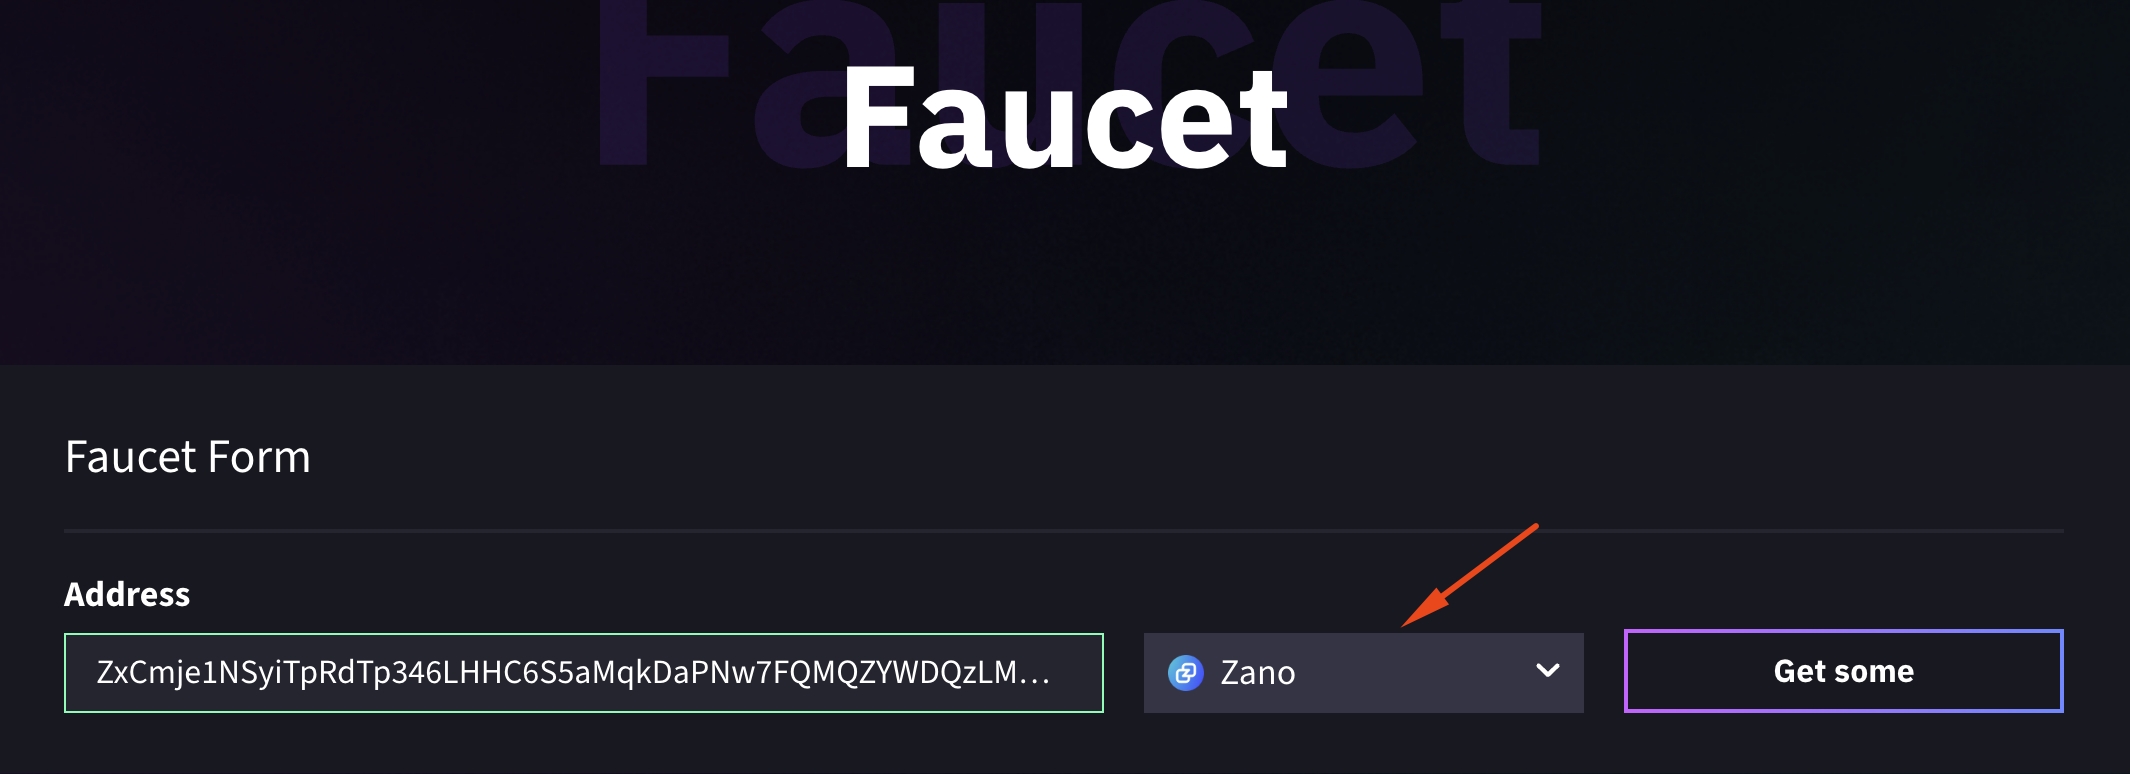
Now click on Zano or Confidential Token and click "Get some". Do the same process with both tokens.
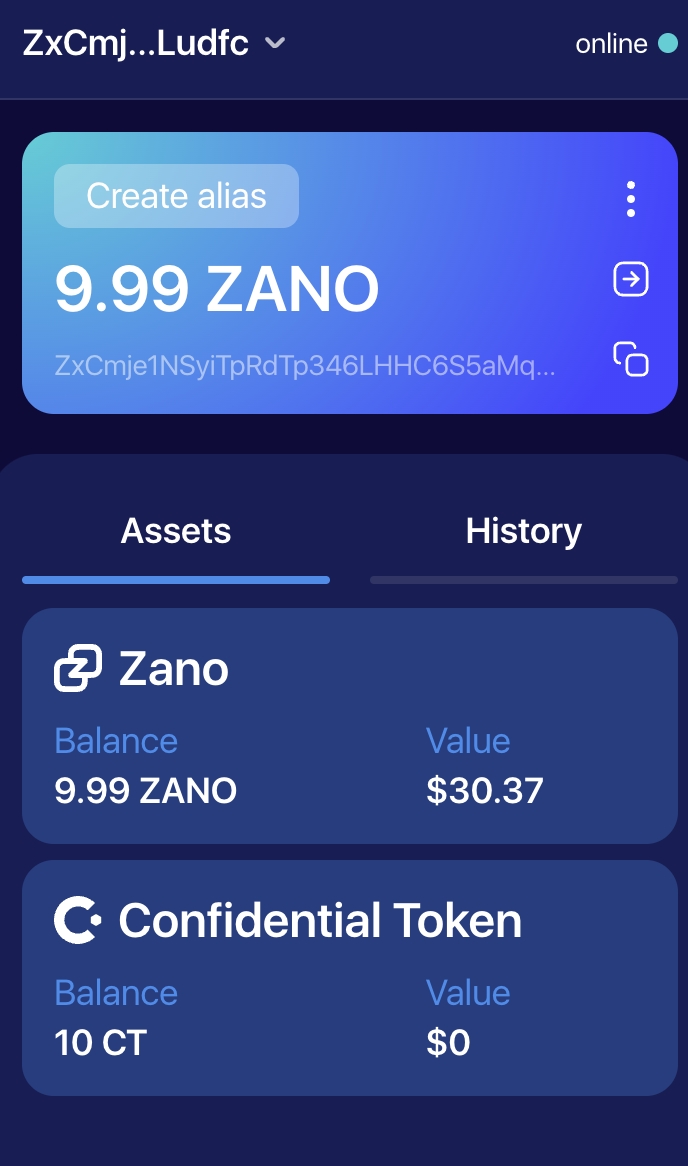
After few minutes you will be able to see your testnet funds in your wallet.
Step 2 - Bridging the impossible
After getting all funds ready in your Metamask and Zano wallet, you are ready to try the Confidential Bridge. Go to https://bridge.confidentiallayer.com/. Don't forget to connect your wallet.
First, we will bridge from Zano to Ethereum. Choose an asset - in our case Confidential Token and amount (f.e. one)
Now it should look like this:
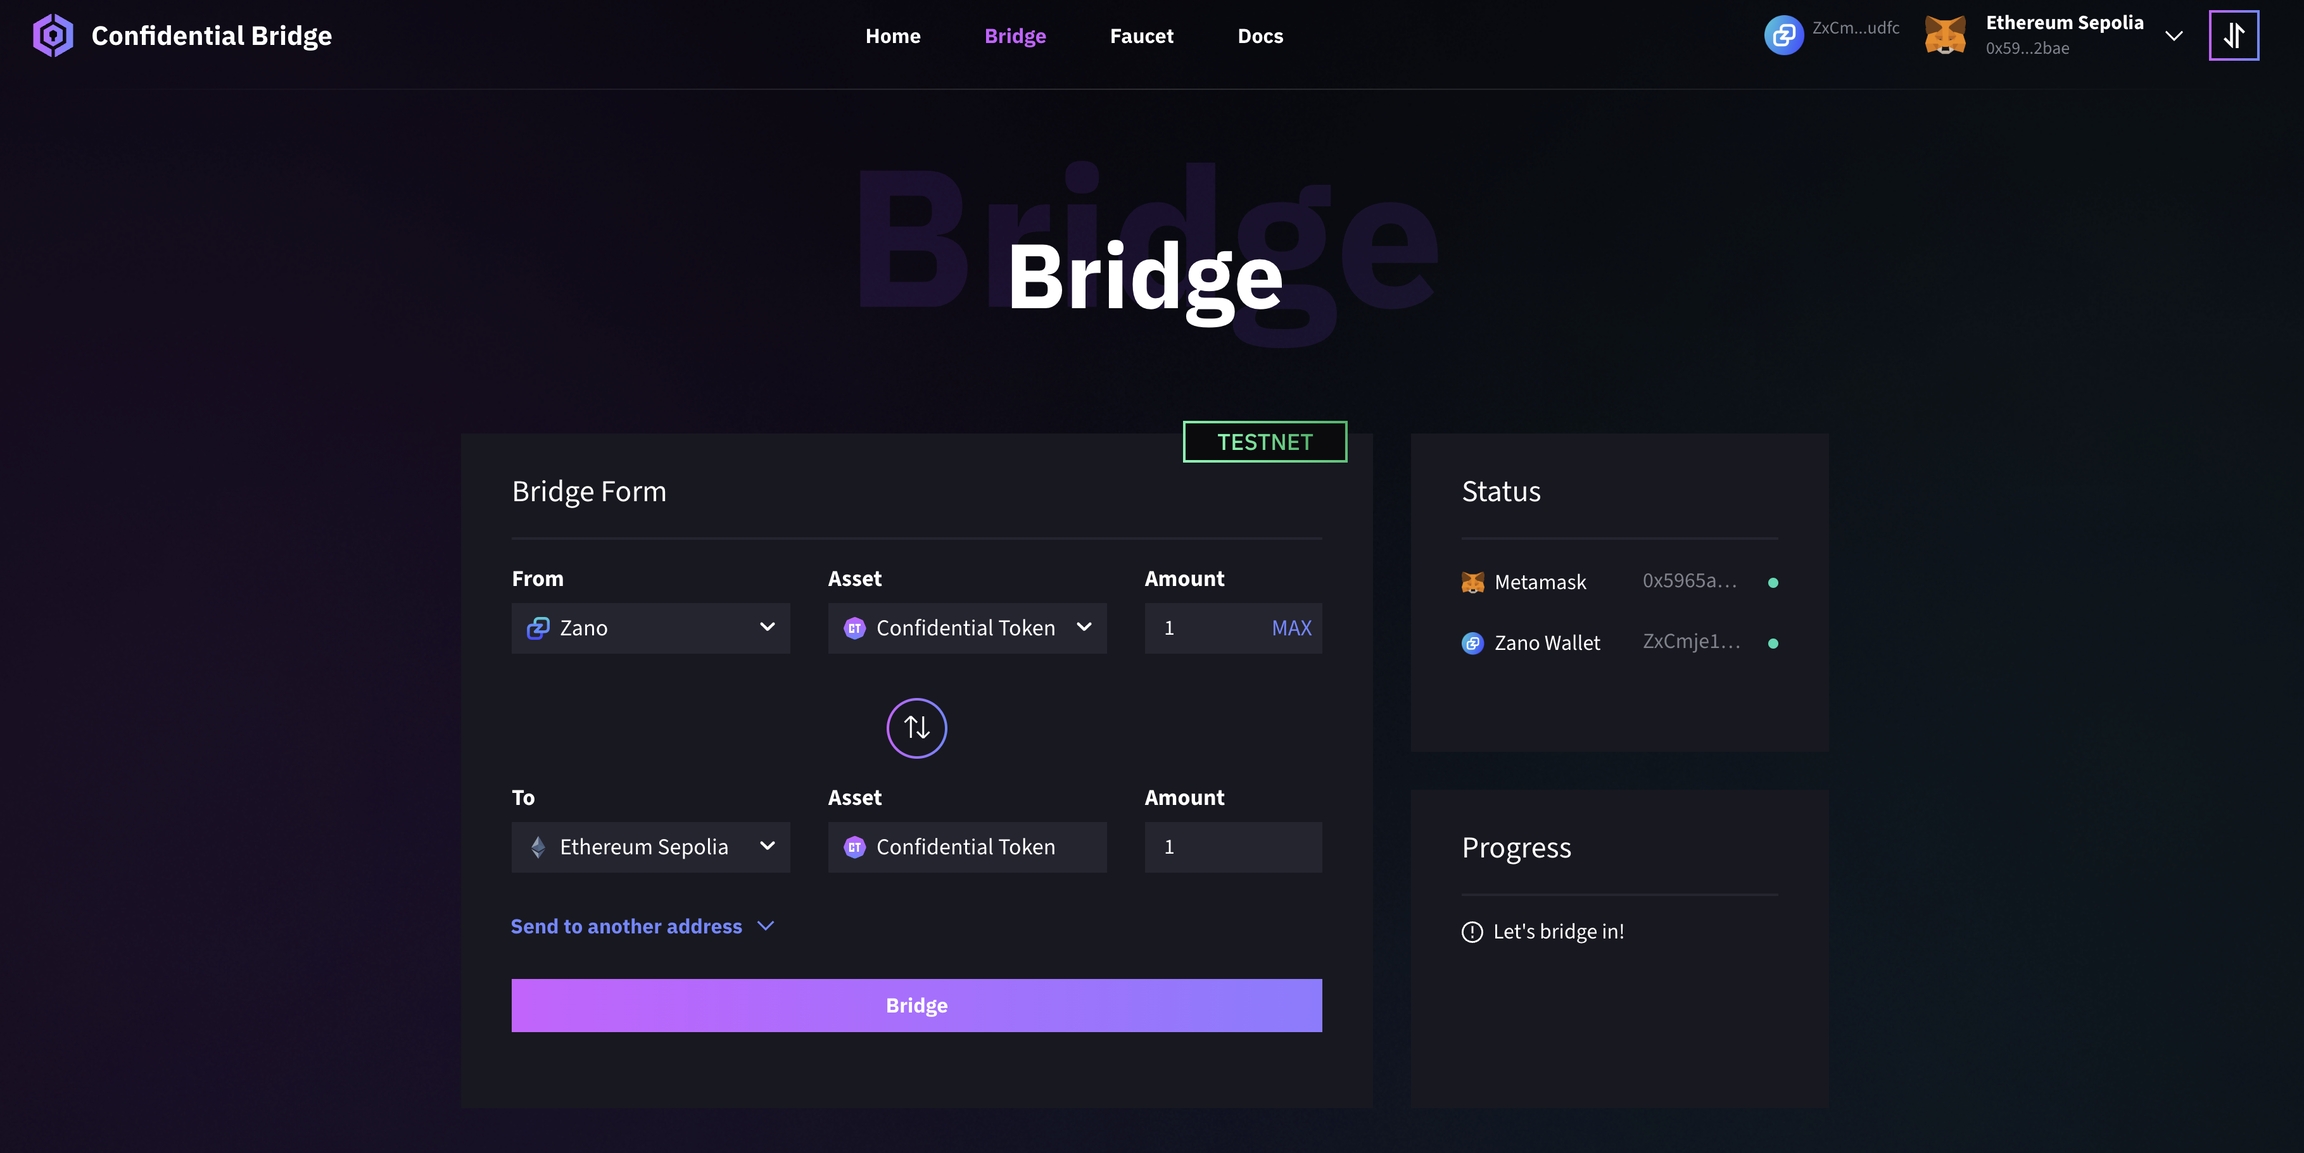
Now let's hit the "Bridge" button. You will be asked to confirm the transaction in your Zano companion wallet. Click on the wallet and click "Sign".
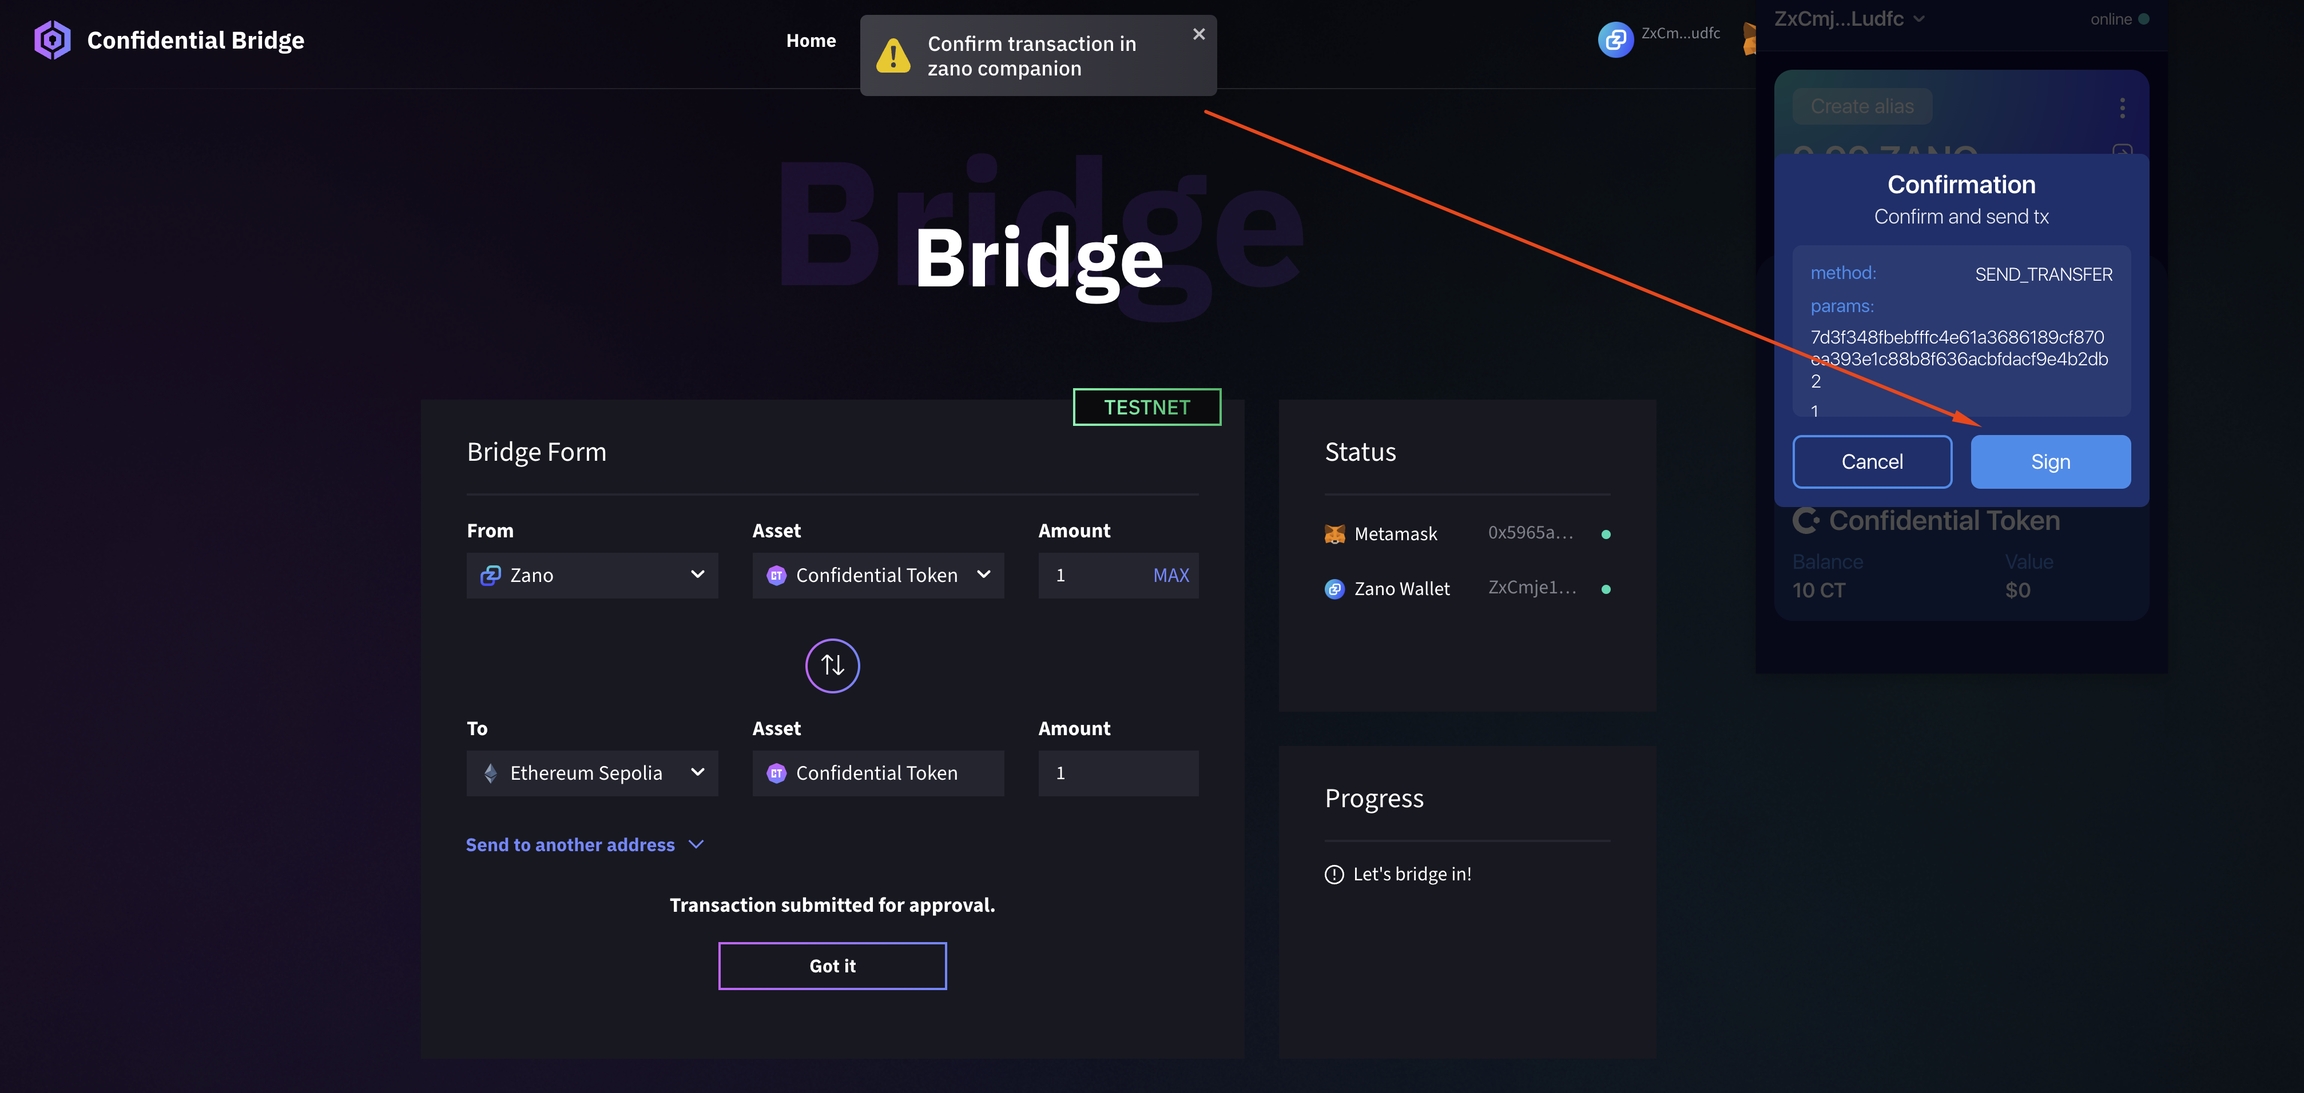
Now click on "Got it" and wait until the transaction goes well.
You can check your transaction in your Zano companion wallet by clicking on "History"
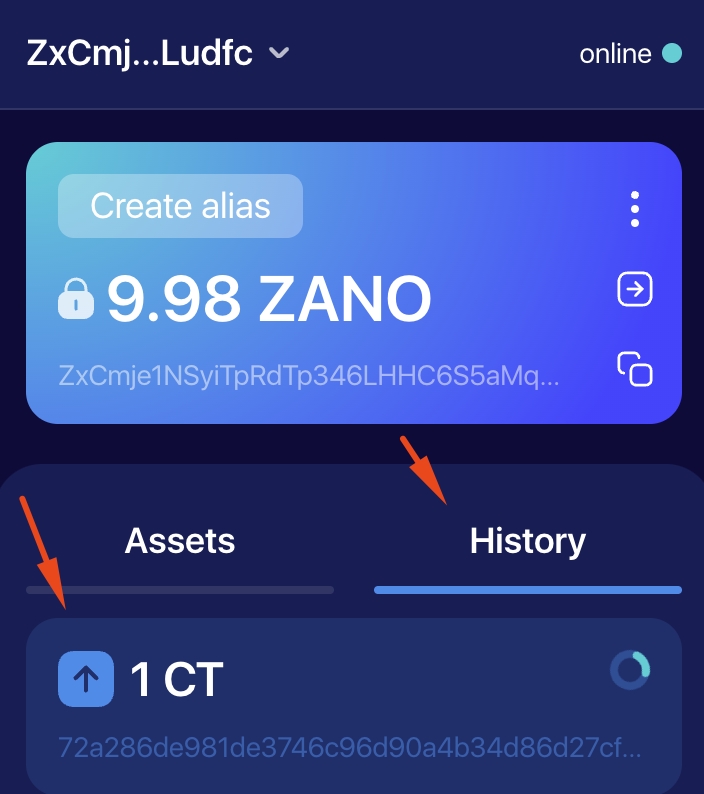
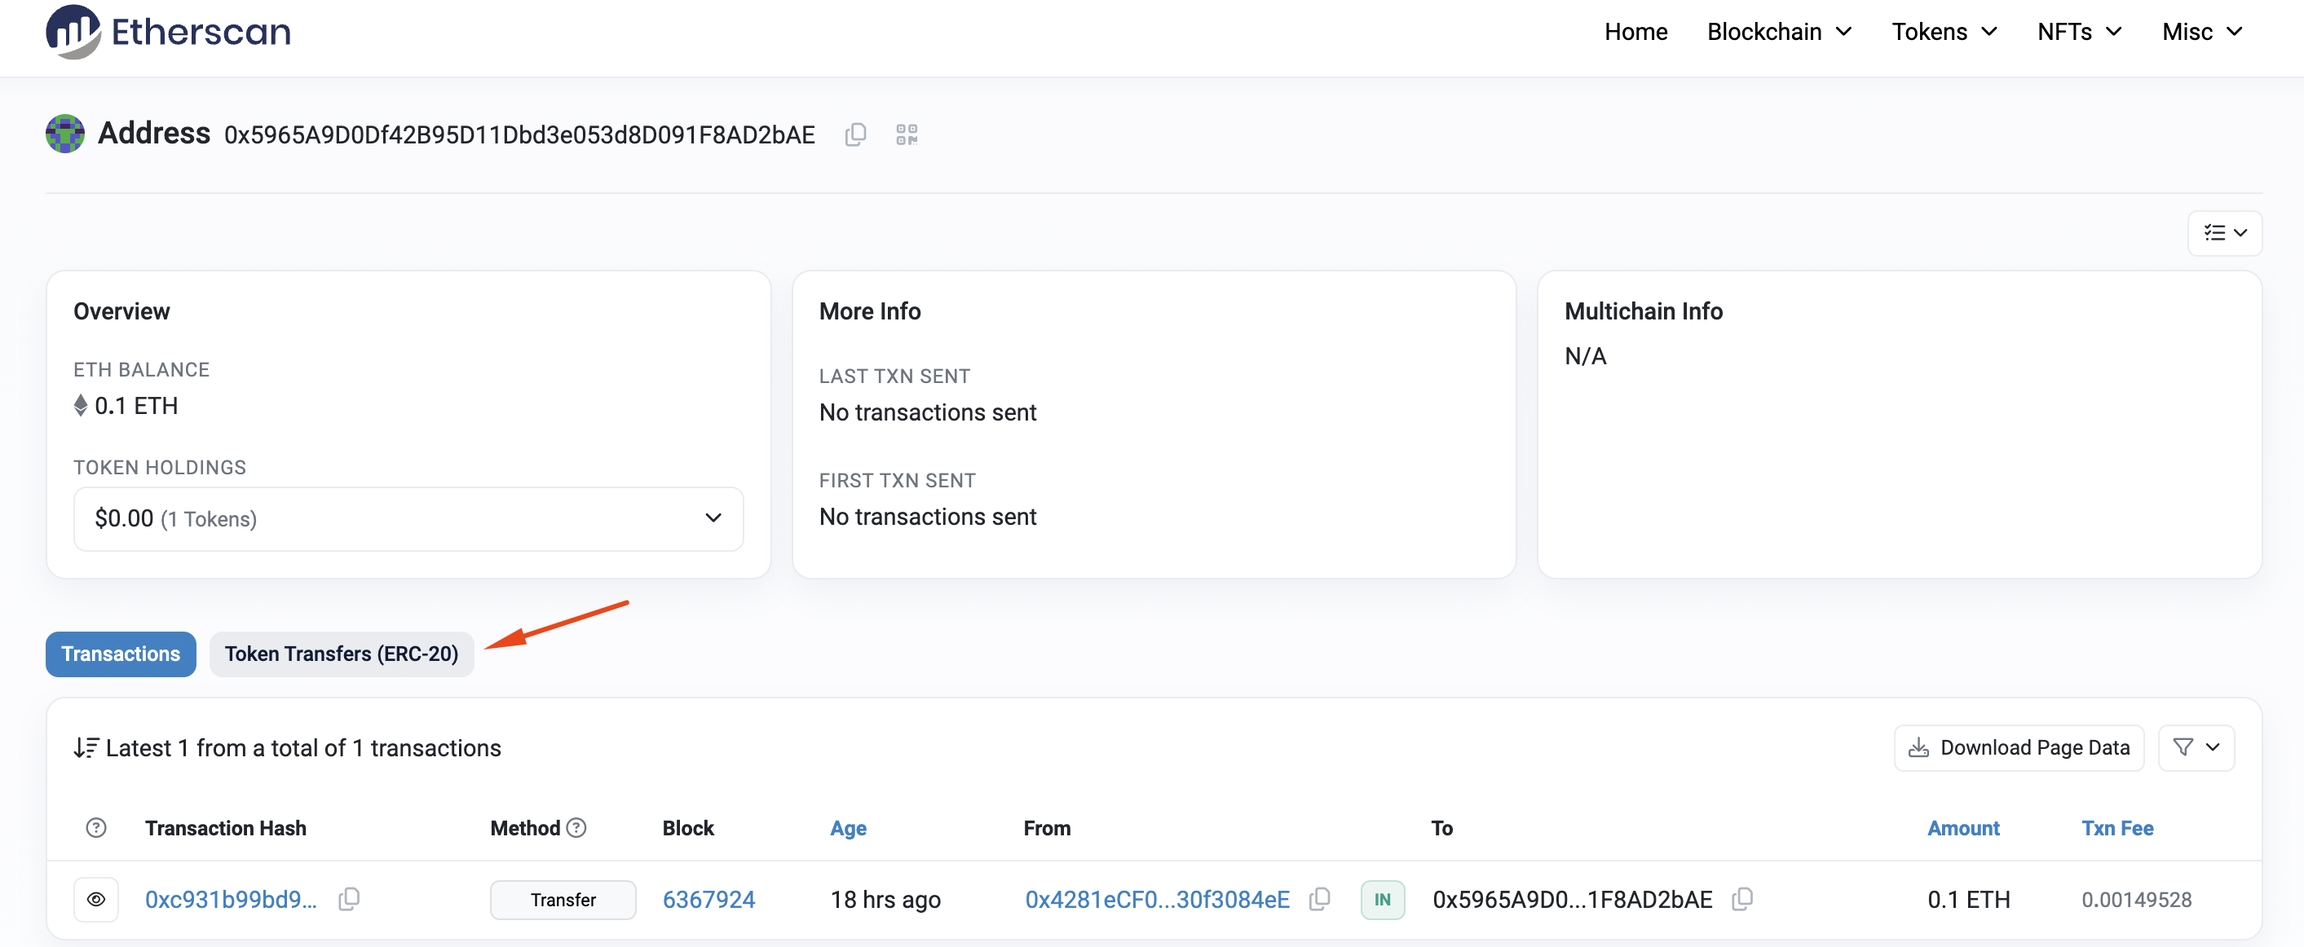
After maximum 10 minutes, the transaction will be ready. You can check it also on the https://sepolia.etherscan.io/ where you can put your Ethereum address and find it under the "Token Transfers (ERC-20)"
You can check the test transaction of this guide here.
And now, we can try also bridging from EVM (Ethereum) back to privacy (Zano).
After filling all the boxes (from ETH with Confidential Token and amount of the token), you will be asked to Approve the transaction.
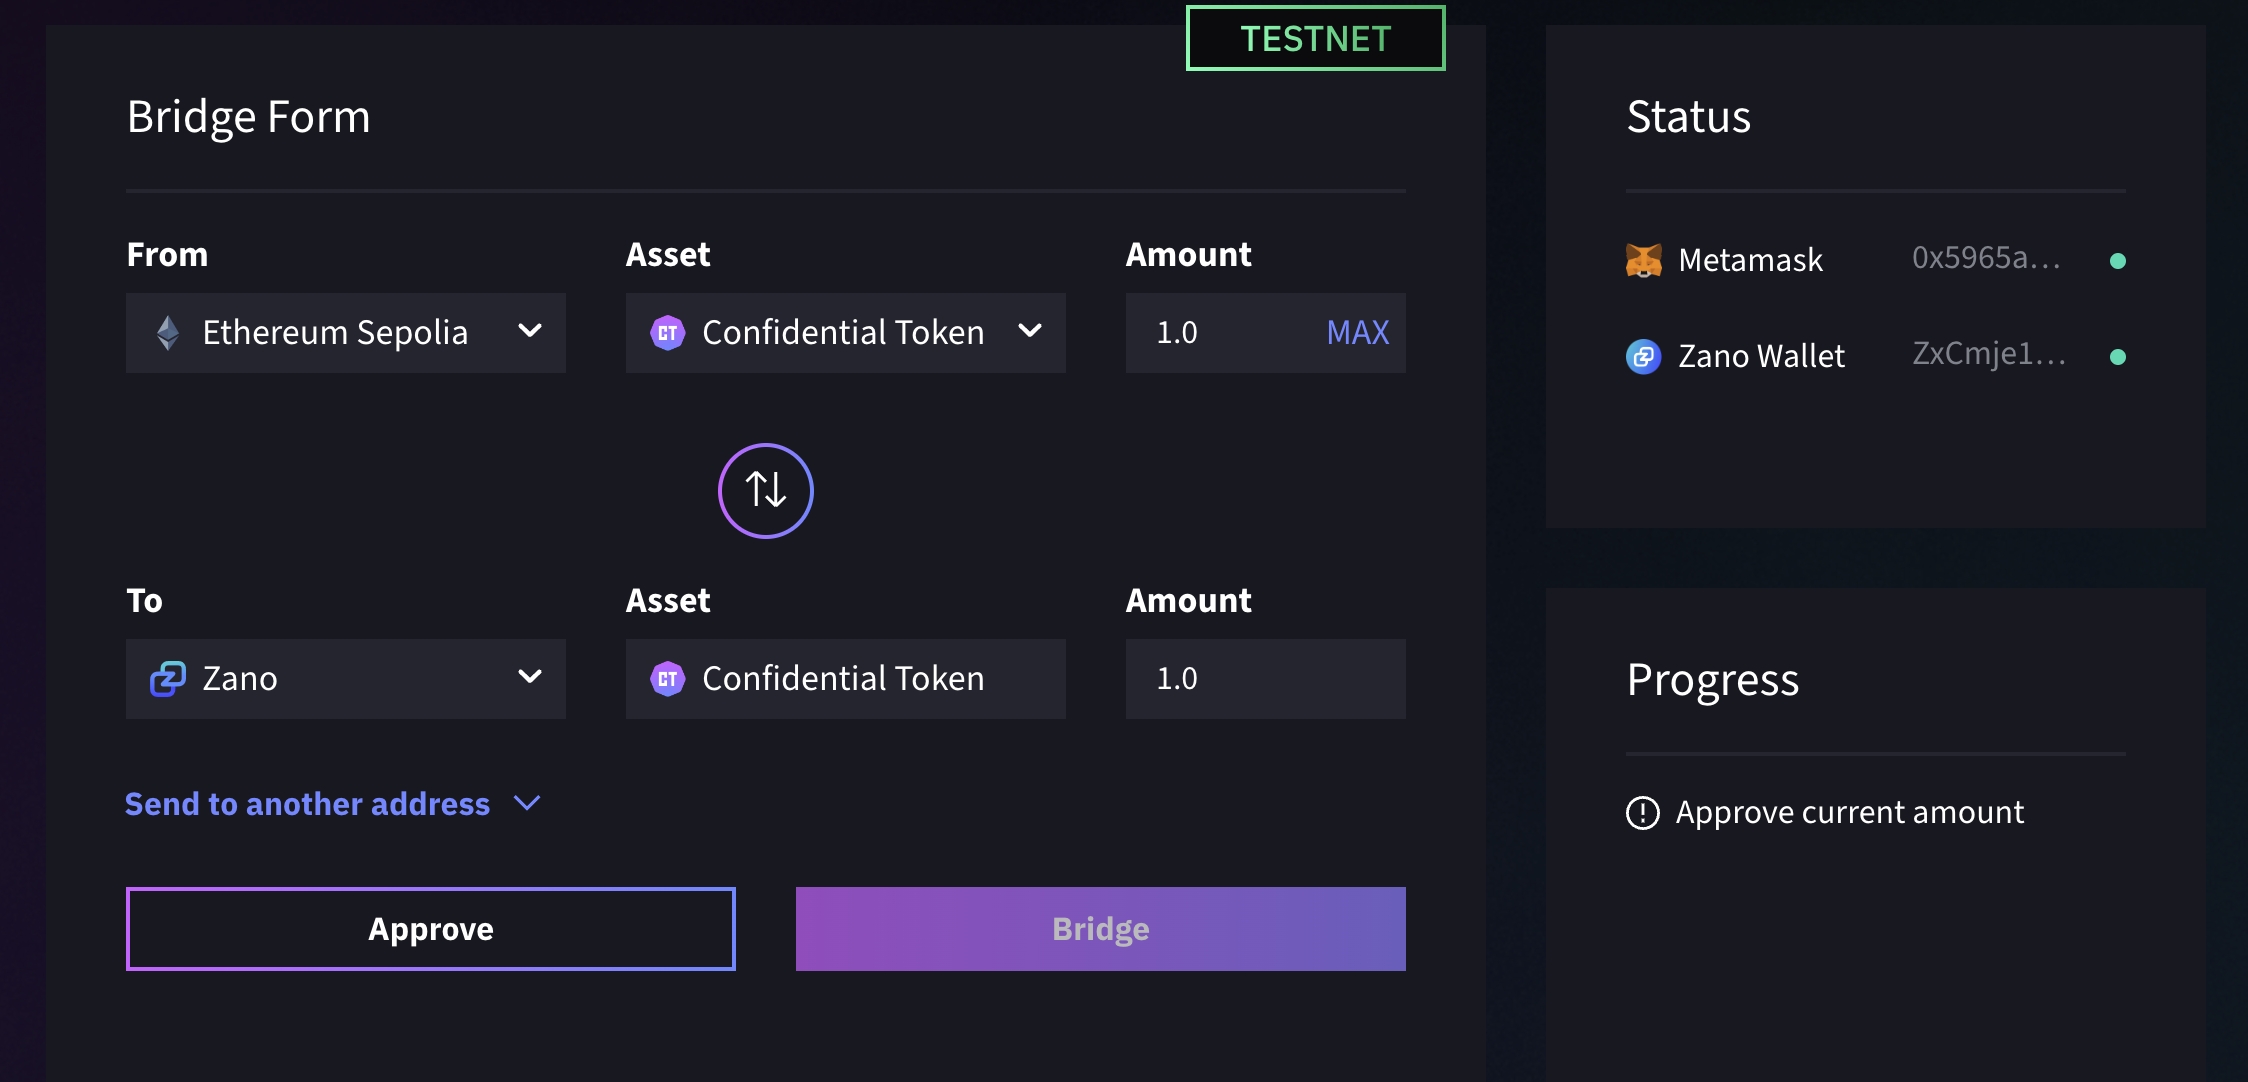
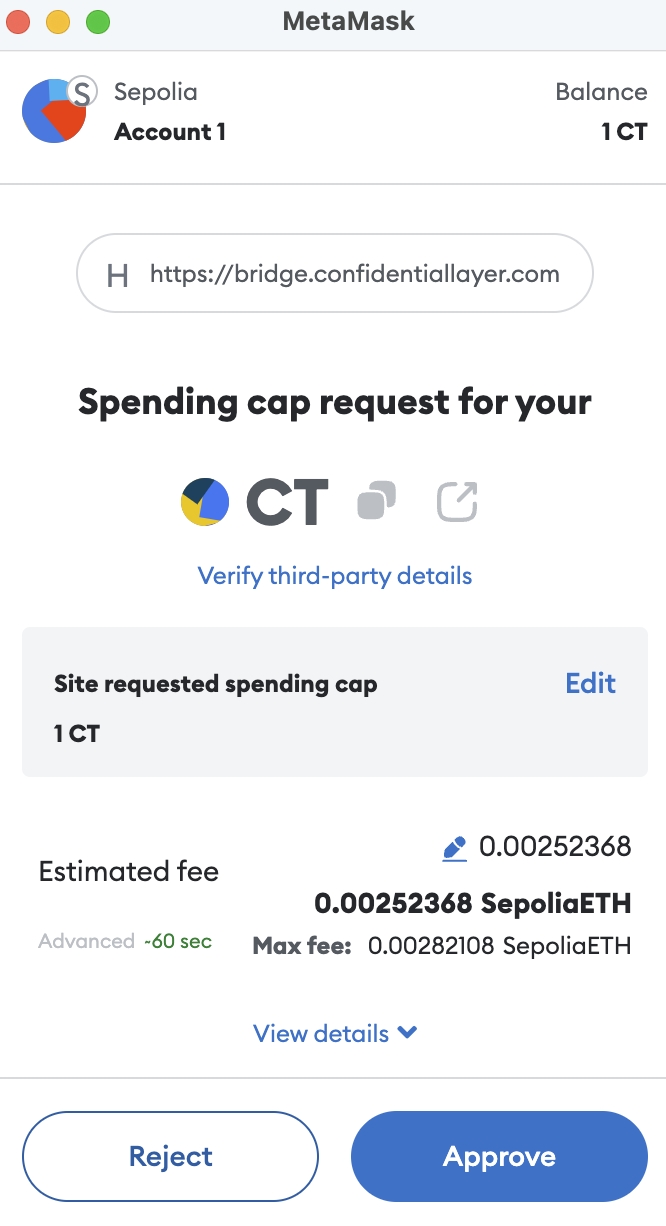
Click the "Approve" button and wait until the Metamask window will pop-up.
Approve the amount you want to send (in our case "1") and click "Next"
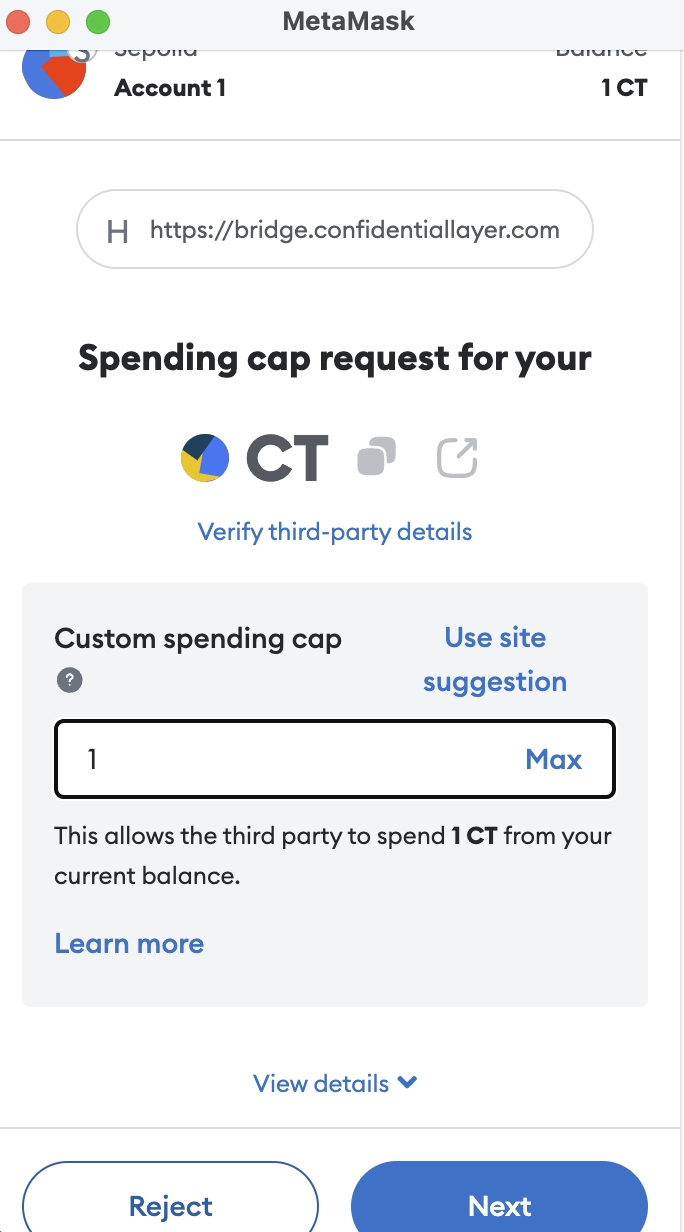
After that, another window will pop-up and click "Approve".
If the approving transaction goes well, you should see this on your screen:

Now click on "Bridge".
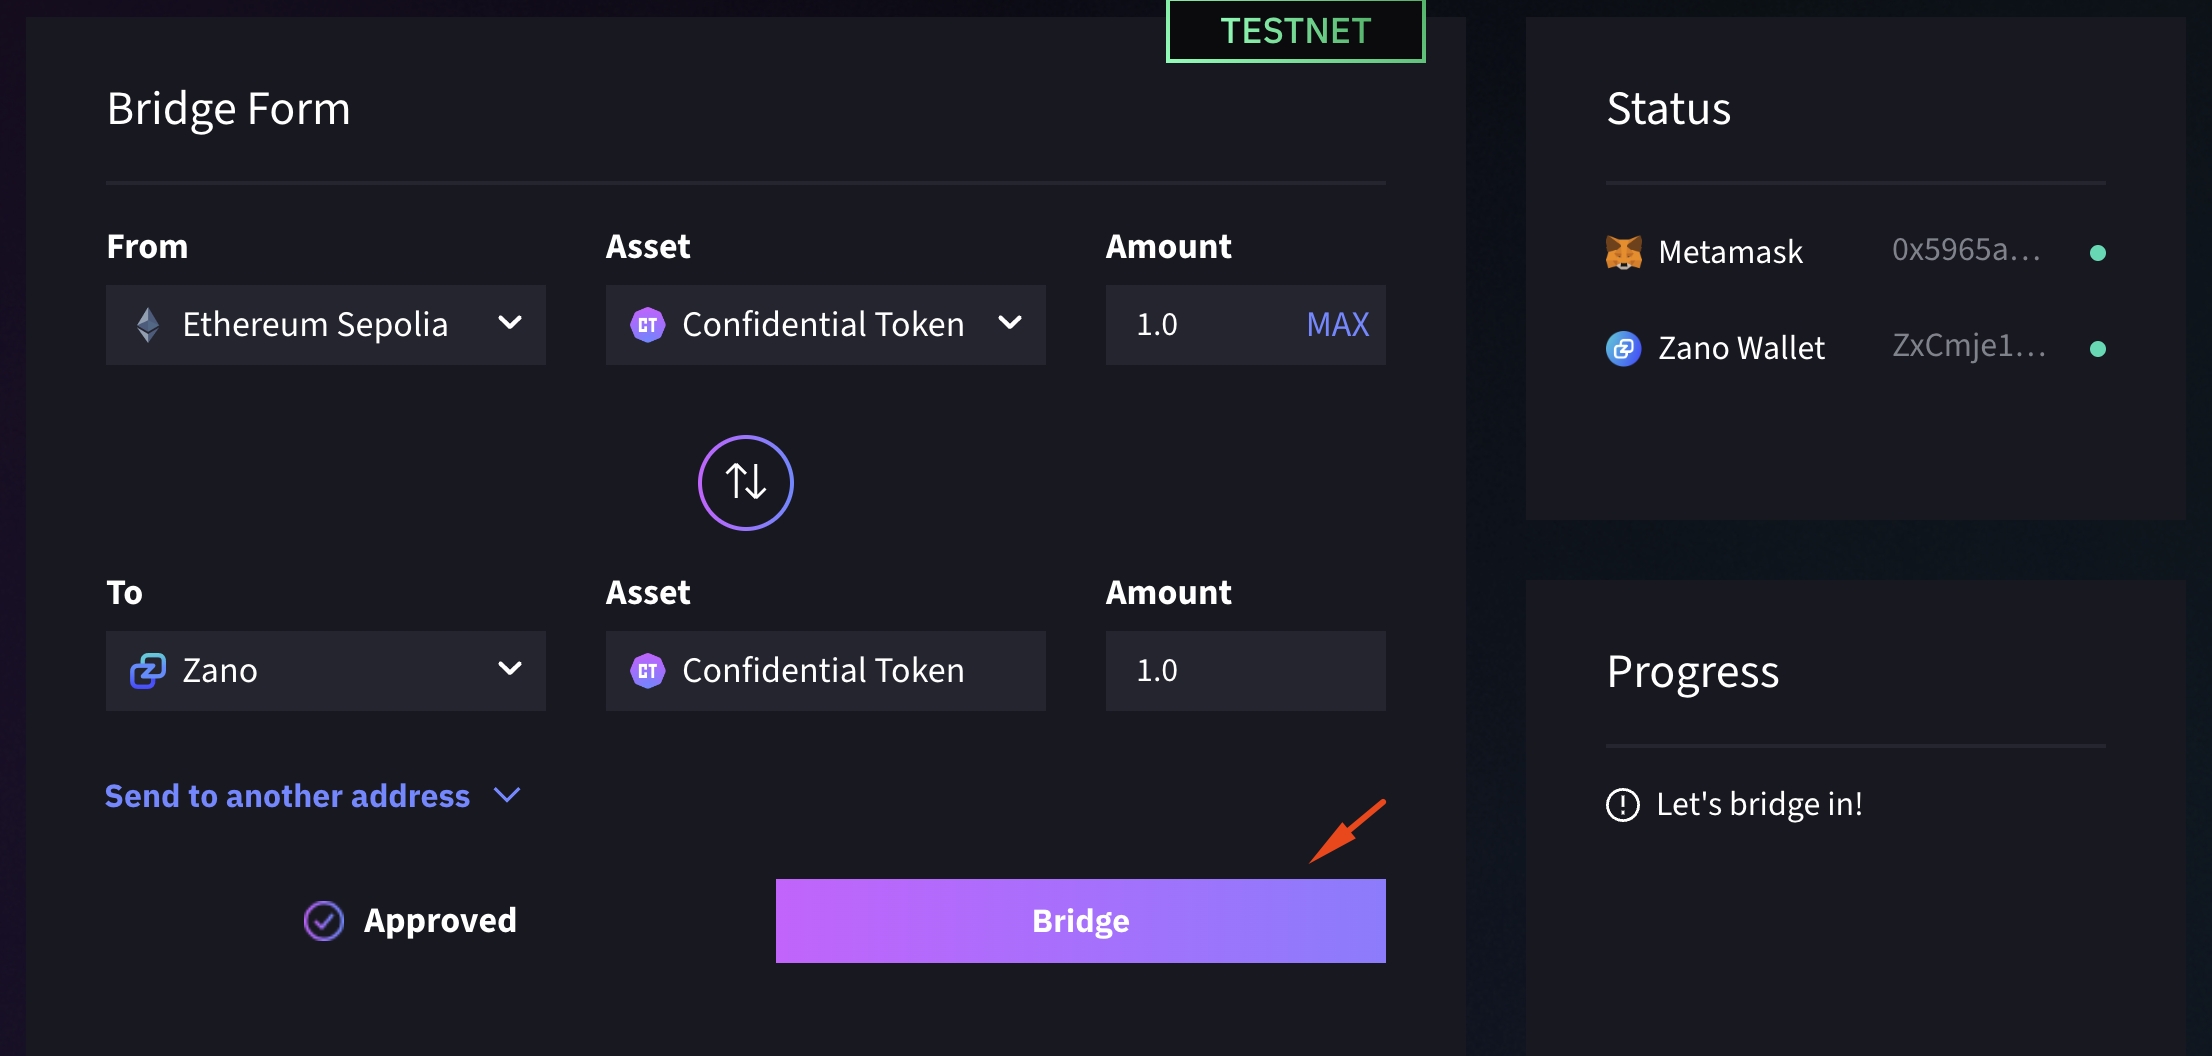
You will be once again asked to confirm the transaction. Metamask should pop-up and click "Confirm" button.
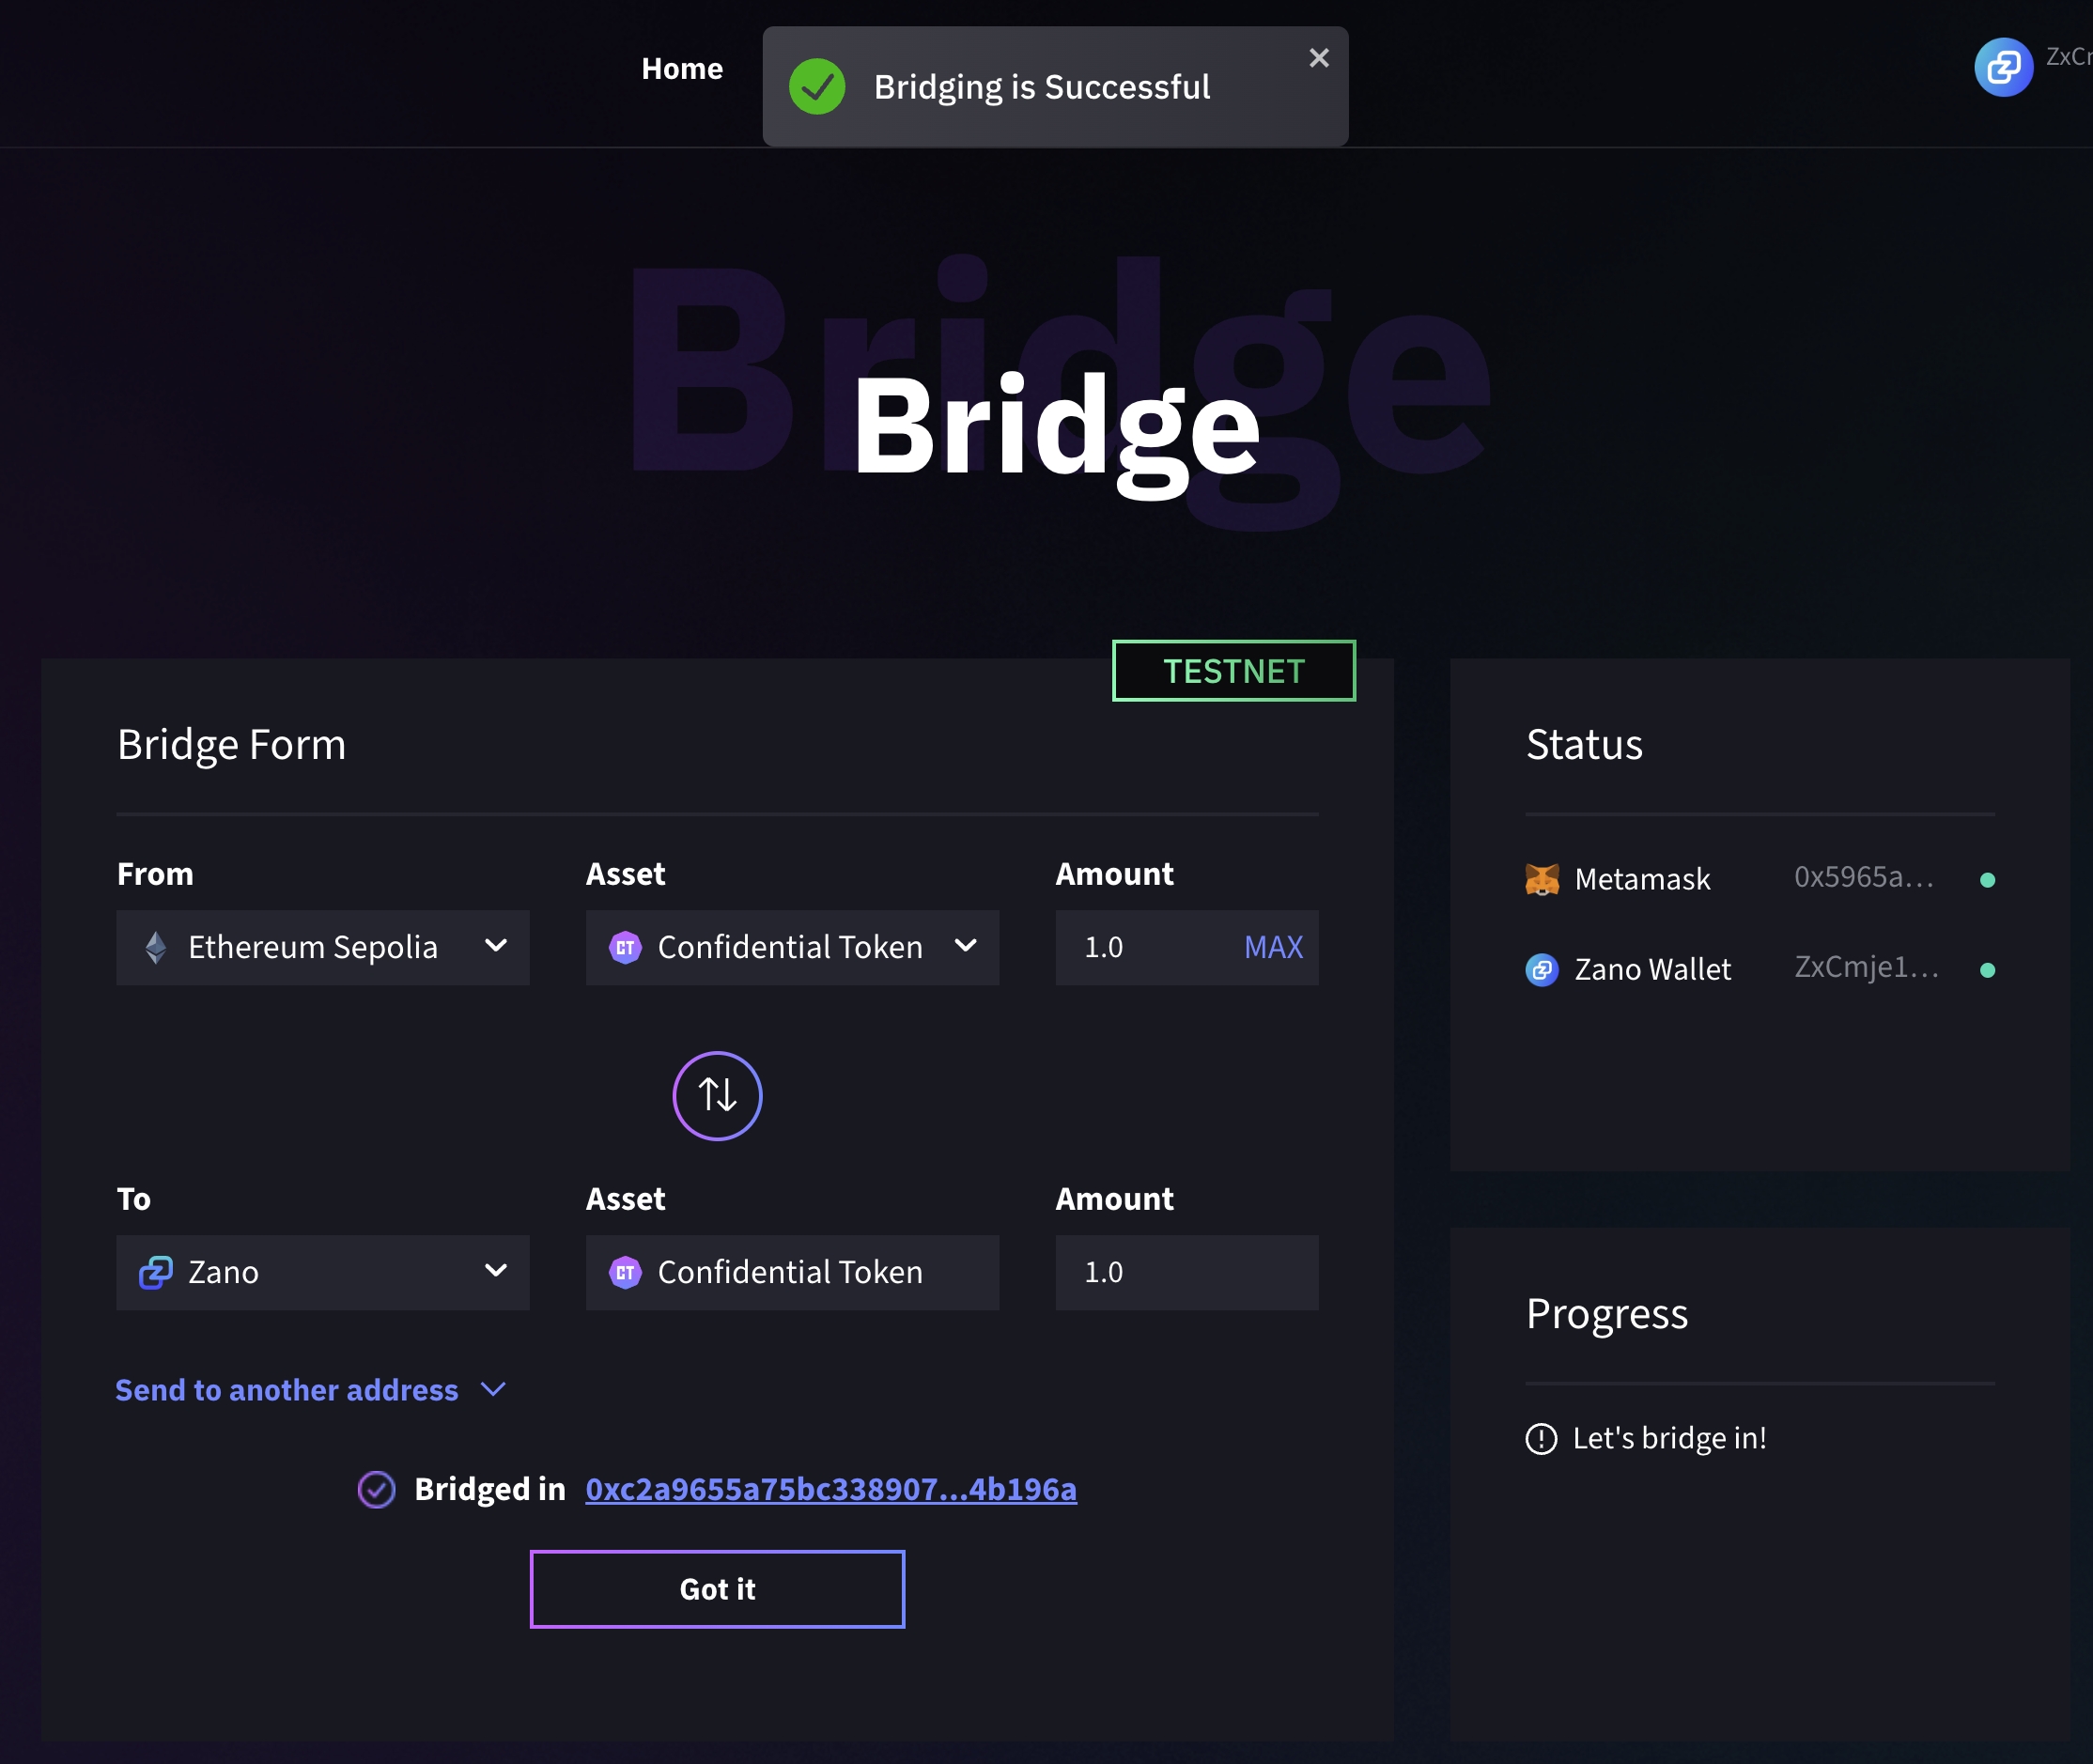
Now you have succesfully bridged back to privacy. By clicking on the blue text after the text bridged in, you will see the transaction.
If you'll encounter "error code -7" in the Zano companion wallet, don't worry. It is because of the locked funds after a transaction is made. The funds are fully unlocked after 10 confirmations. (approximitely 10 minutes)
If you want to know more why is that, check this site.